As the amount of data and its access to our life is increasing, so is increasing the amount of useless and trash data. We download innumerable PDFs videos, musics and even movies that we will never watch, just because our computer has a lot of space. There are many such useless files that clutter our Macbooks and other Mac devices. Mac OS X has enabled a feature that addresses the these files as Clutter. The operating system also allows you to clear clutter from time to time. In the following tutorial, we shall show you how to clear clutter of files on Mac OS X.
Steps To Enable “Empty Trash Automatically” on Mac OS X
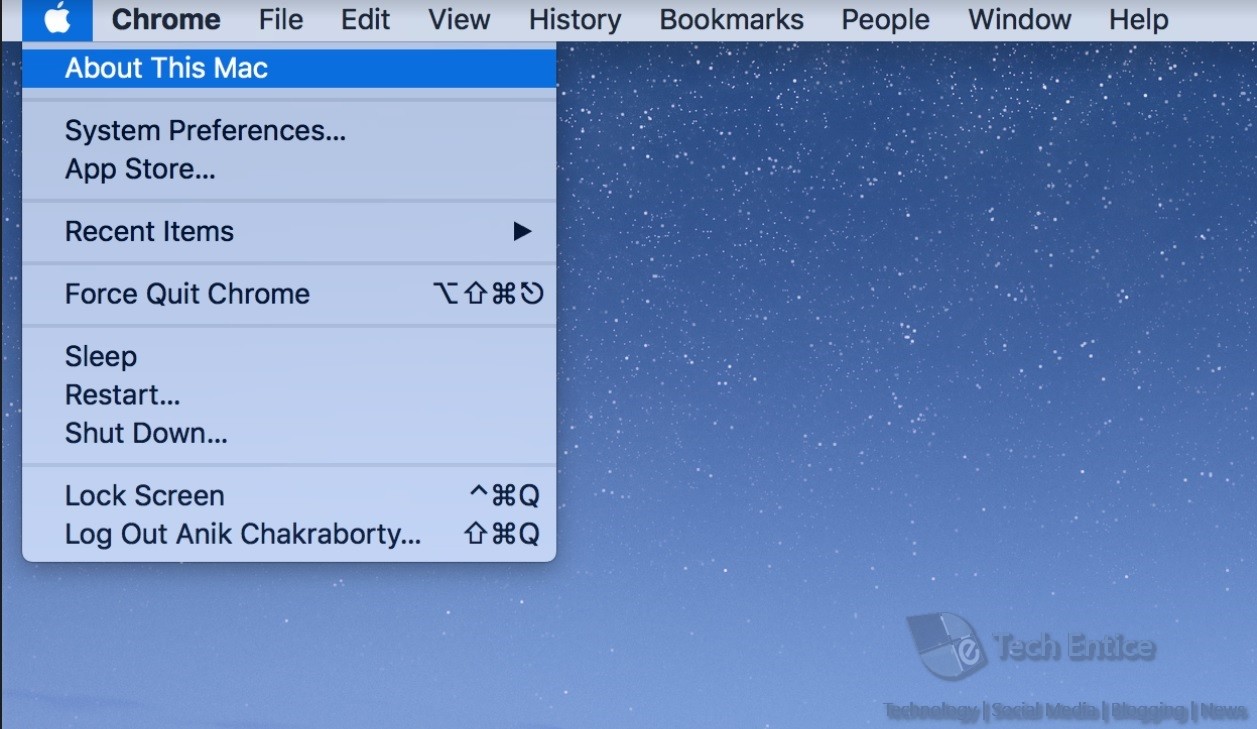
1. First of all, tap on Apple icon. Now click About this Mac.

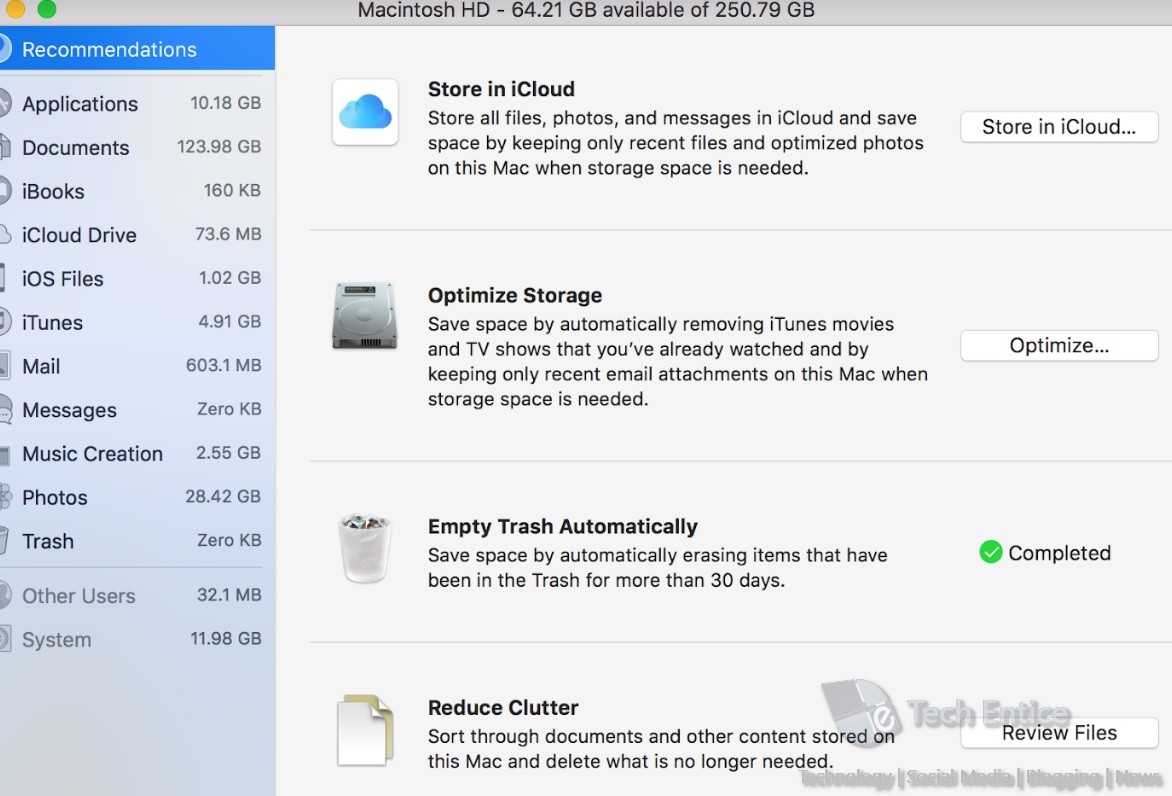
2. Now, the Macintosh HD opens. Click on the Storage tab. When the storage is being calculated, you can simply tap on Manage option.

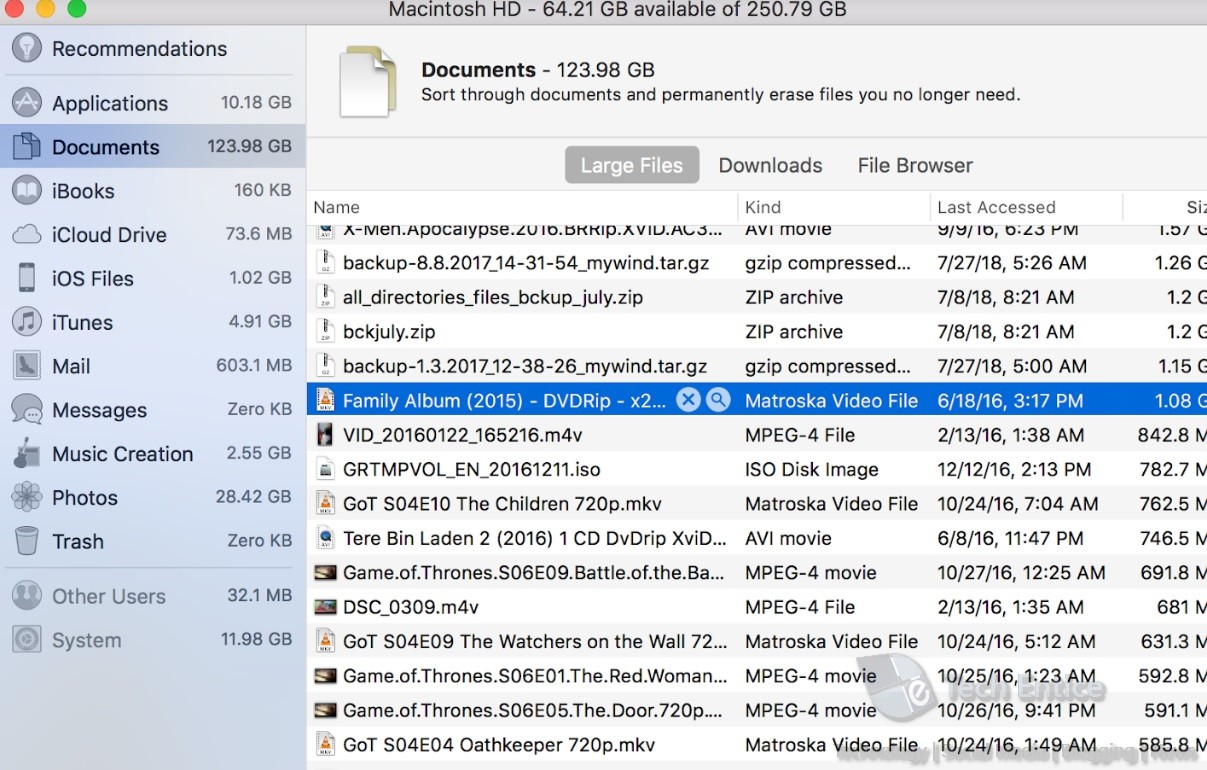
3. Now, scroll down and find out the option Clear Clutter. Click on the Review Files. It will give you a list of all the clutter files.

4. There will be a cross sign beside each clutter file. Click on the cross sign to delete it.

5. The OS will ask you, if you really want to delete. Click Remove to confirm.

That’s all!


Leave a Reply