Windows PowerShell is Microsoft’s task automation framework, consisting of a command-line shell and associated scripting language built on .NET Framework. In PowerShell, administrative tasks are generally performed by cmdlets (pronounced command-lets), which are specialized .NET classes implementing a particular operation. Sets of cmdlets may be combined together in scripts, executable (which are standalone applications), or by instantiating regular .NET classes.
By default, the execution of PowerShell scripts is disabled in Windows 7. This will prevent you from not only executing any of your own scripts, but also will prevent the Windows PowerShell Modules (located in Administrative Tools in the Control Panel) from working.
Steps to allow Execution of PowerShell Scripts on Windows 7
1. Click on start and search for accessories.
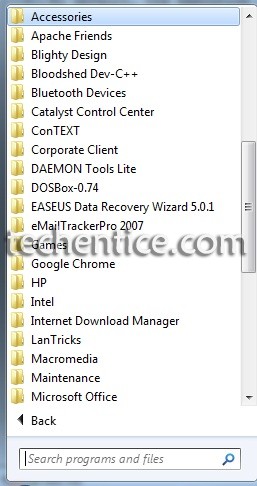
2. Now search for Windows Powershell, select Windows Power Shell.

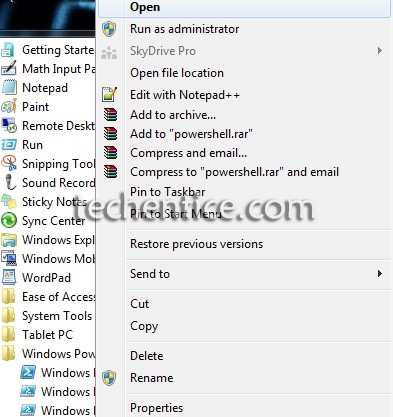
3. Select the shortcut of powershell and right click on it and click on the option of Run as Administrator. Click on Yes.
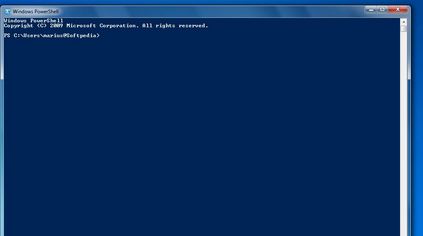
4.To change the script execution policy, use the Set-ExecutionPolicy cmdlet.
Input “Set-ExecutionPolicy unrestricted” and press Enter on your keyboard.
5. You will be prompted that whether you want to change the script execution policy or not. Press Y from your keyboard.
And then press Enter.
6. Windows Power Shell Script execution is now enabled.




Do you mind if I quote a few of your posts as long as I provide credit and sources back to your webpage? My blog is in the very same niche as yours and my visitors would genuinely benefit from some of the information you provide here. Please let me know if this alright with you. Many thanks!