Oracle VM VirtualBox is a virtualization software that helps you to install different types of supported guest operating systems on your Windows, Mac OS X, Linux and Solaris host machines. There are other virtualization software, like VMware, Parallels Desktop (for Mac OSX), Microsoft Hyper-V (Windows), KVM (Linux) etc. that serve the same purpose. In this tutorial, we have used Oracle VM VirtualBox to install RHEL 6.6 on MAC OS X 10.11, El Capitan. As VirtualBox can be installed on Windows, Linux or Solaris machines too, the steps to install RHEL virtually on these host Operating Systems will be exactly similar as shown below.
Steps to create a Virtual Machine to install RHEL 6.6
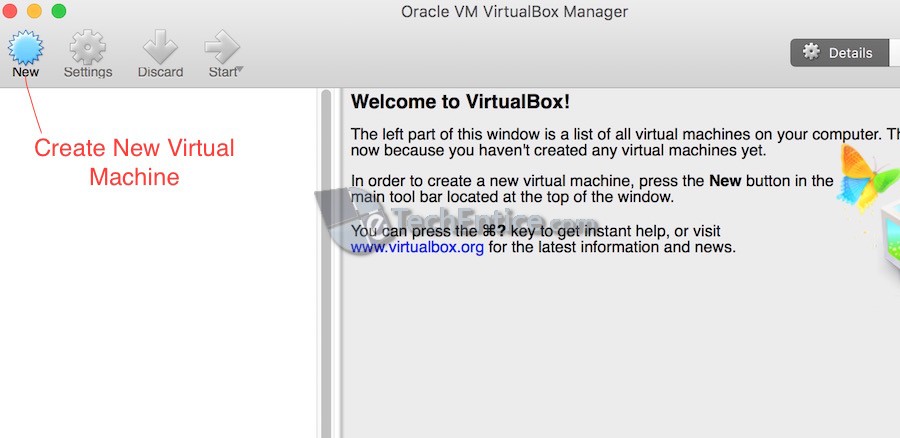
1. Launch VirtualBox and click on New in top pane to create a new Virtual Machine.
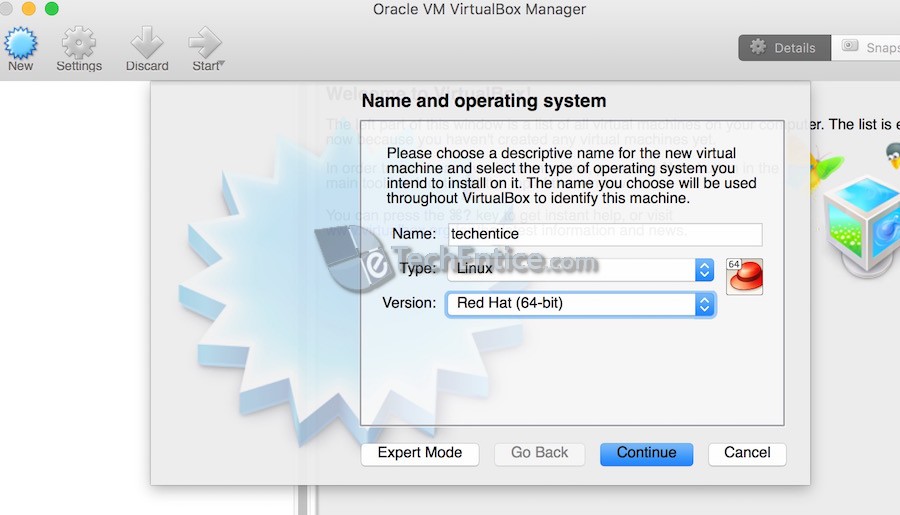
2. Now give a name to the Virtual Machine that you are creating. As we are going to install 64-bit RHEL, choose Type as Linux and Version as Red Hat (64-bit) from the drop-downs.
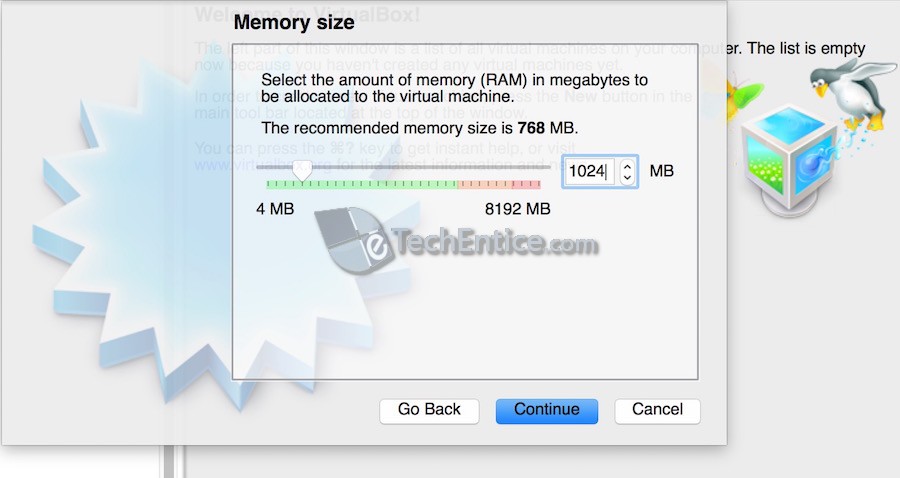
3. Choose the Memory Size (RAM) that you want to assign to this Virtual Machine. For RHEL recommended RAM size is 768MB. But if you want to install Oracle 11g Database on RHEL, assign at least 1GB RAM to your VM.
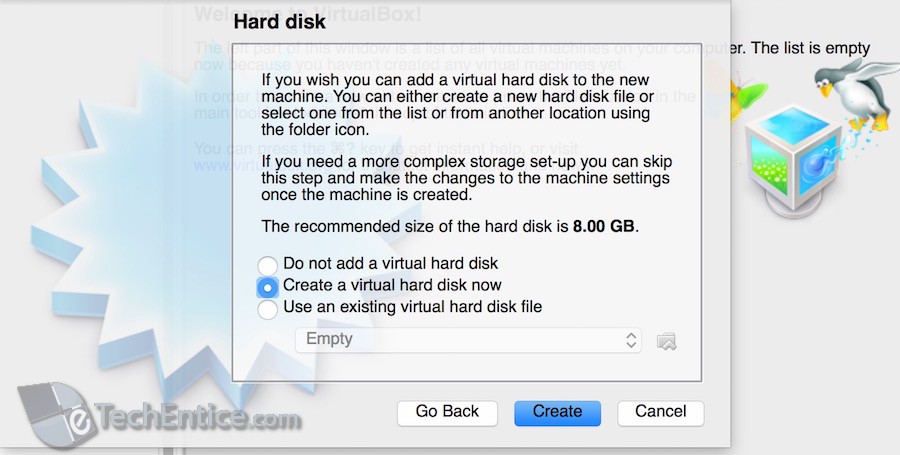
4. Now in Hard Disk section select Create virtual hard disk now.
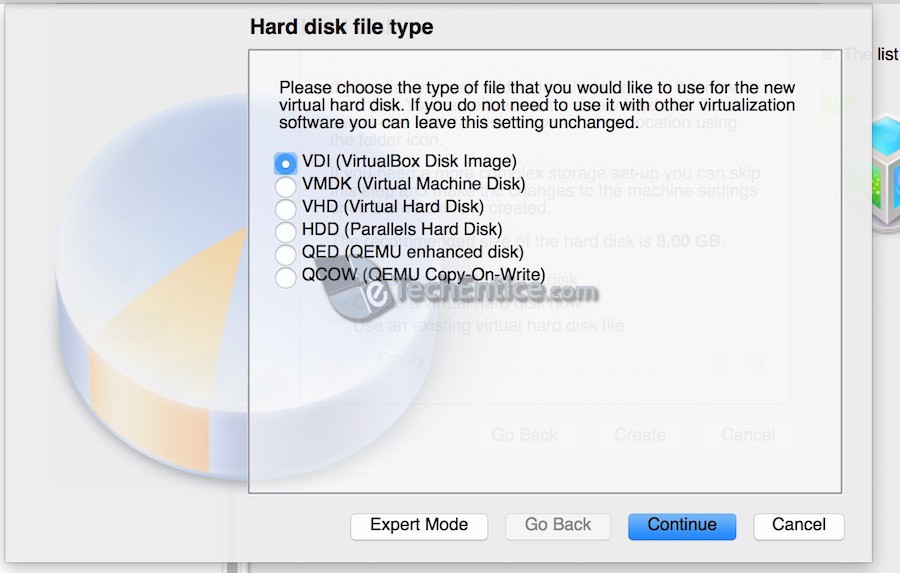
5. Choose Hard disk file type. If you don’t want to use this virtual hard disk image with any other virtualisation software, proceed with the default selection, i.e, VDI
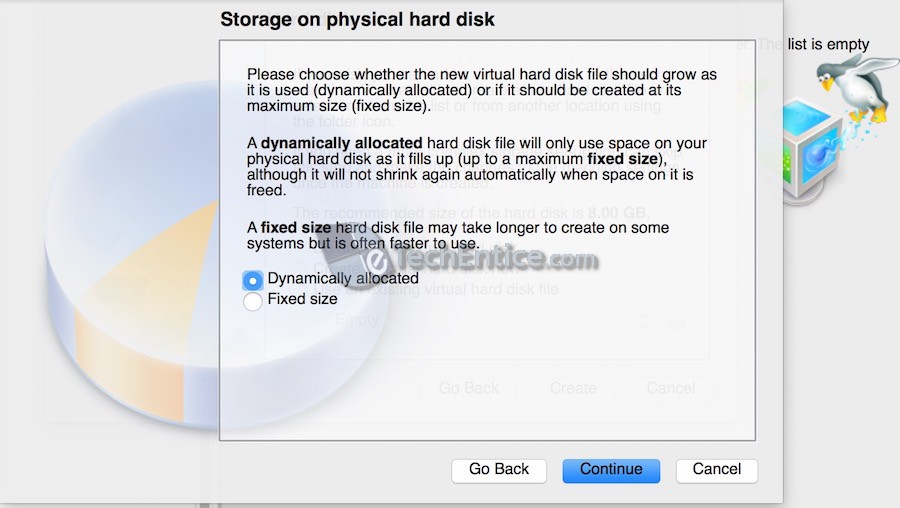
6. In Storage on physical hard disk selection window choose Dynamically allocated option. It will not immediately consume all the space that you allocate to the virtual machine during creation rather it will keep occupying the space from the hard disk as it fills up and it keeps increasing until it reaches the max allocated size that you defined during the VM creation. But if you have enough disk space in your host machine then you may choose Fixed Size option. It could be little faster during higher disk write operations by the guest OS, as space is already allocated.
7. Now choose the Folder or Mount Point where you want to create VM’s virtual hard disk file. Also choose the size of the virtual hard disk. We have allocated 20GB for this. If in previous step you have chosen Fixed Size, it will consume/block 20GB immediately during your VM creation. If you have chosen Dynamically allocated option then VM will be created with a minimum required size of virtual hard disk allocation and this 20GB will be considered as the max allocated size. Now click on Create button.
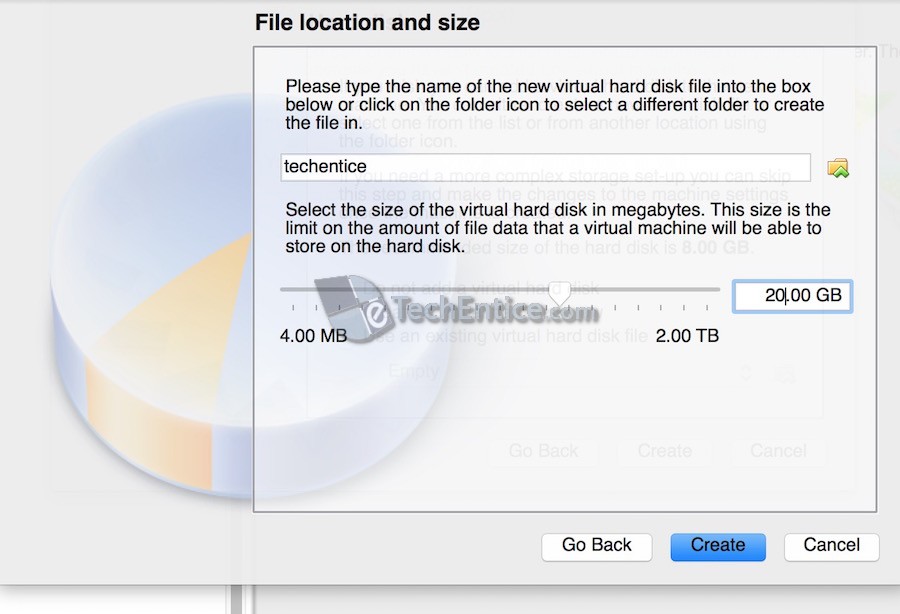
You Virtual Machine will be created in some seconds. If you have selected Fixed Size option in step 6, it may take a little longer.
Load and Validate RHEL 6.6 .iso disk image before installation
8. Choose the newly created virtual machine (here it’s techentice) , right click on it and select Start -> Normal Start. A pop up will appear, browse and choose the RHEL .iso image file
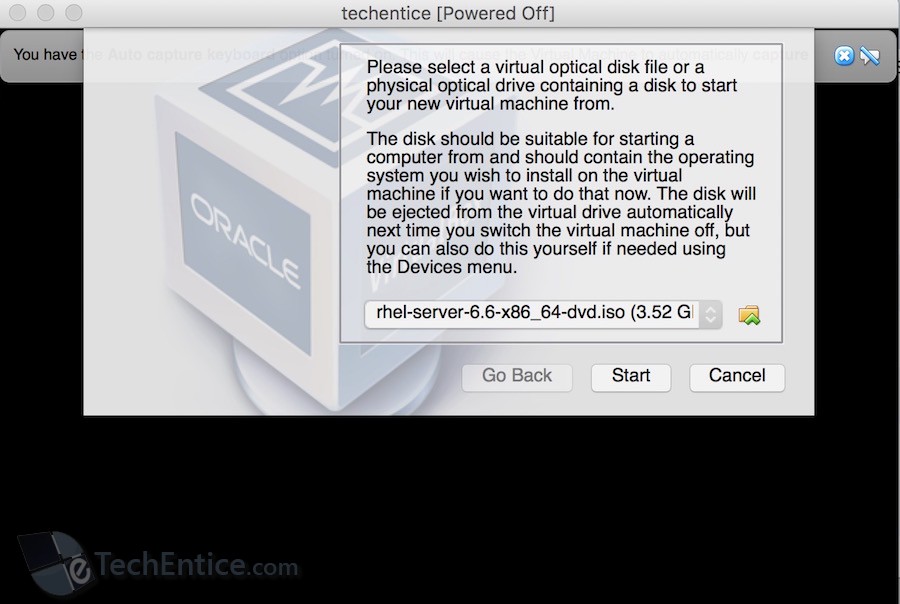
9. RHEL 6.6 option screen will appear. Click on Install system with basic video driver option to start installing it.
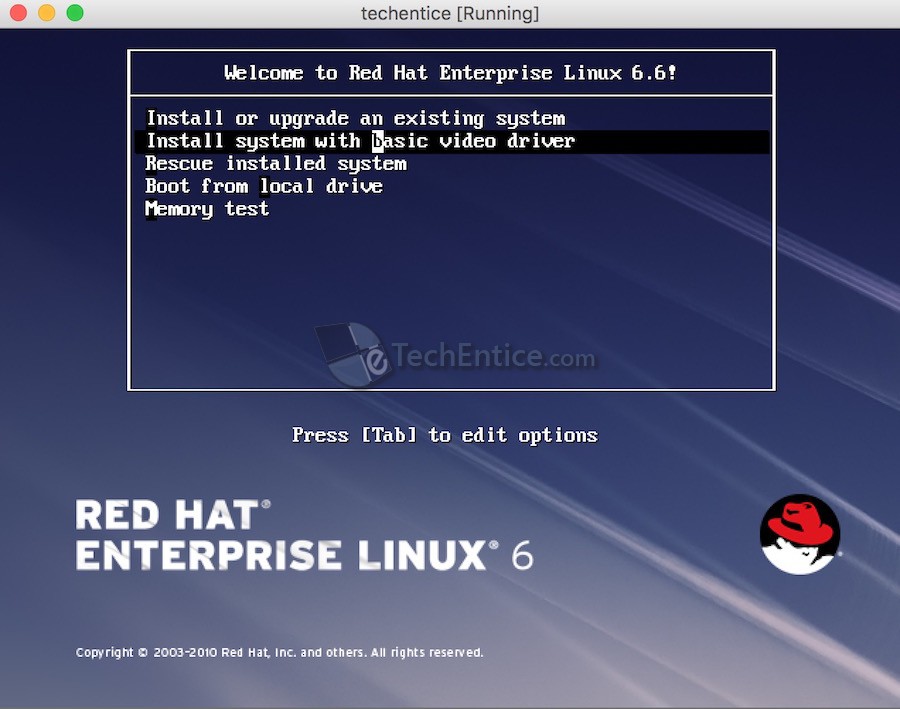
10. Now, before installation, check whether your disk media (.iso) is Okay and not corrupted. Click on Ok and followed by Test to start the media test.
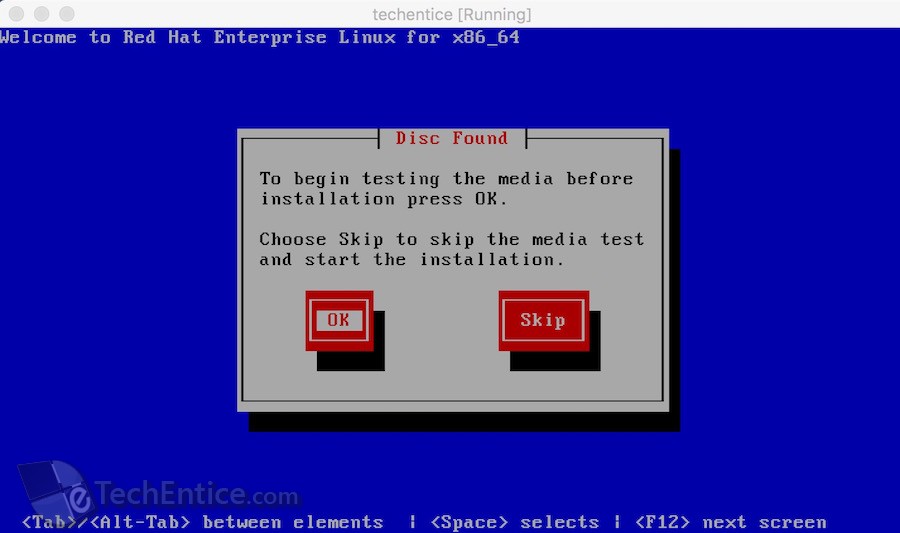
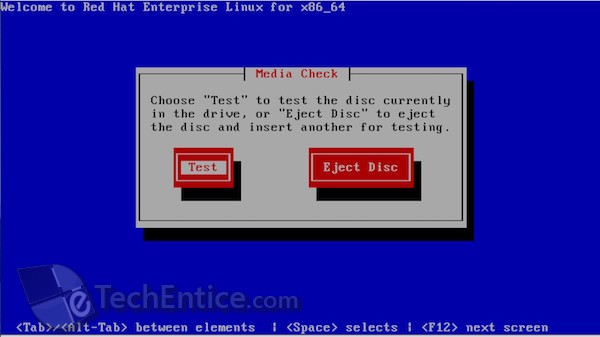
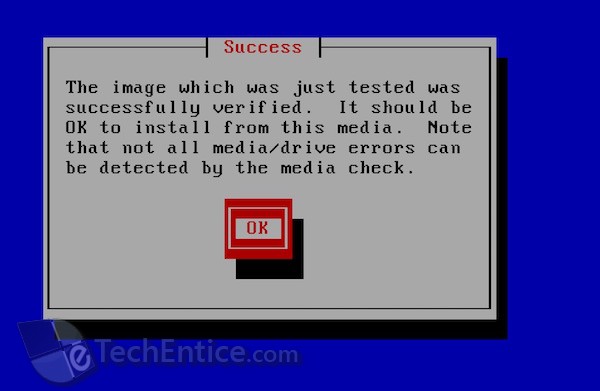
11. You can see that image has been verified successfully. Click on Ok.
12. Now, you will see that the inserted disk has been ejected. Press Ok.

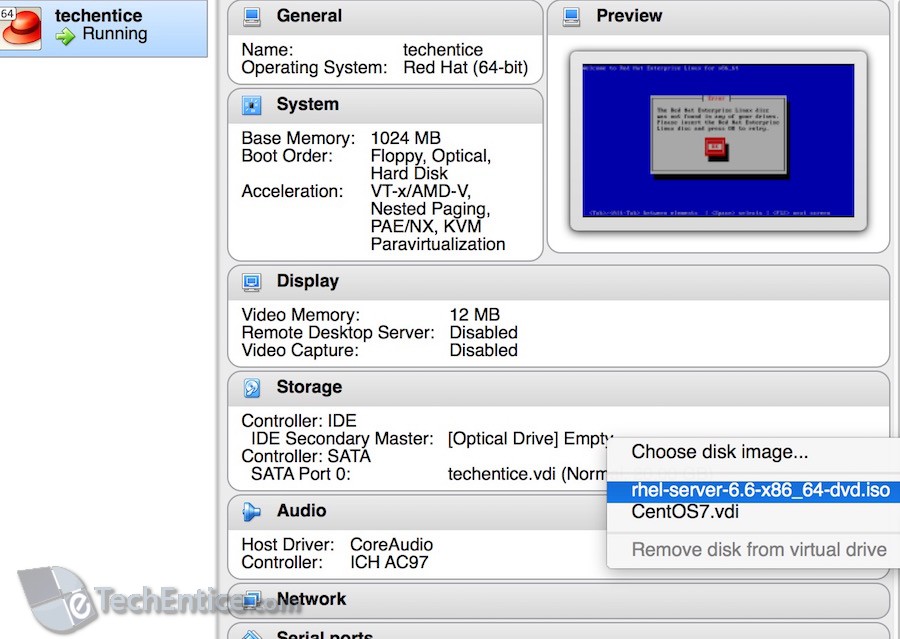
13. Before proceeding further go to Storage option of VM and select the RHEL .iso file to load it to the optical drive.
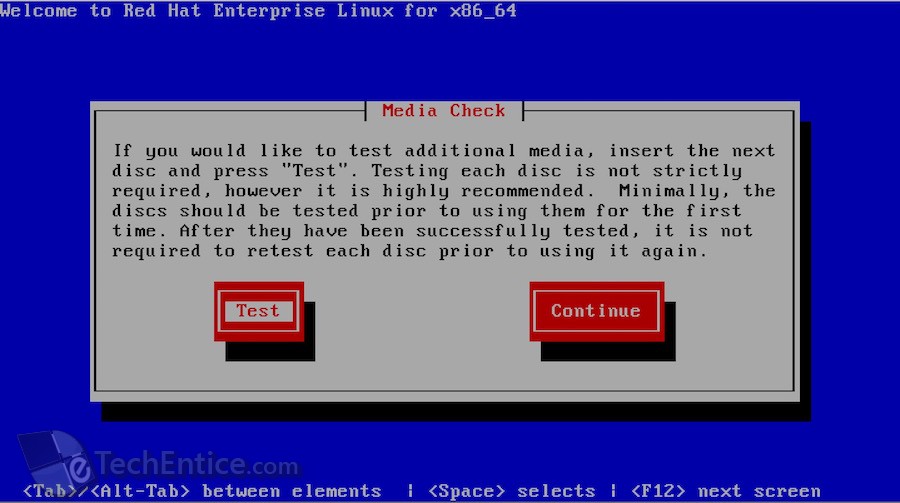
14. Now go back to the RHEL installation window and click Continue to start installing RHEL from the disk image.
Steps to install RHEL 6.6
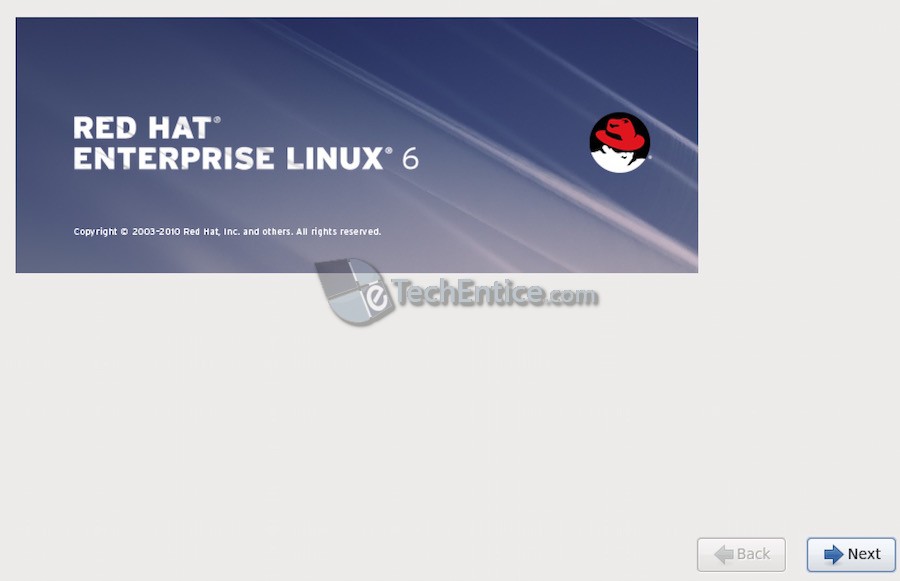
15. RHEL installation window will appear click on Next.
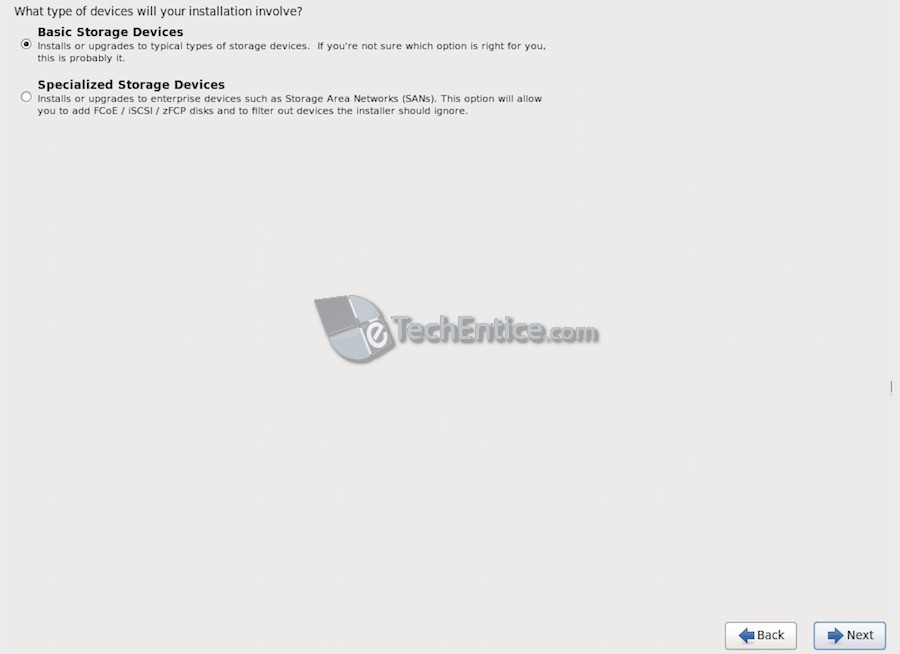
16. Select Language and Keyboard, then select Basic Storage Device. Then in next window you may select Yes, discard any data as you are fresh installing RHEL.
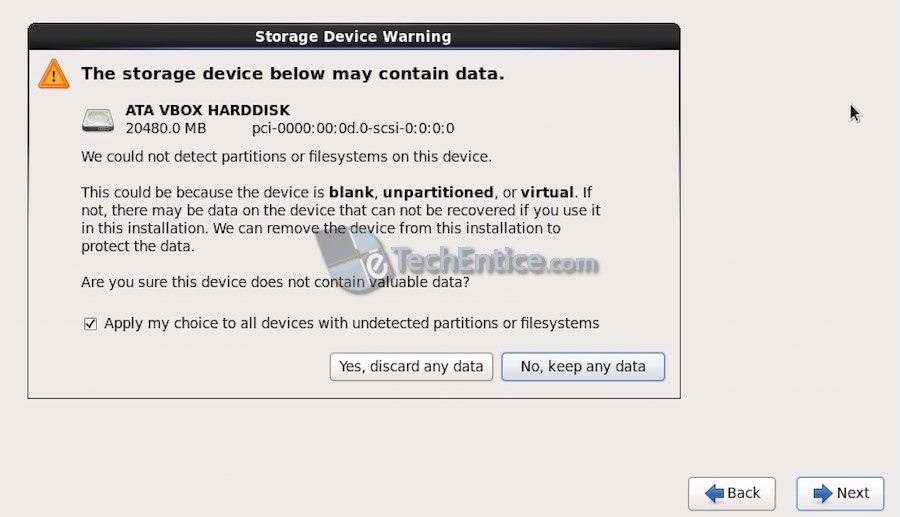
17. Now, Select a hostname and choose choose city, check System clock uses UTC option to choose GMT/UTC as your system time.
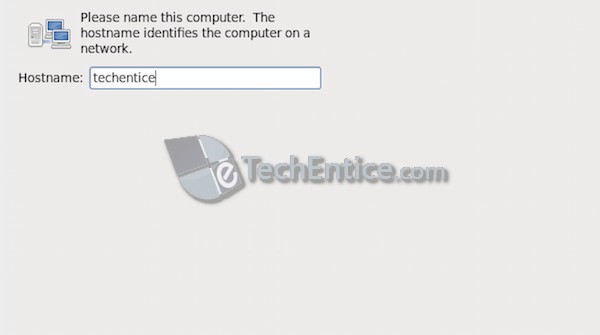
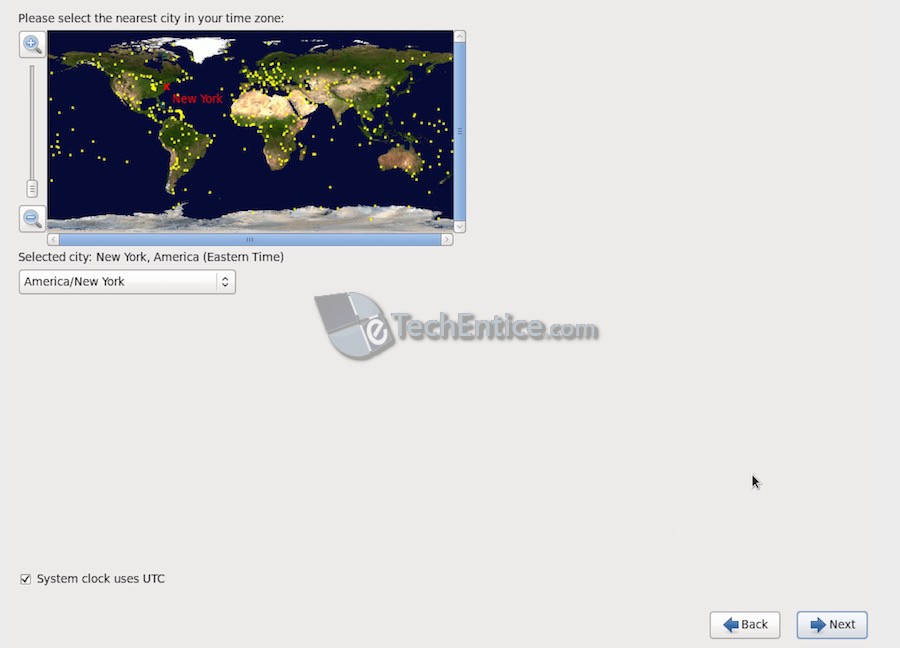
18. Select your root password and press next.
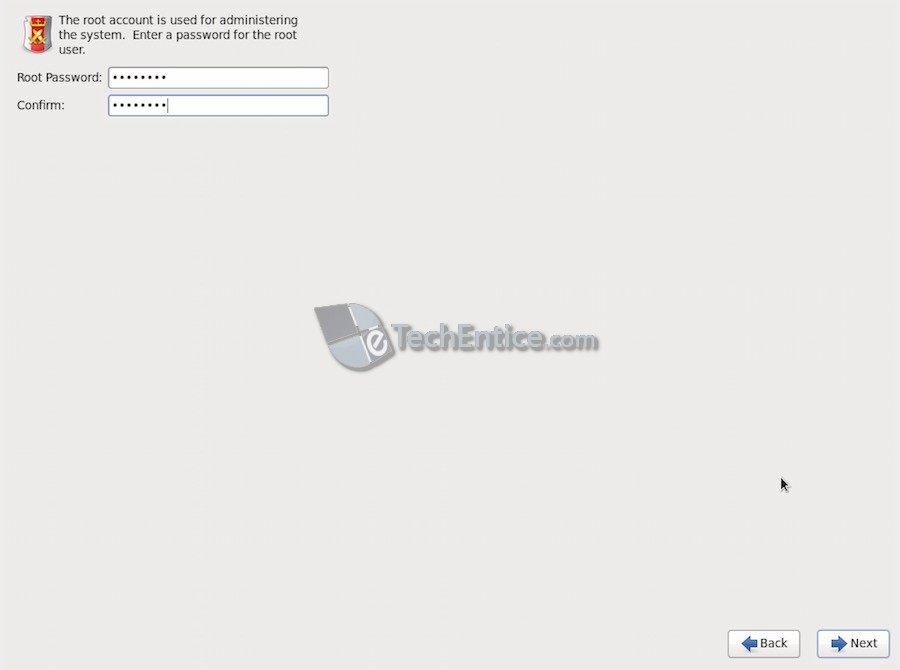
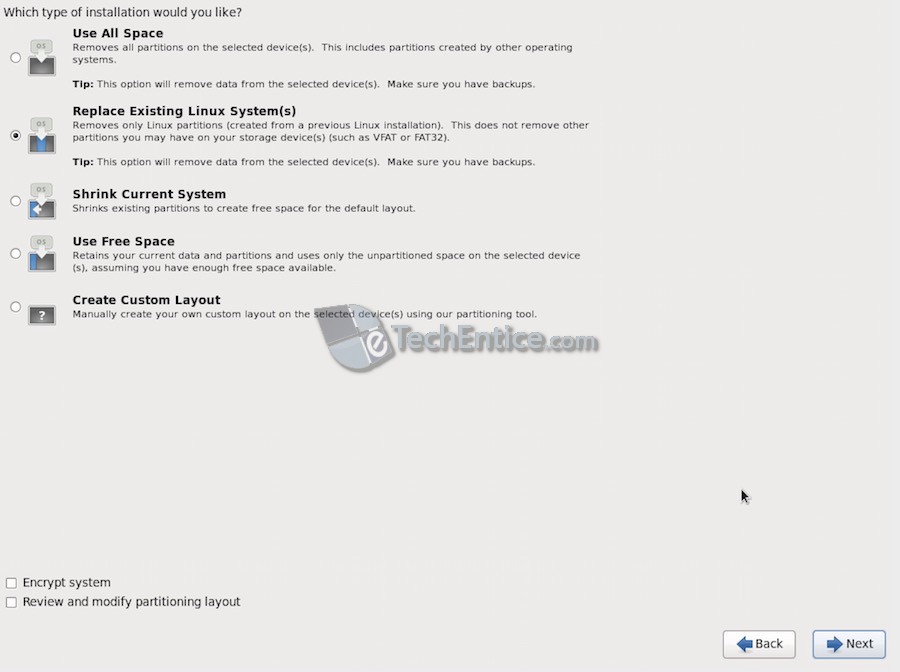
19. Choose the default option i.e., Replace Existing Linux Systems as the type of installation and click on Next. You will get a popup, click on Write changes to disk.
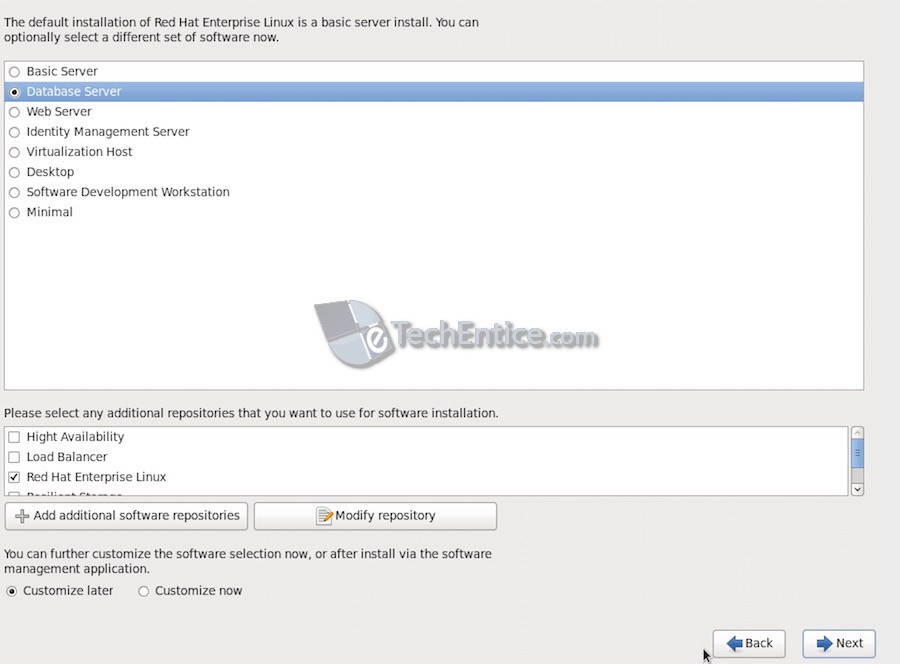
20. Now, you may choose the default installation or any other installation type as per your requirement. We want to use it as a Oracle database server, so we have chosen Database Server option here. If you want to install additional repositories like High Availability, Load Balancer, Resilient Storage etc. you may check these option. Once done click on Next to start the installation process.
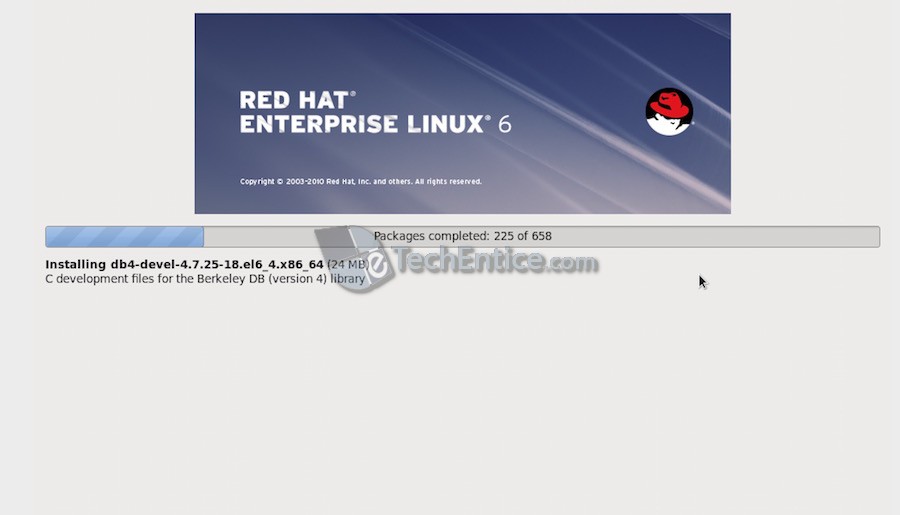
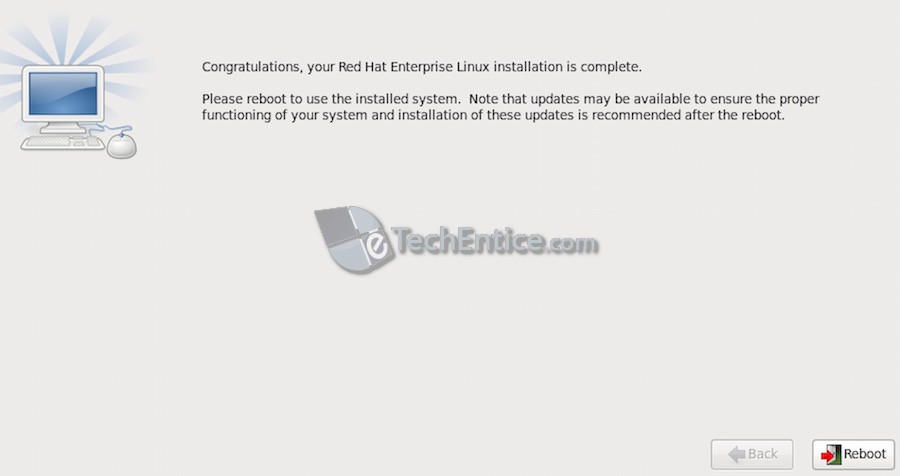
21. Wait for some time. Once Installation gets completed, you will get below screen. Click on Reboot.
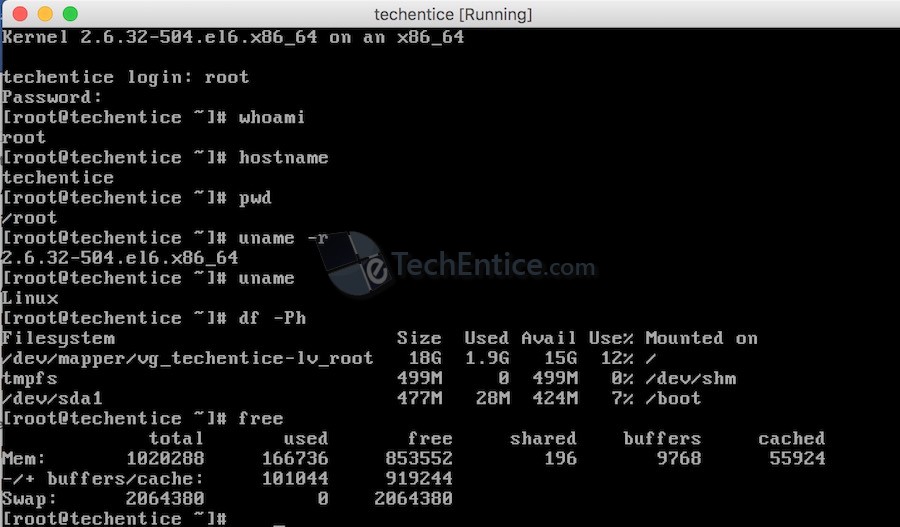
22. After reboot, logon prompt will appear, logon as root user. That’s it.




Leave a Reply