With a Blogger account, you can link multiple pages to make your Blog appear better. You add pages like “About” or “Contact that can appear as tabs on the top or as links on the side.
Follow the steps to add various pages to your blog.
Steps To Add Pages To Your Blogger Account
The first step is as simple as you can expect it to be. You obviously have to sign in to your Blogger Account.
Then, select the down arrow on the top left color of the page to select the blog you want to make changes to.
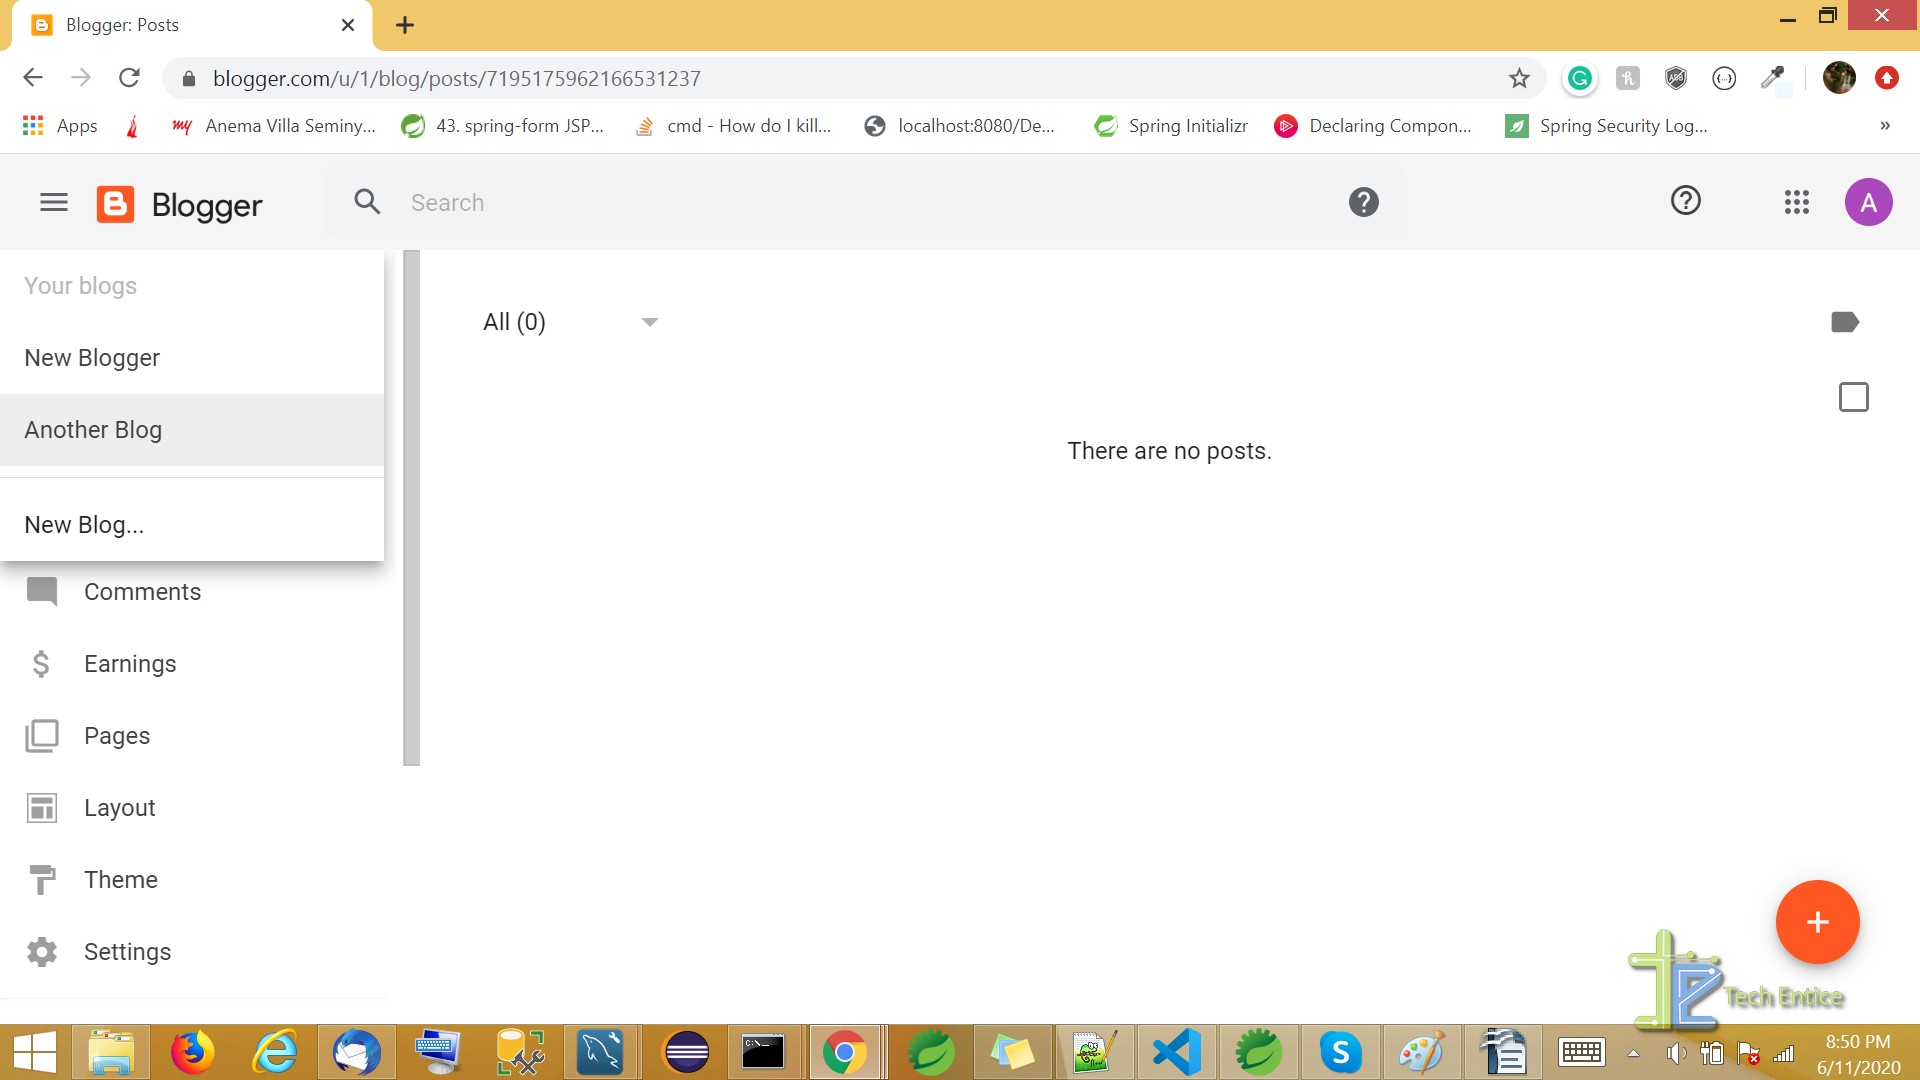
In the menu section, you can select “Pages” to add a new page. Click on the orange plus sign on the bottom right corner of the page.
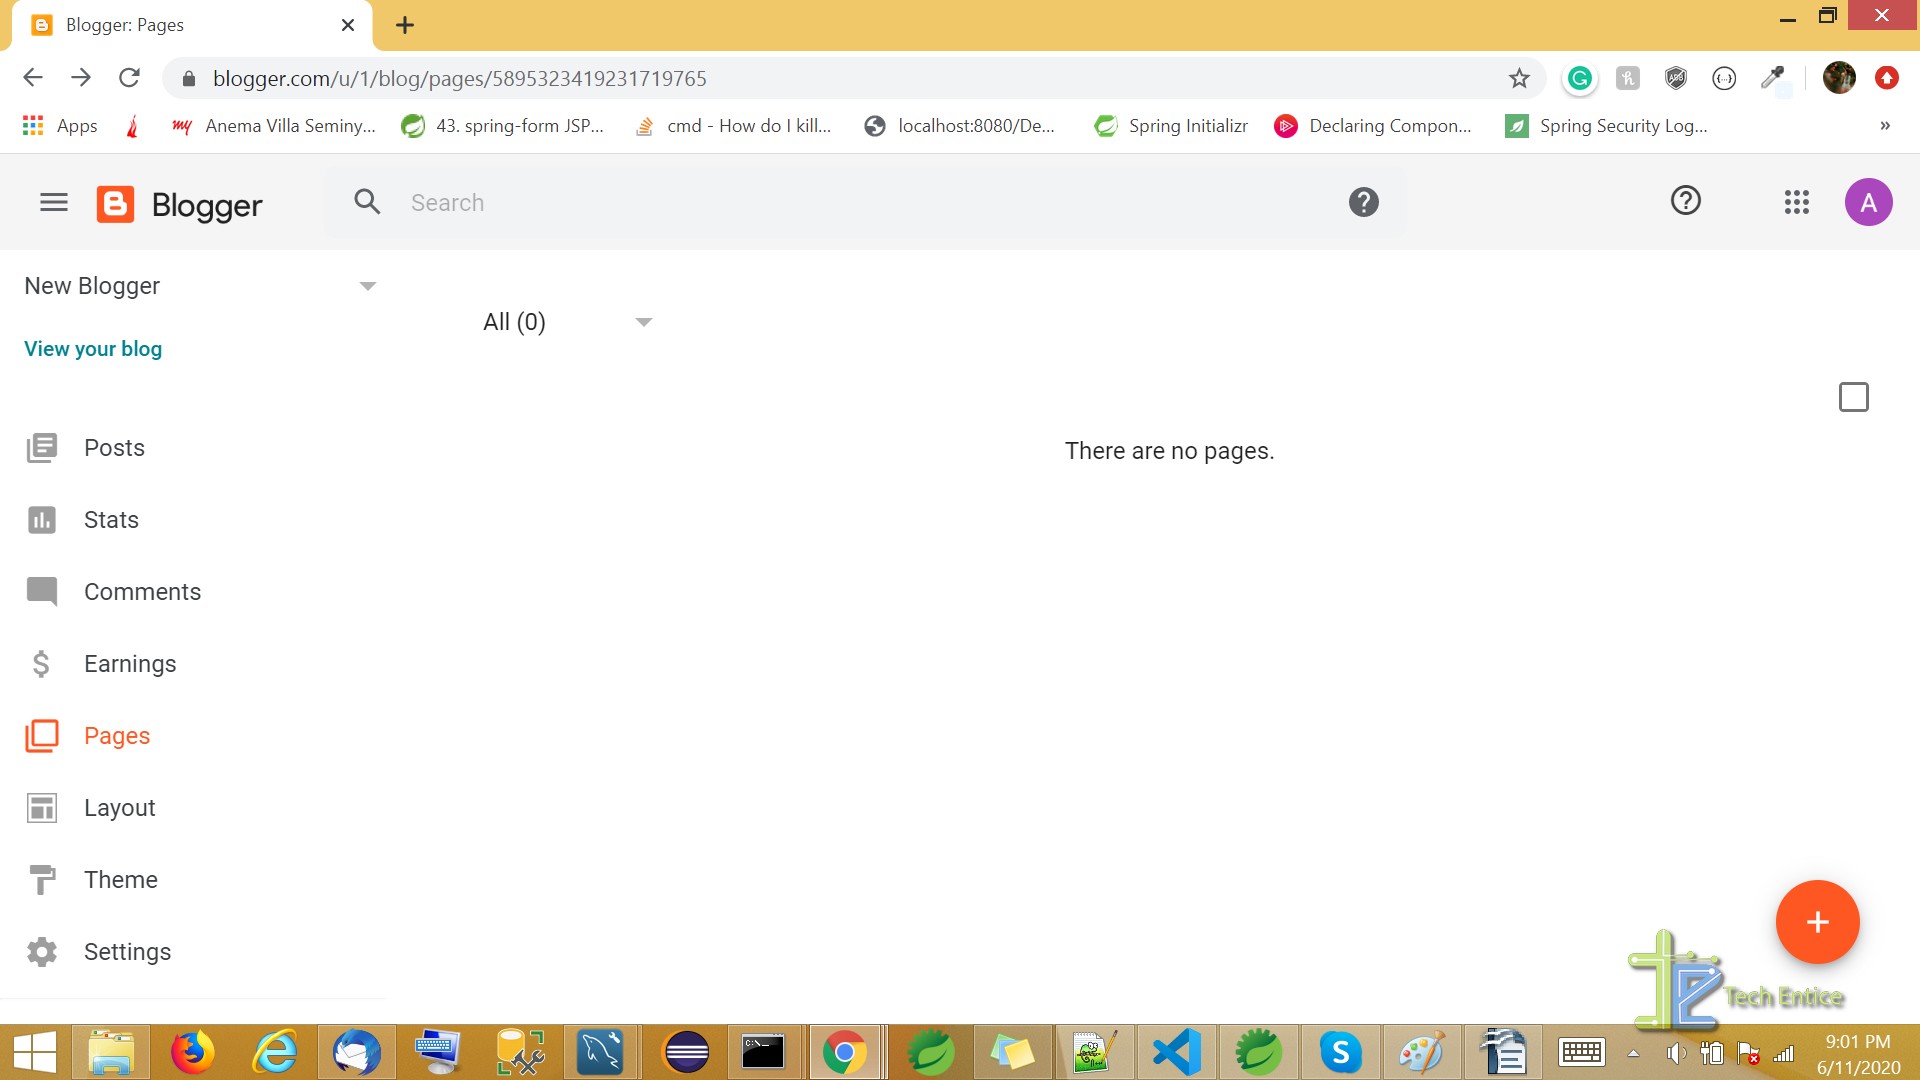
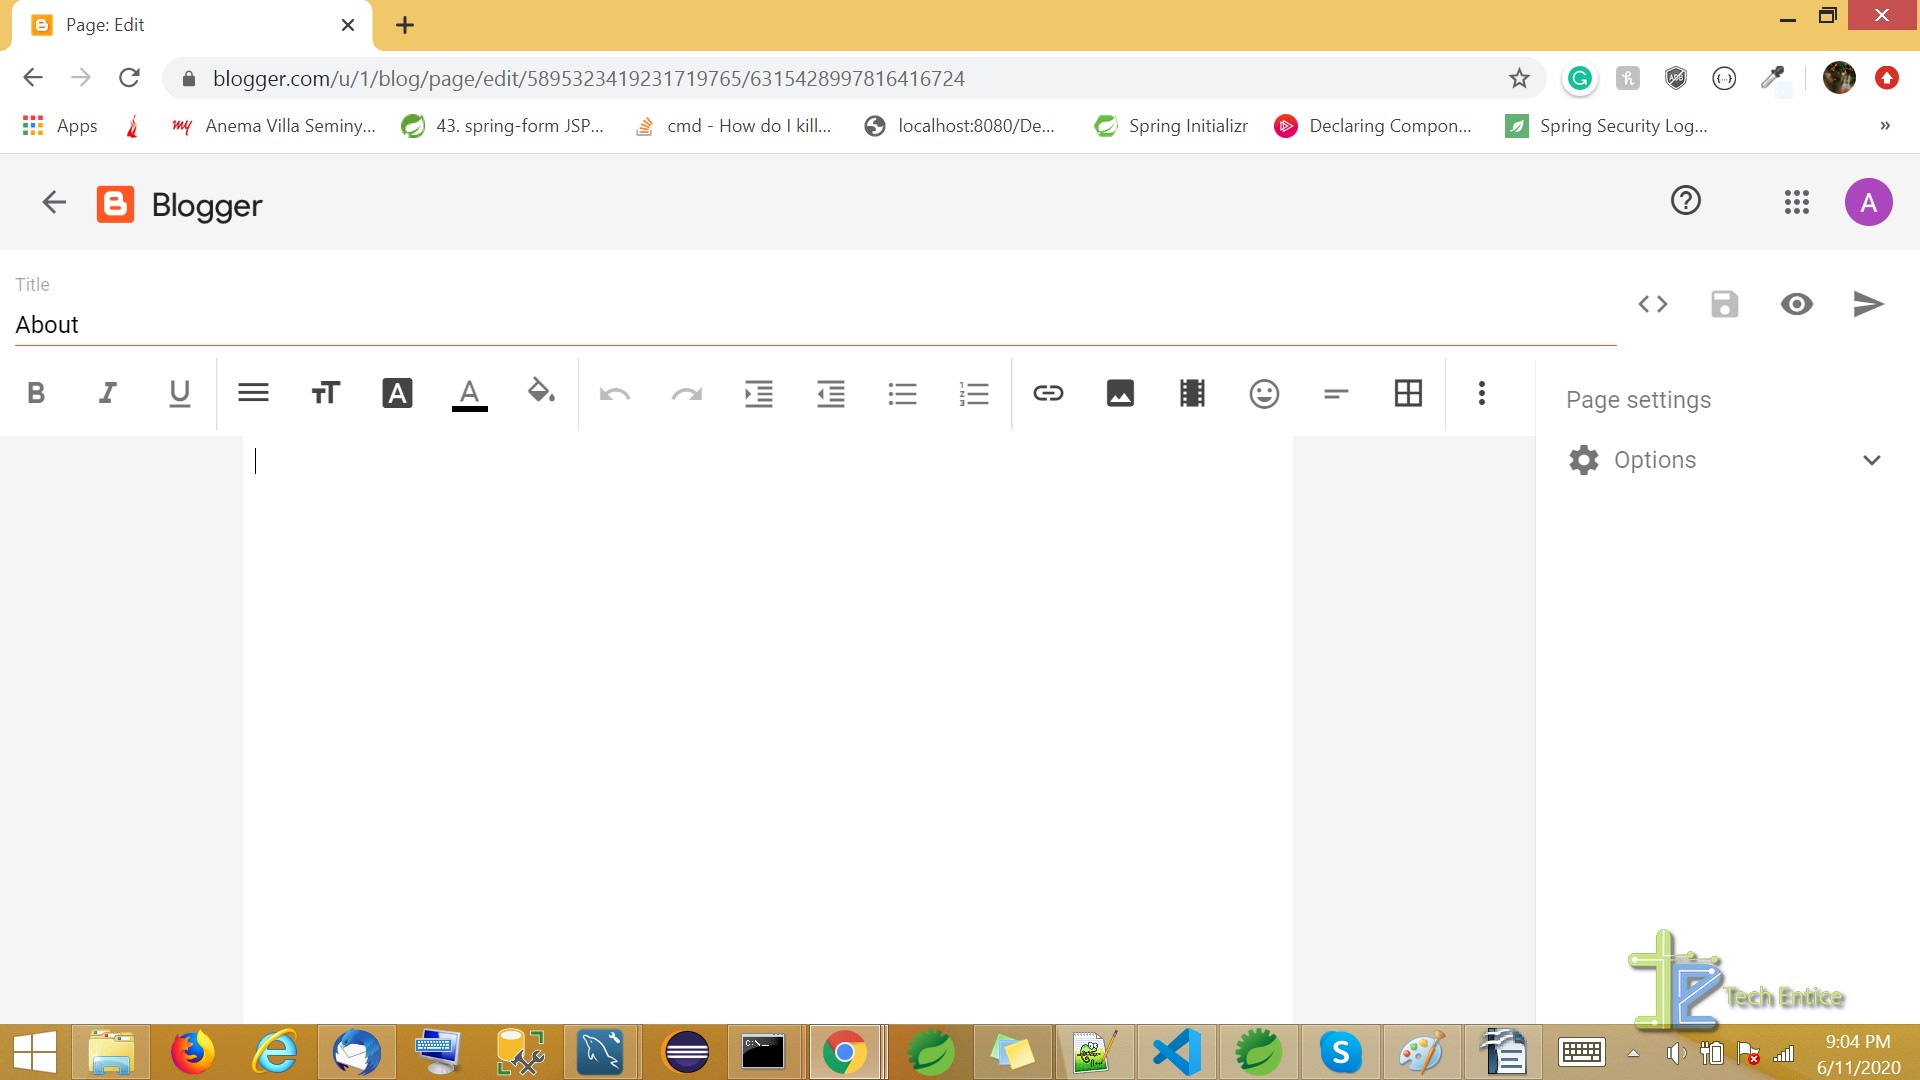
It will take you to page edit where you can create a new page. You can add a title and customize it to add the content. Along with normal text-decoration, you can also add links, images, videos, tables, etc.
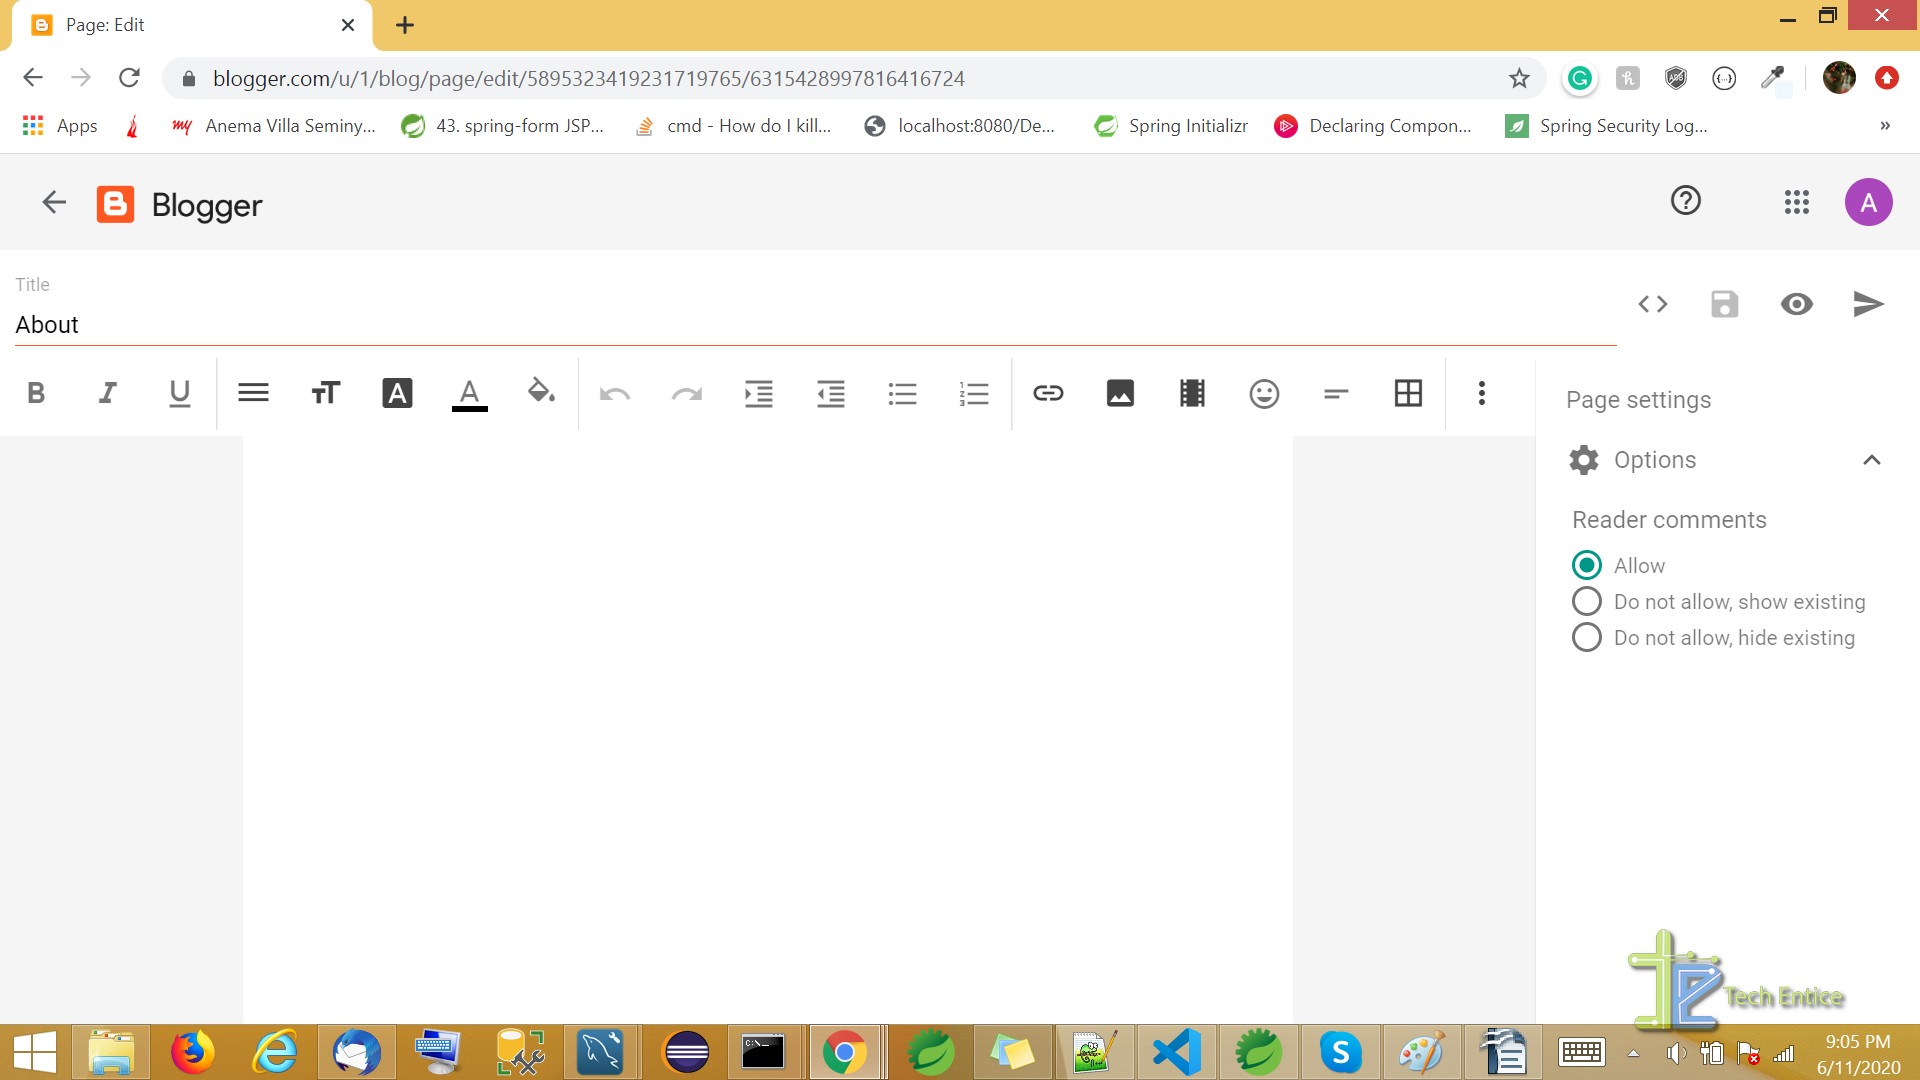
You can also make changes to page settings on the right panel.
Further, you can save, preview, and publish the page. You can preview your page and it will appear in the following manner.
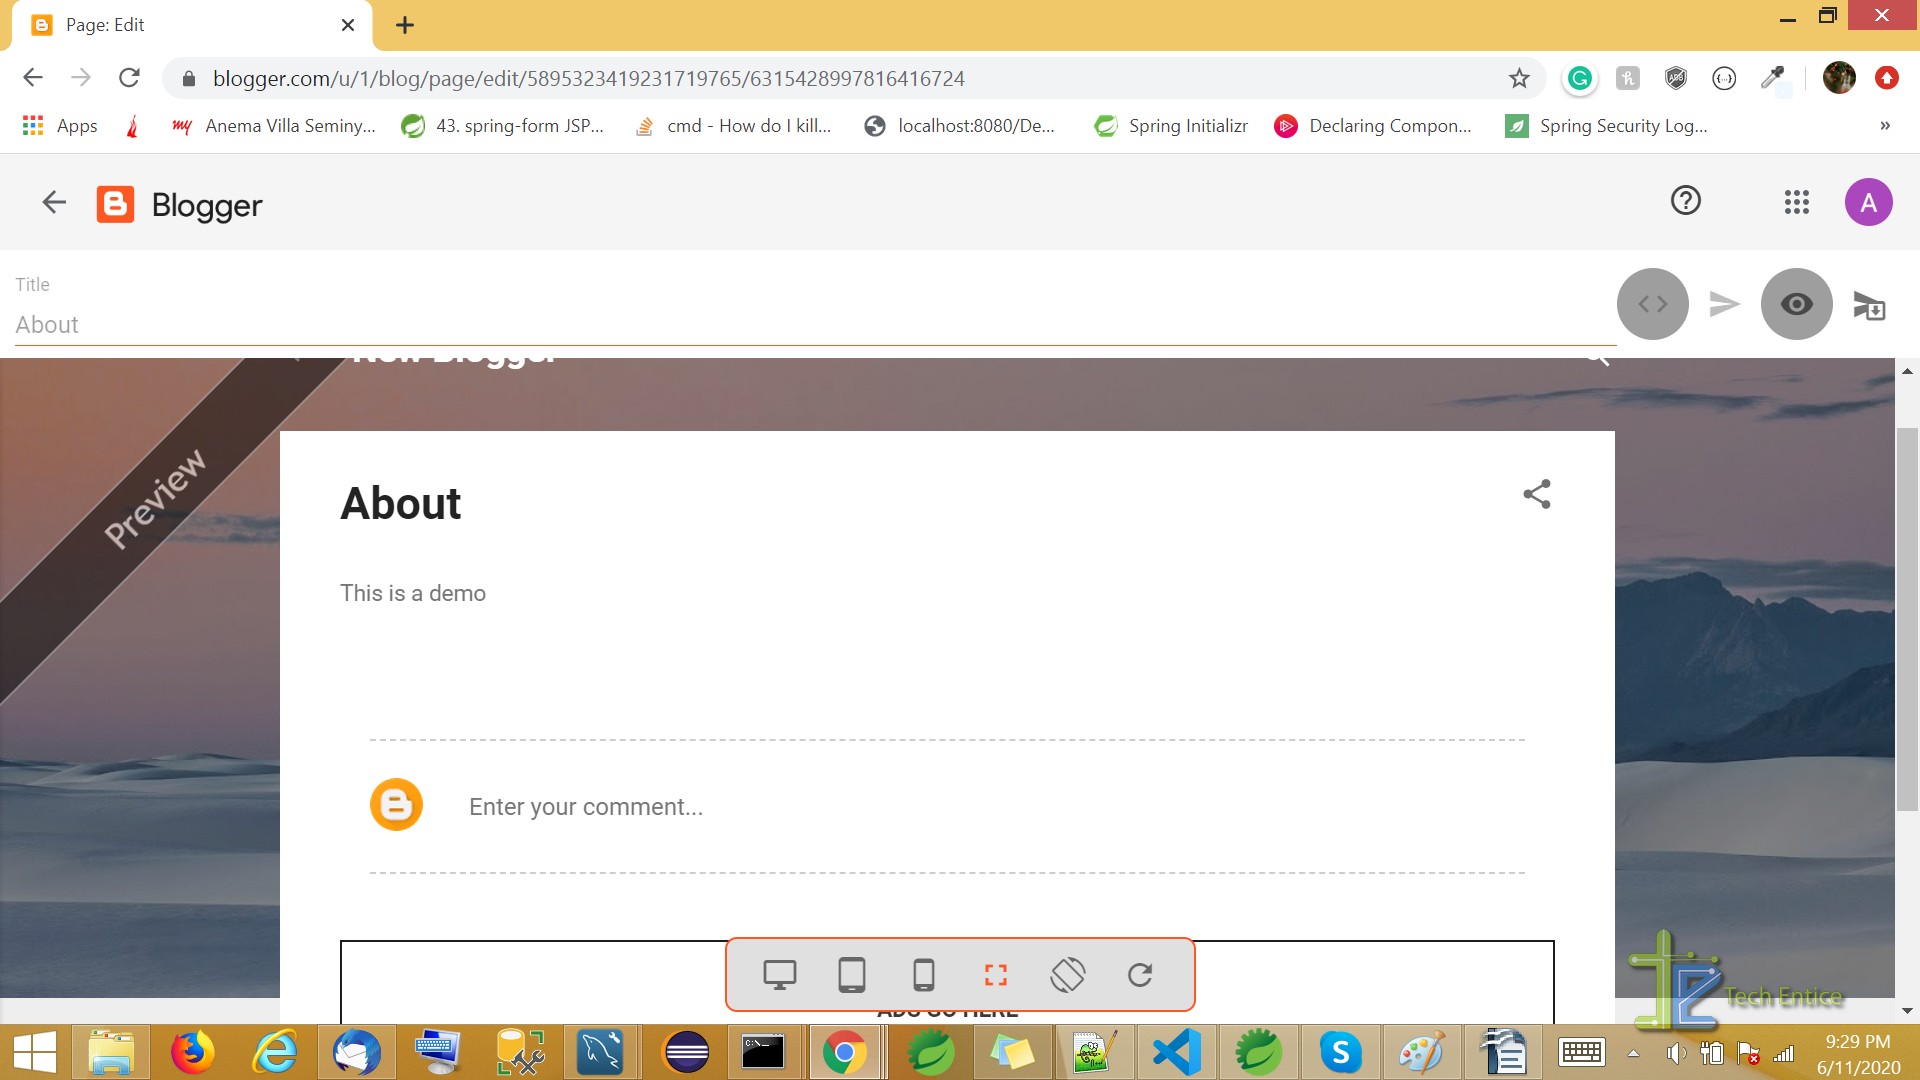
Your newly added page will appear like this.
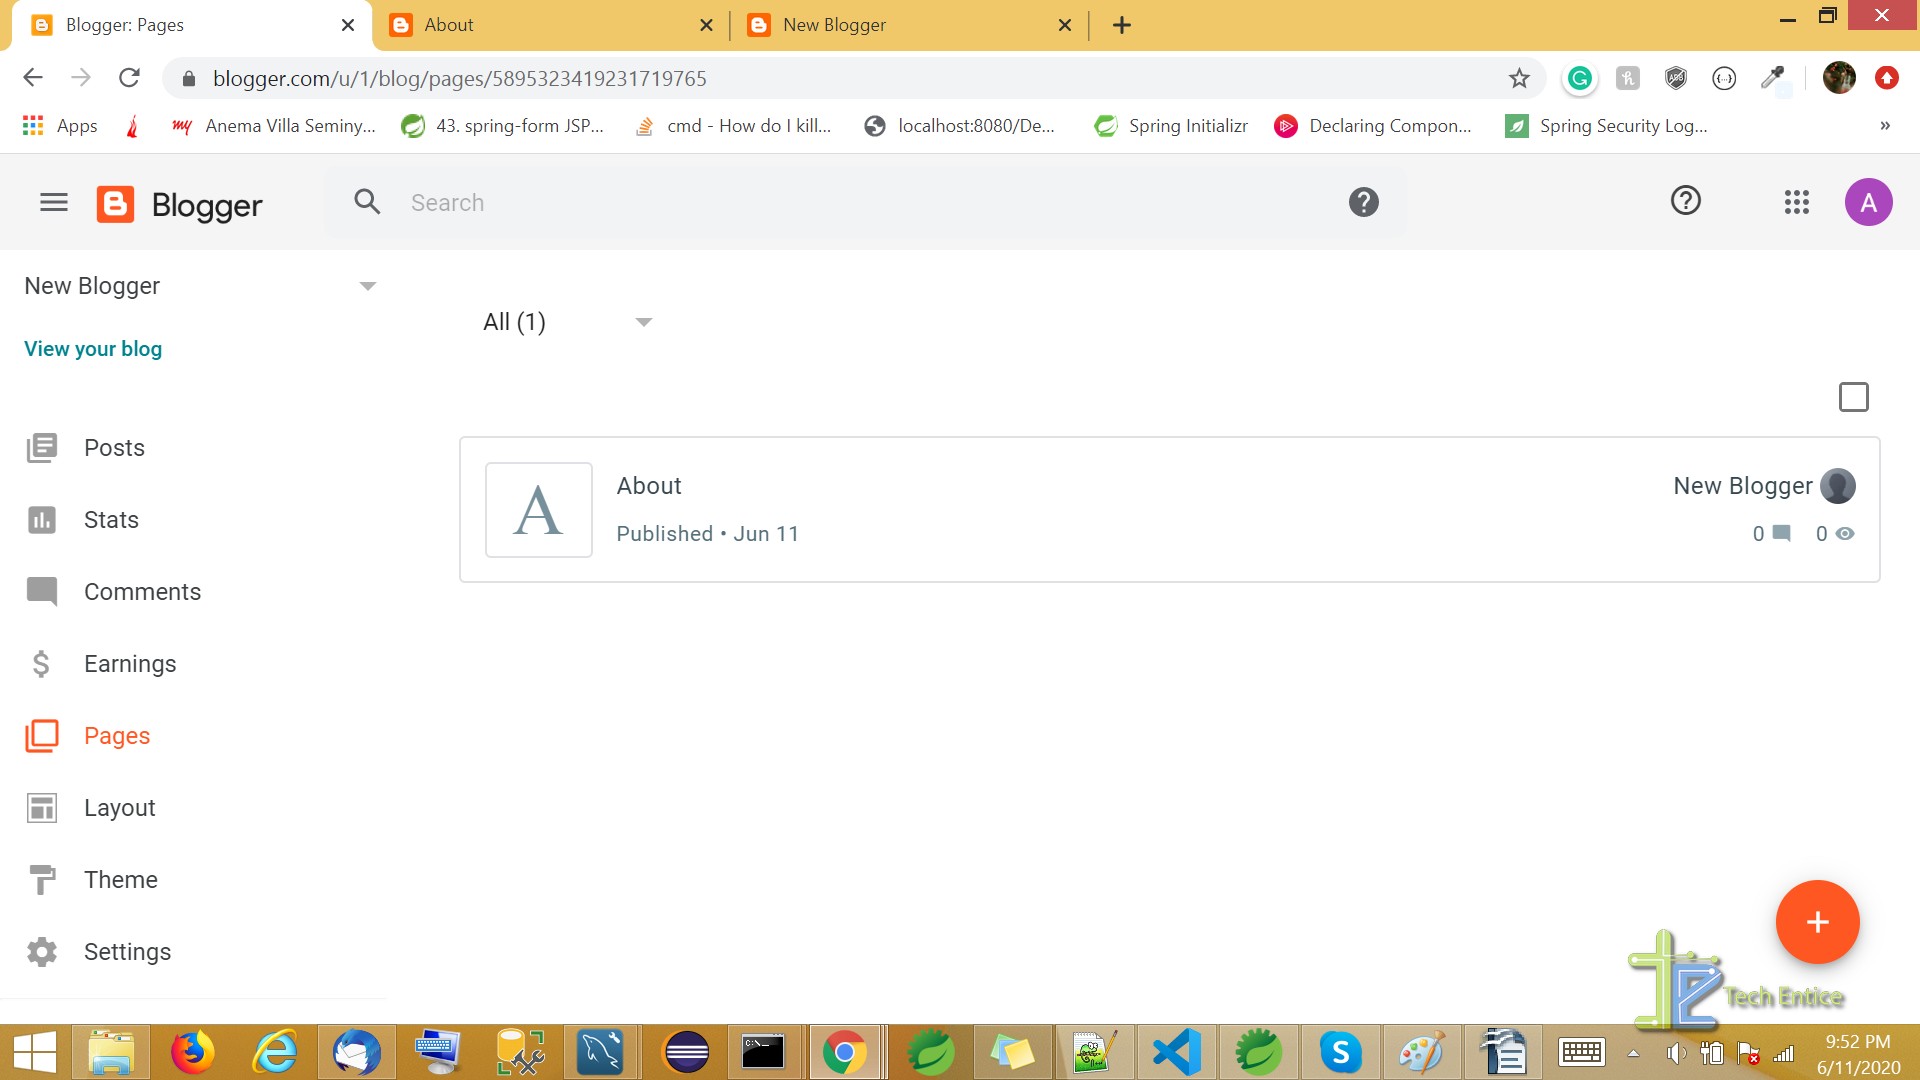
Next, you can go to the “Layout” option and choose “Page List”.
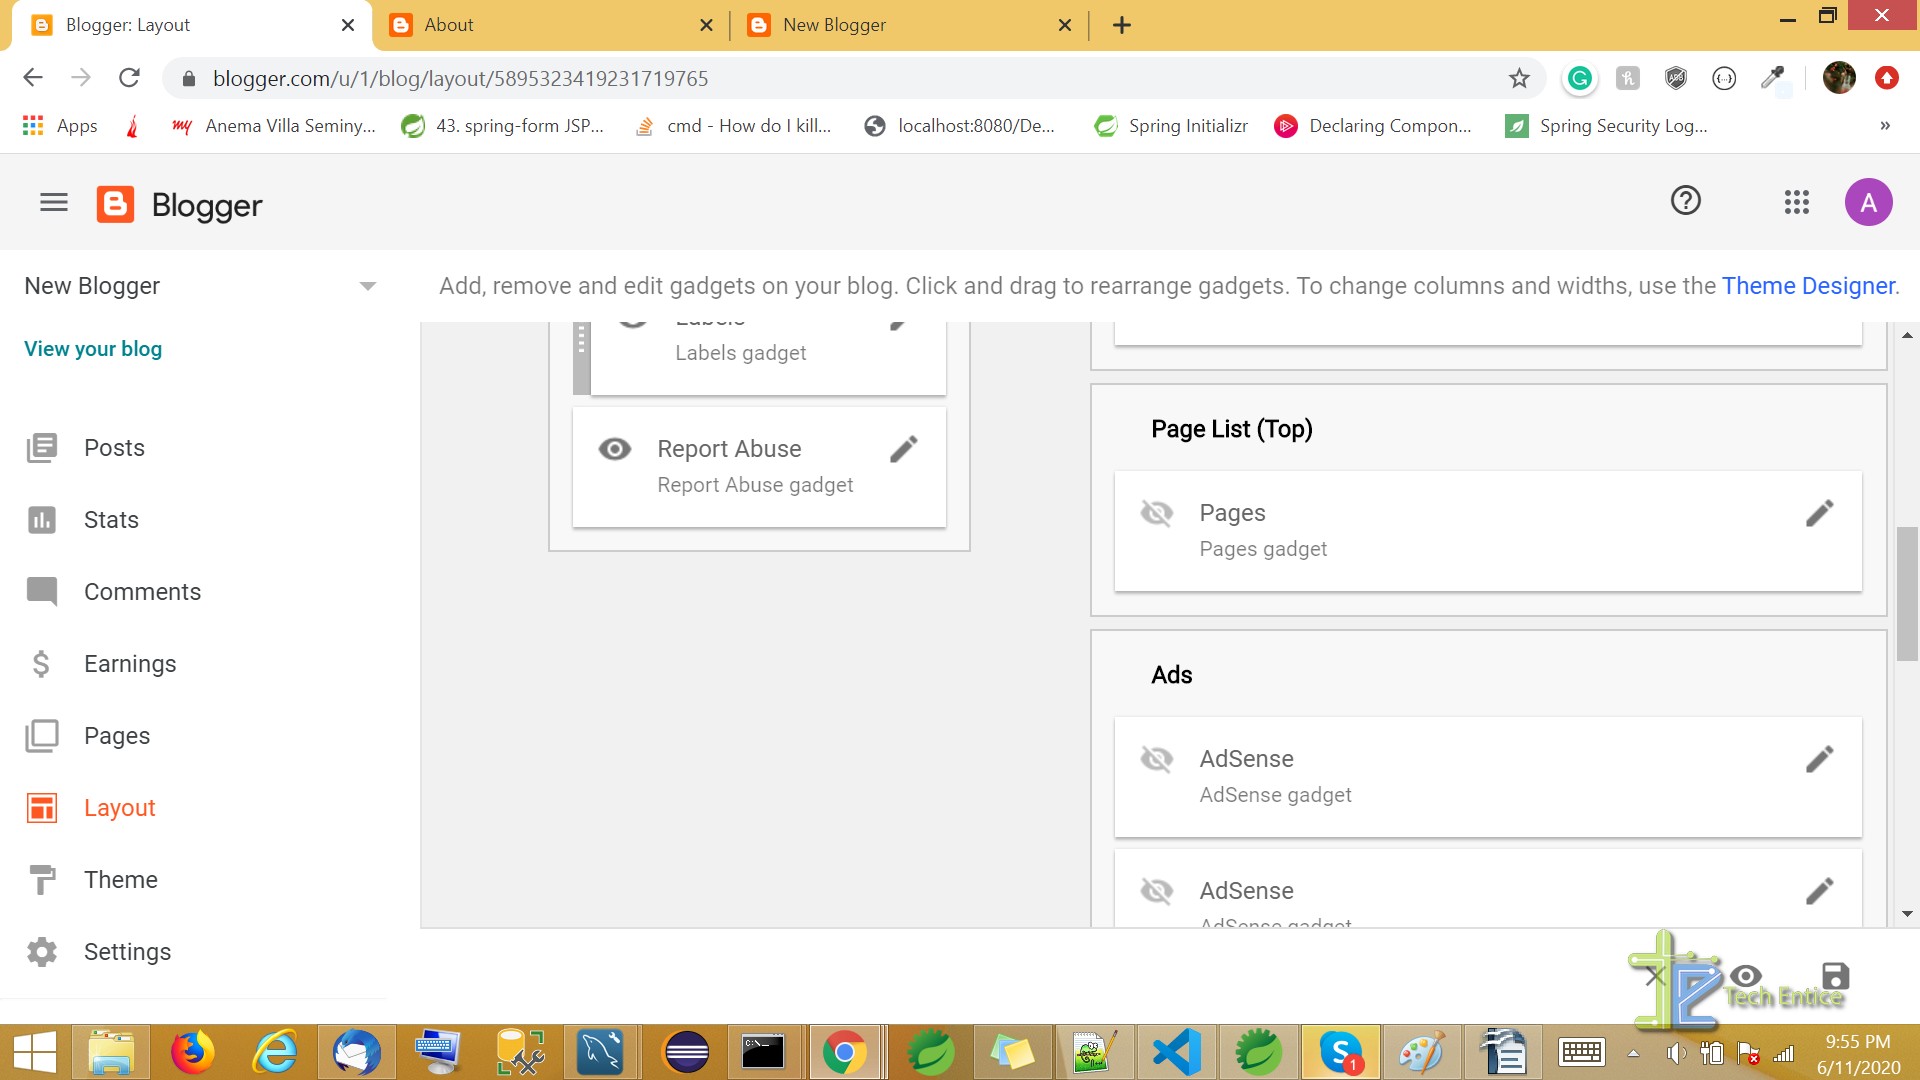
Click on the edit option to make changes to your listing.
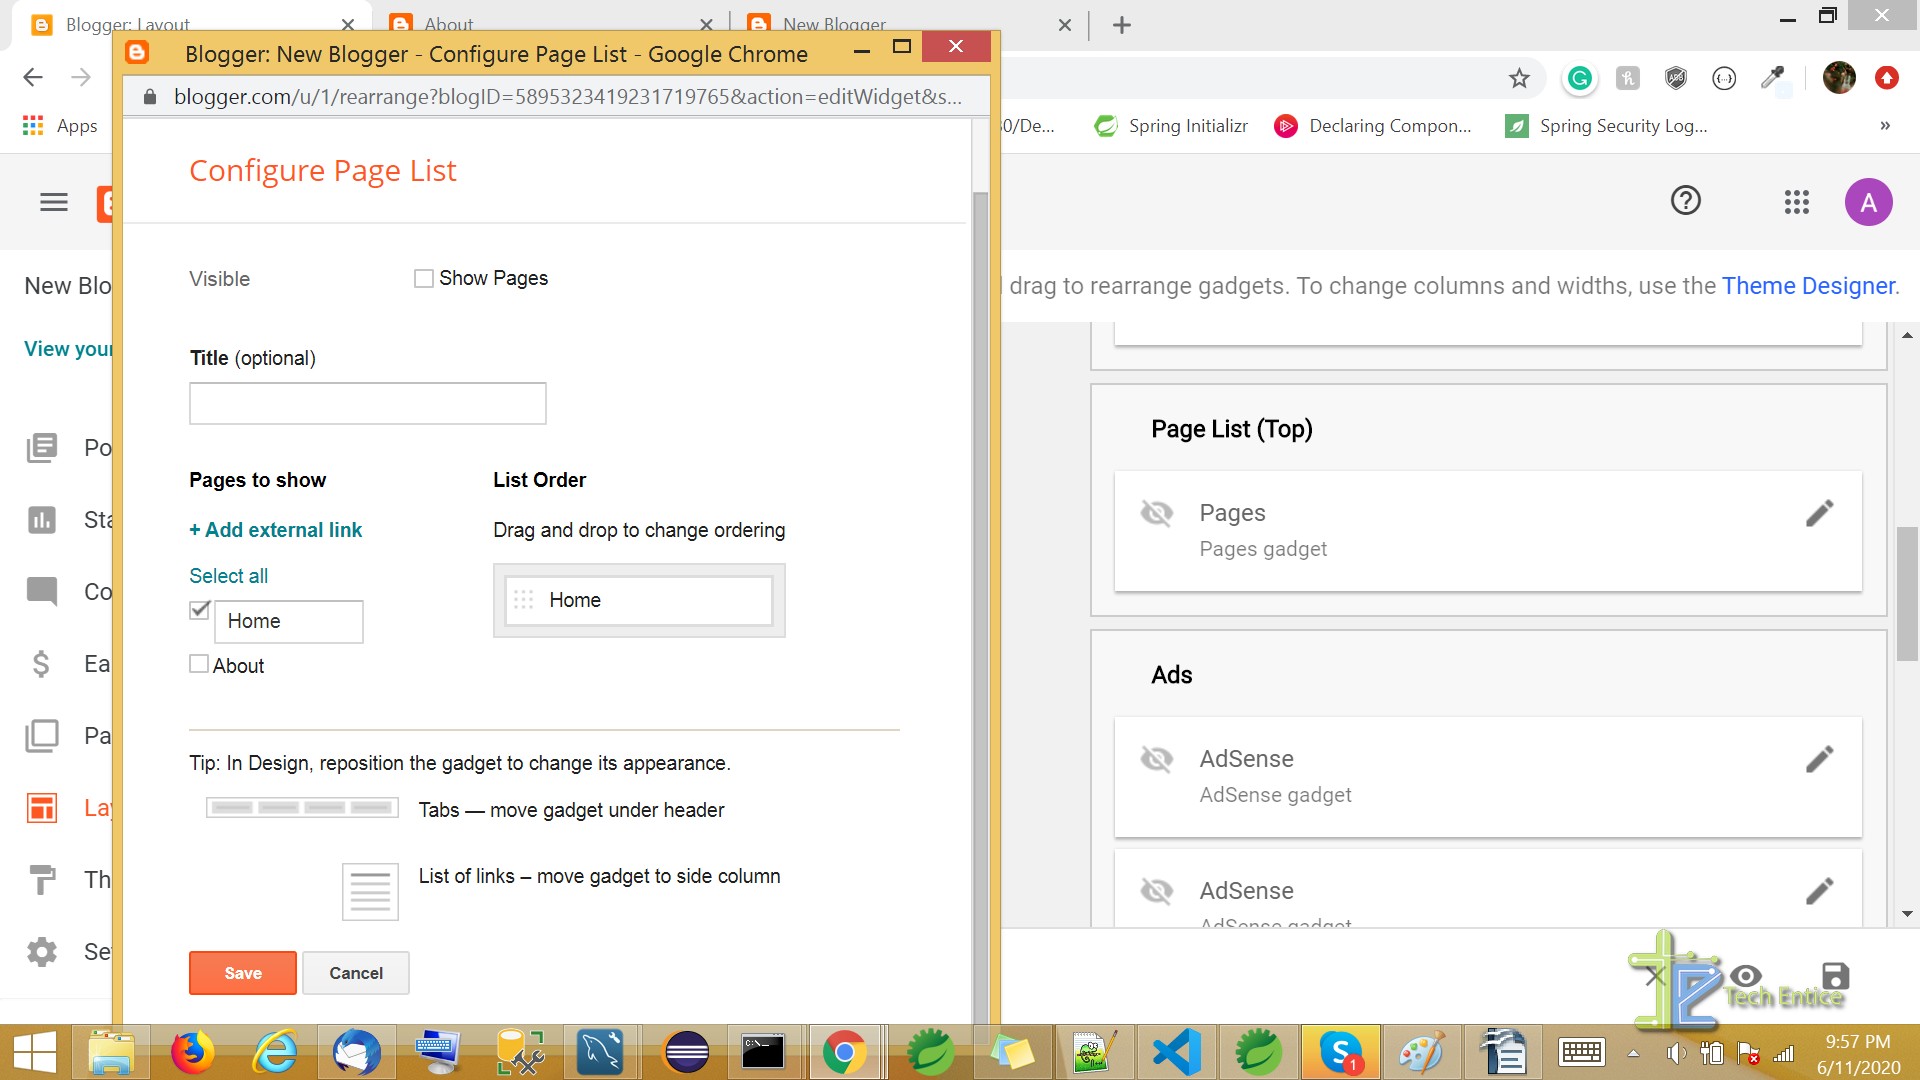
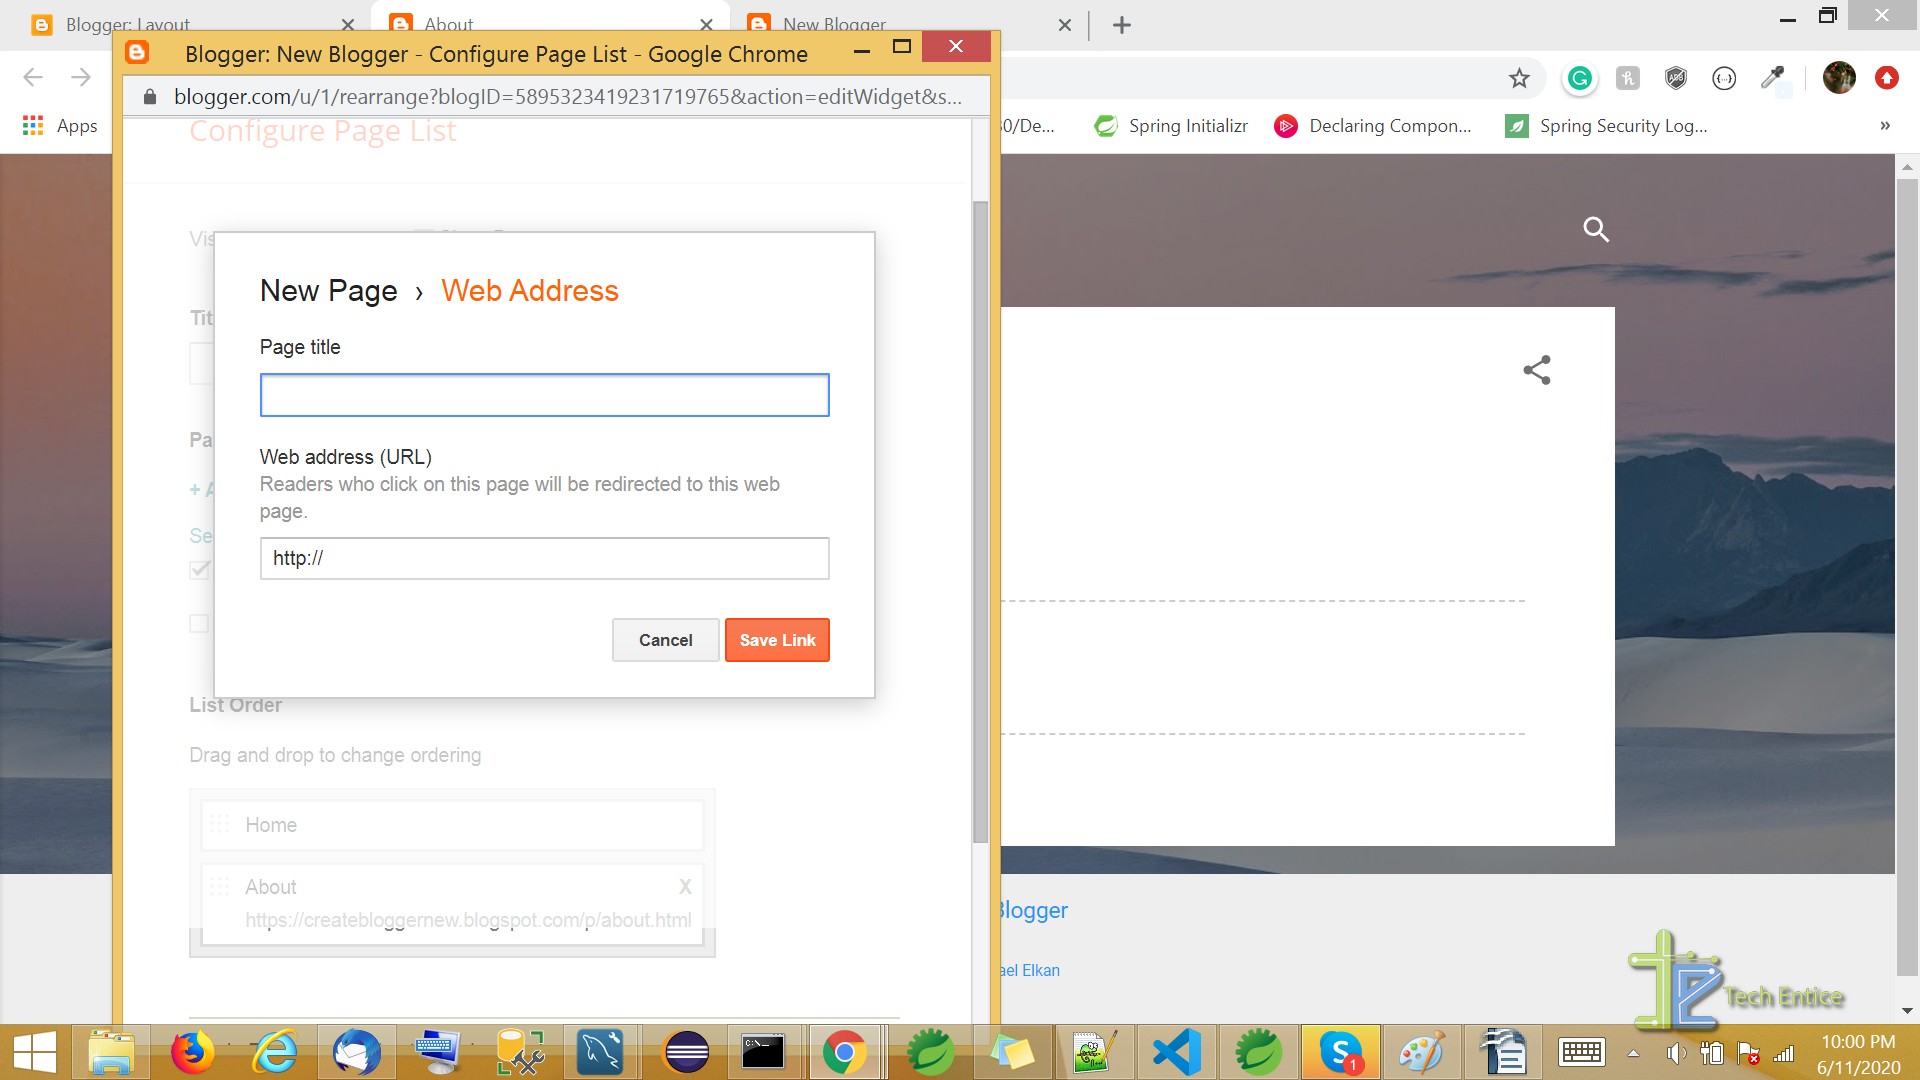
From here you can configure the page list and add external links as well.
To add an external page link, select the option. Then you have to enter page title and URL.
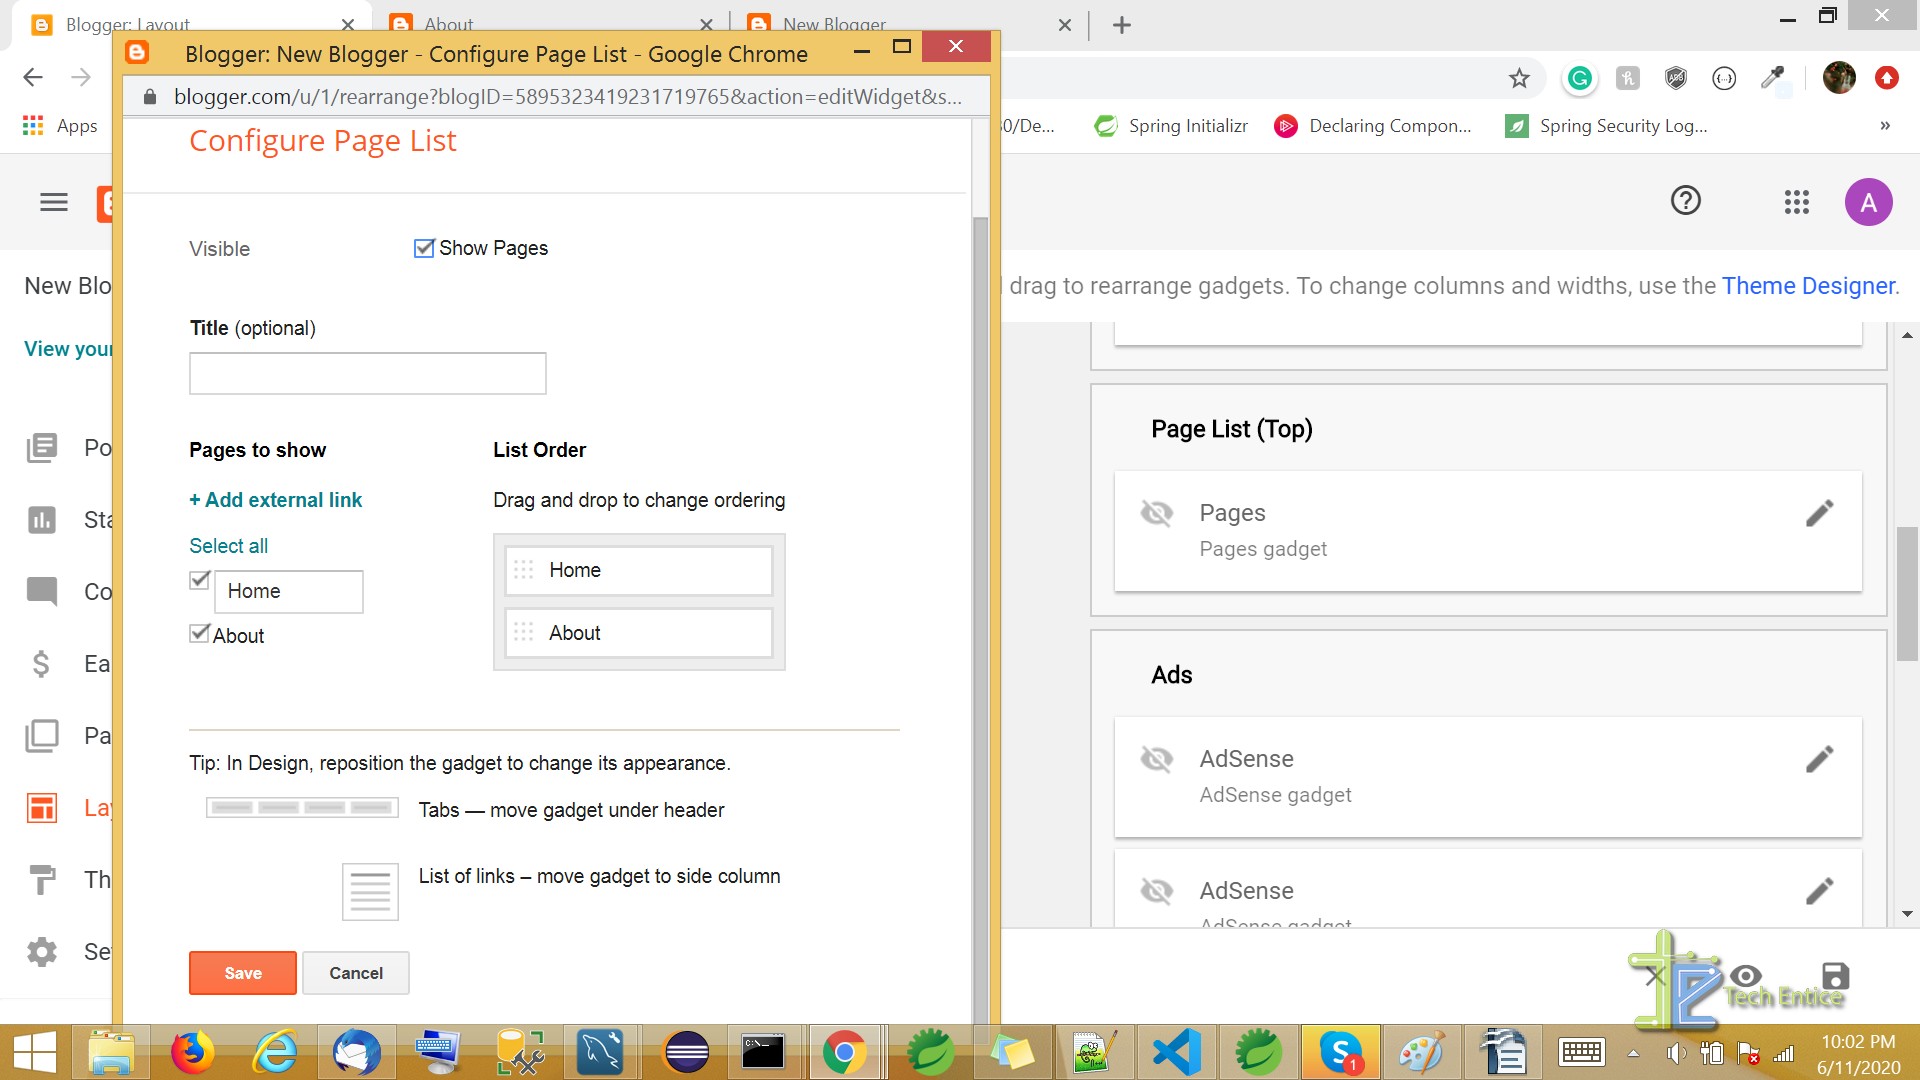
You can select and display the pages on your blog. You also have the option to drag and drop the order. You make all the changes and click save.
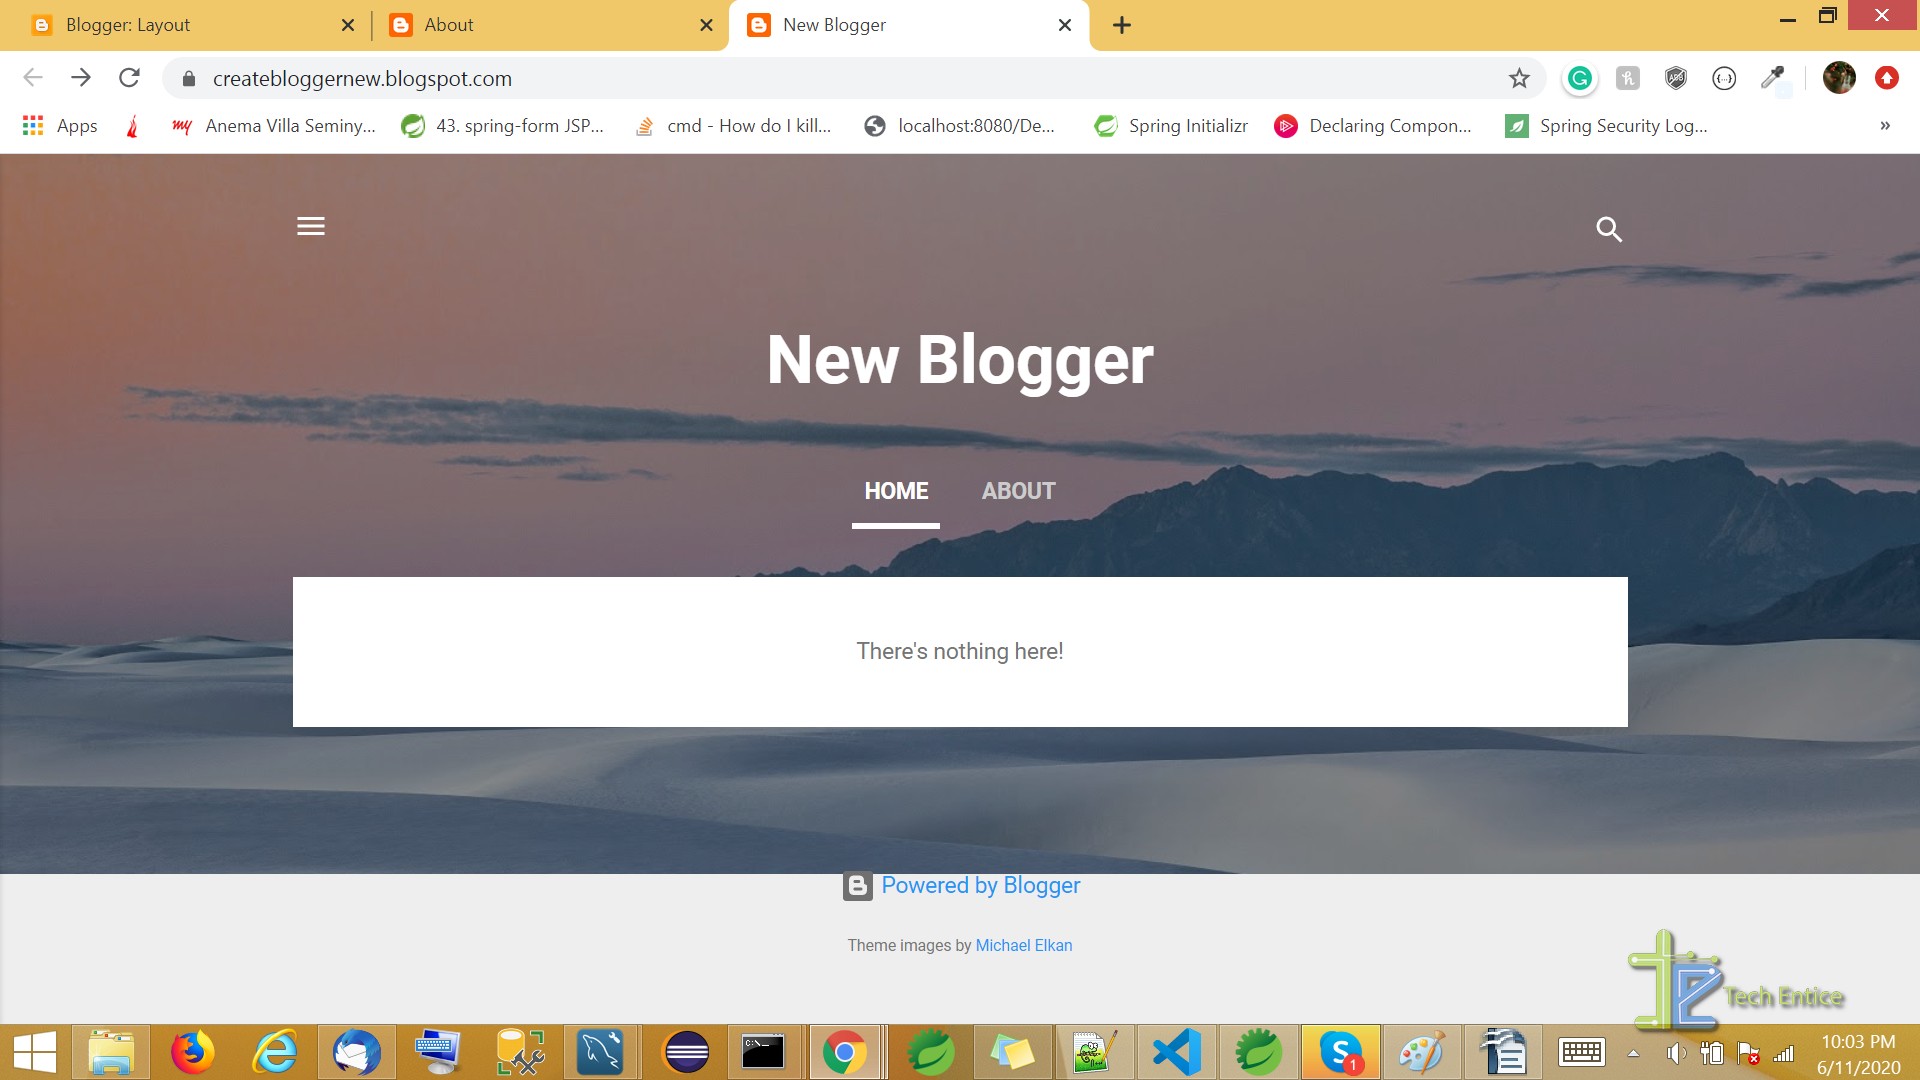
And done. You can view refresh your blog site and see the difference.
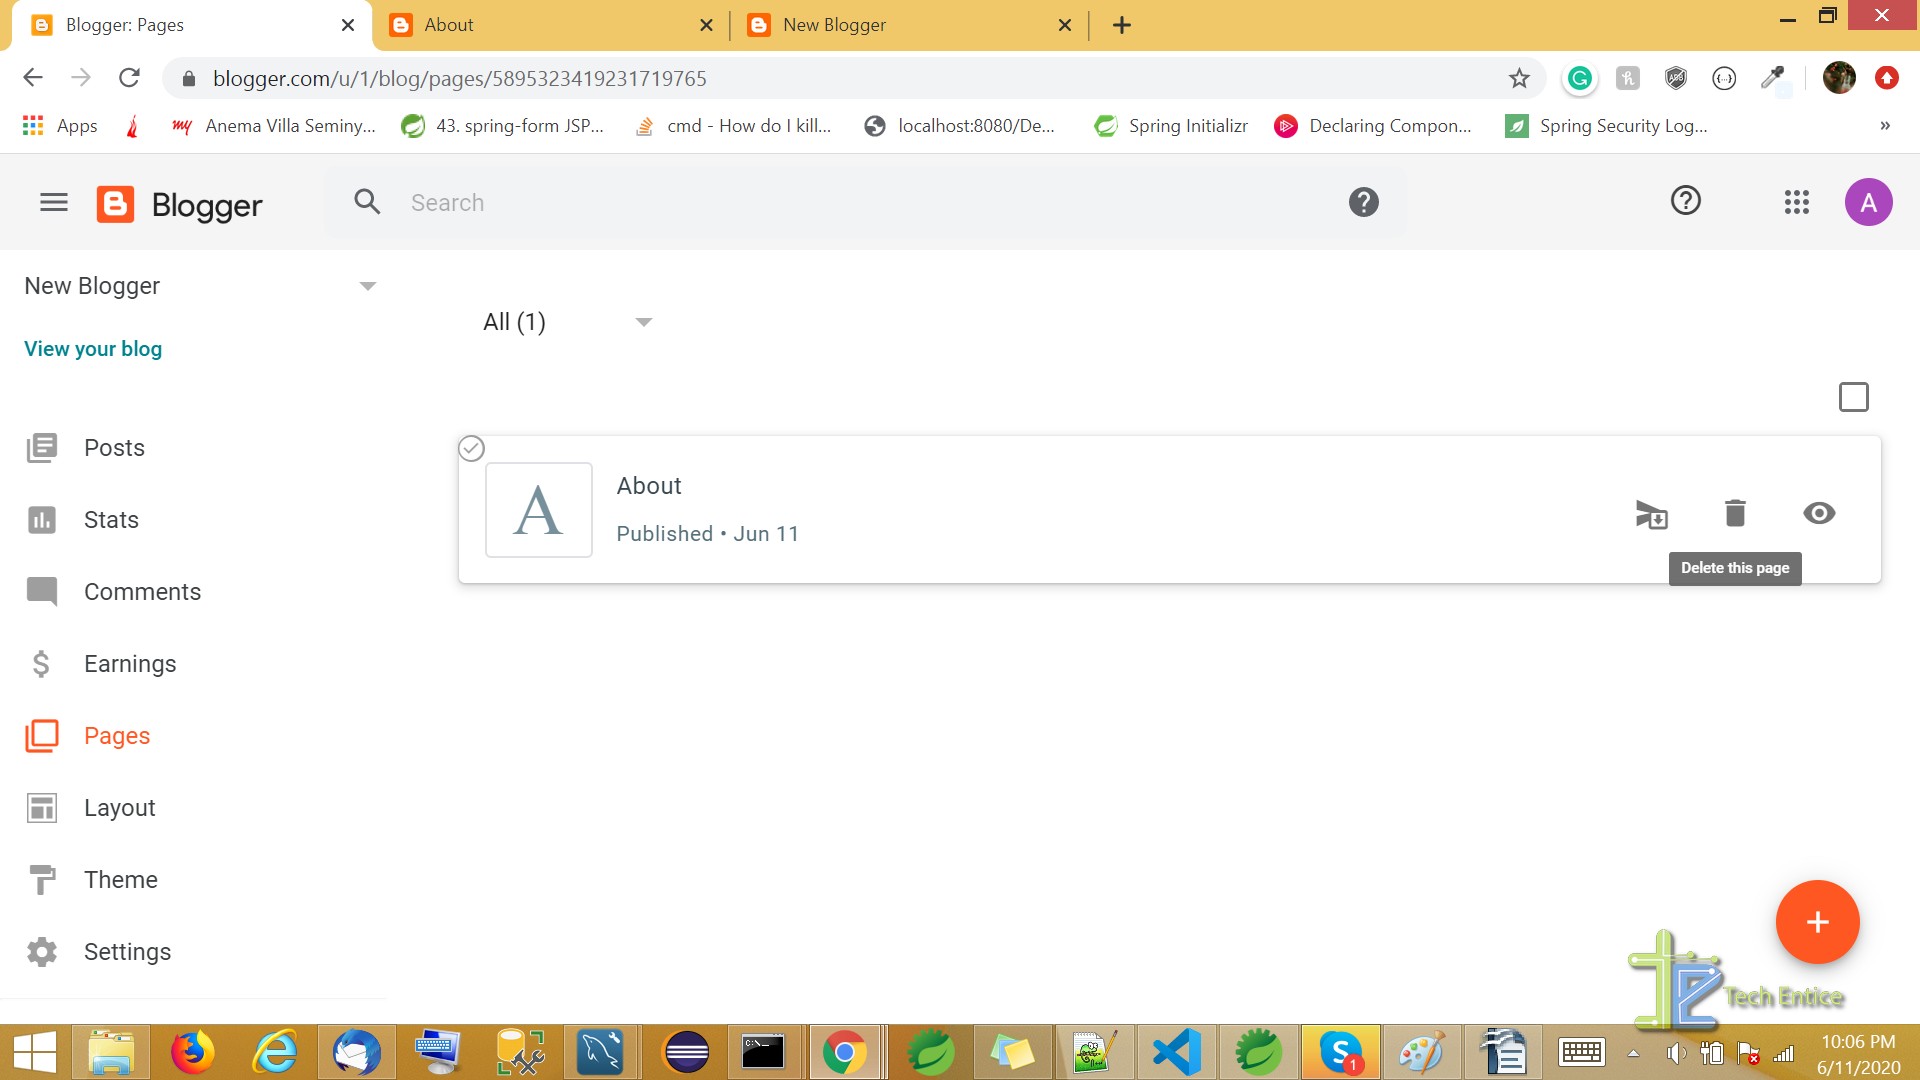
Besides, you can also edit, or delete pages as well. Click on the “Pages” option and it will list the created pages. You can select the delete option as in the image and select the page to make changes to it
Using Blogger to add new pages is pretty simple and following these steps will help you make the simple task simpler. Good luck creating.





Leave a Reply