Screenshots are the images which capture whatever is there on the sceen of the gadget you are using, at the time of capture. The gadget can be a computer, a smartphone, a tablet, etc. I know, no one requires an explanation of what a screenshot is, at this point of time. We use screenshots for sharing our conversations, any technical issue on our computer screen, and many more stuffs.
In this article, I shall show you how to capture screenshots in iPadOS. I will do this on my iPad Air 2019 (3rd generation).
Steps To Capture Screenshots In iPadOS
1. First, open the screen, which you want to capture on your iPadOS device.
2. Next, press the Home button (located at the bottom middle part of the scrren) and the Sleep/Wake button (located at the top right edge) of the iPad, simulataneously.
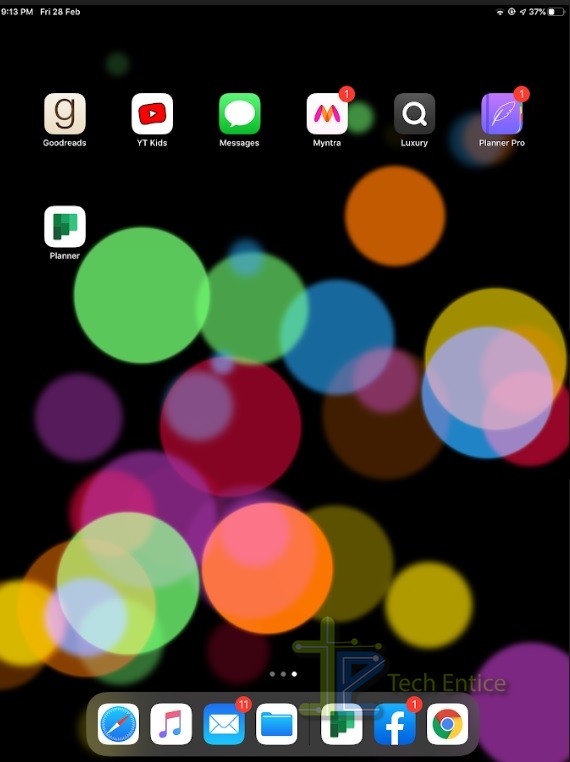
3. This will capture the screen, and a thumbnail of the captured screen will appear at the bottom left corner of the screen. Tap on it.
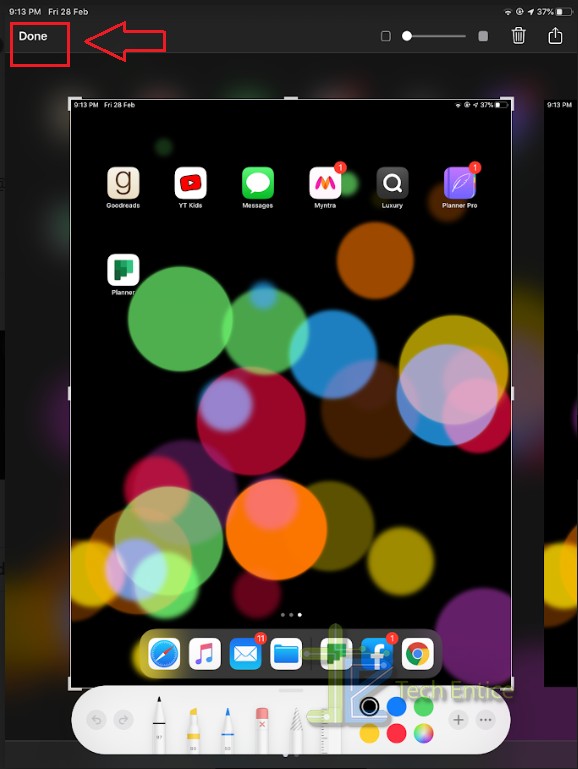
4. Now you can edit the screenshot, crop it, write or draw marks and annotations, or whatever you want. Finally, click on Done.
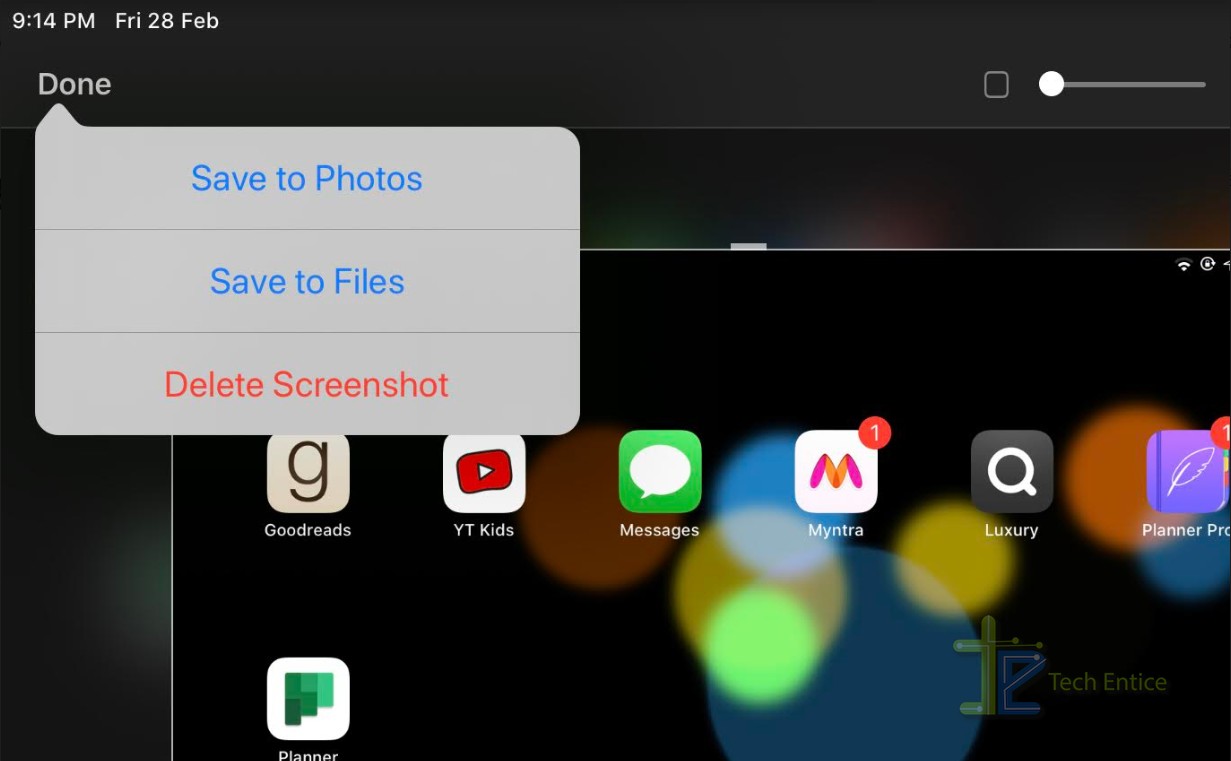
5. As you tap on Done, you will get three options, Save To Photos, Save To Files, and Delete Screenshot. Choose save to photos or files, depending on your preferred format.
Thats all!


Leave a Reply