Ever since video creating apps have been introduced in the market, people are flying like swarms to such apps. These apps have gained amazing popularity throughout the globe. Instagram also did not back out in the game and introduced Reels a few months back.
The short, crisp, and shareable videos are fun for the youth. With Instagram Reels, you can also create fun videos of 15 or 30 seconds with music and crazy visual effects. You can share these videos with your Instagram audience and can reach a wide range of people, given your account is public.
Opening Reels
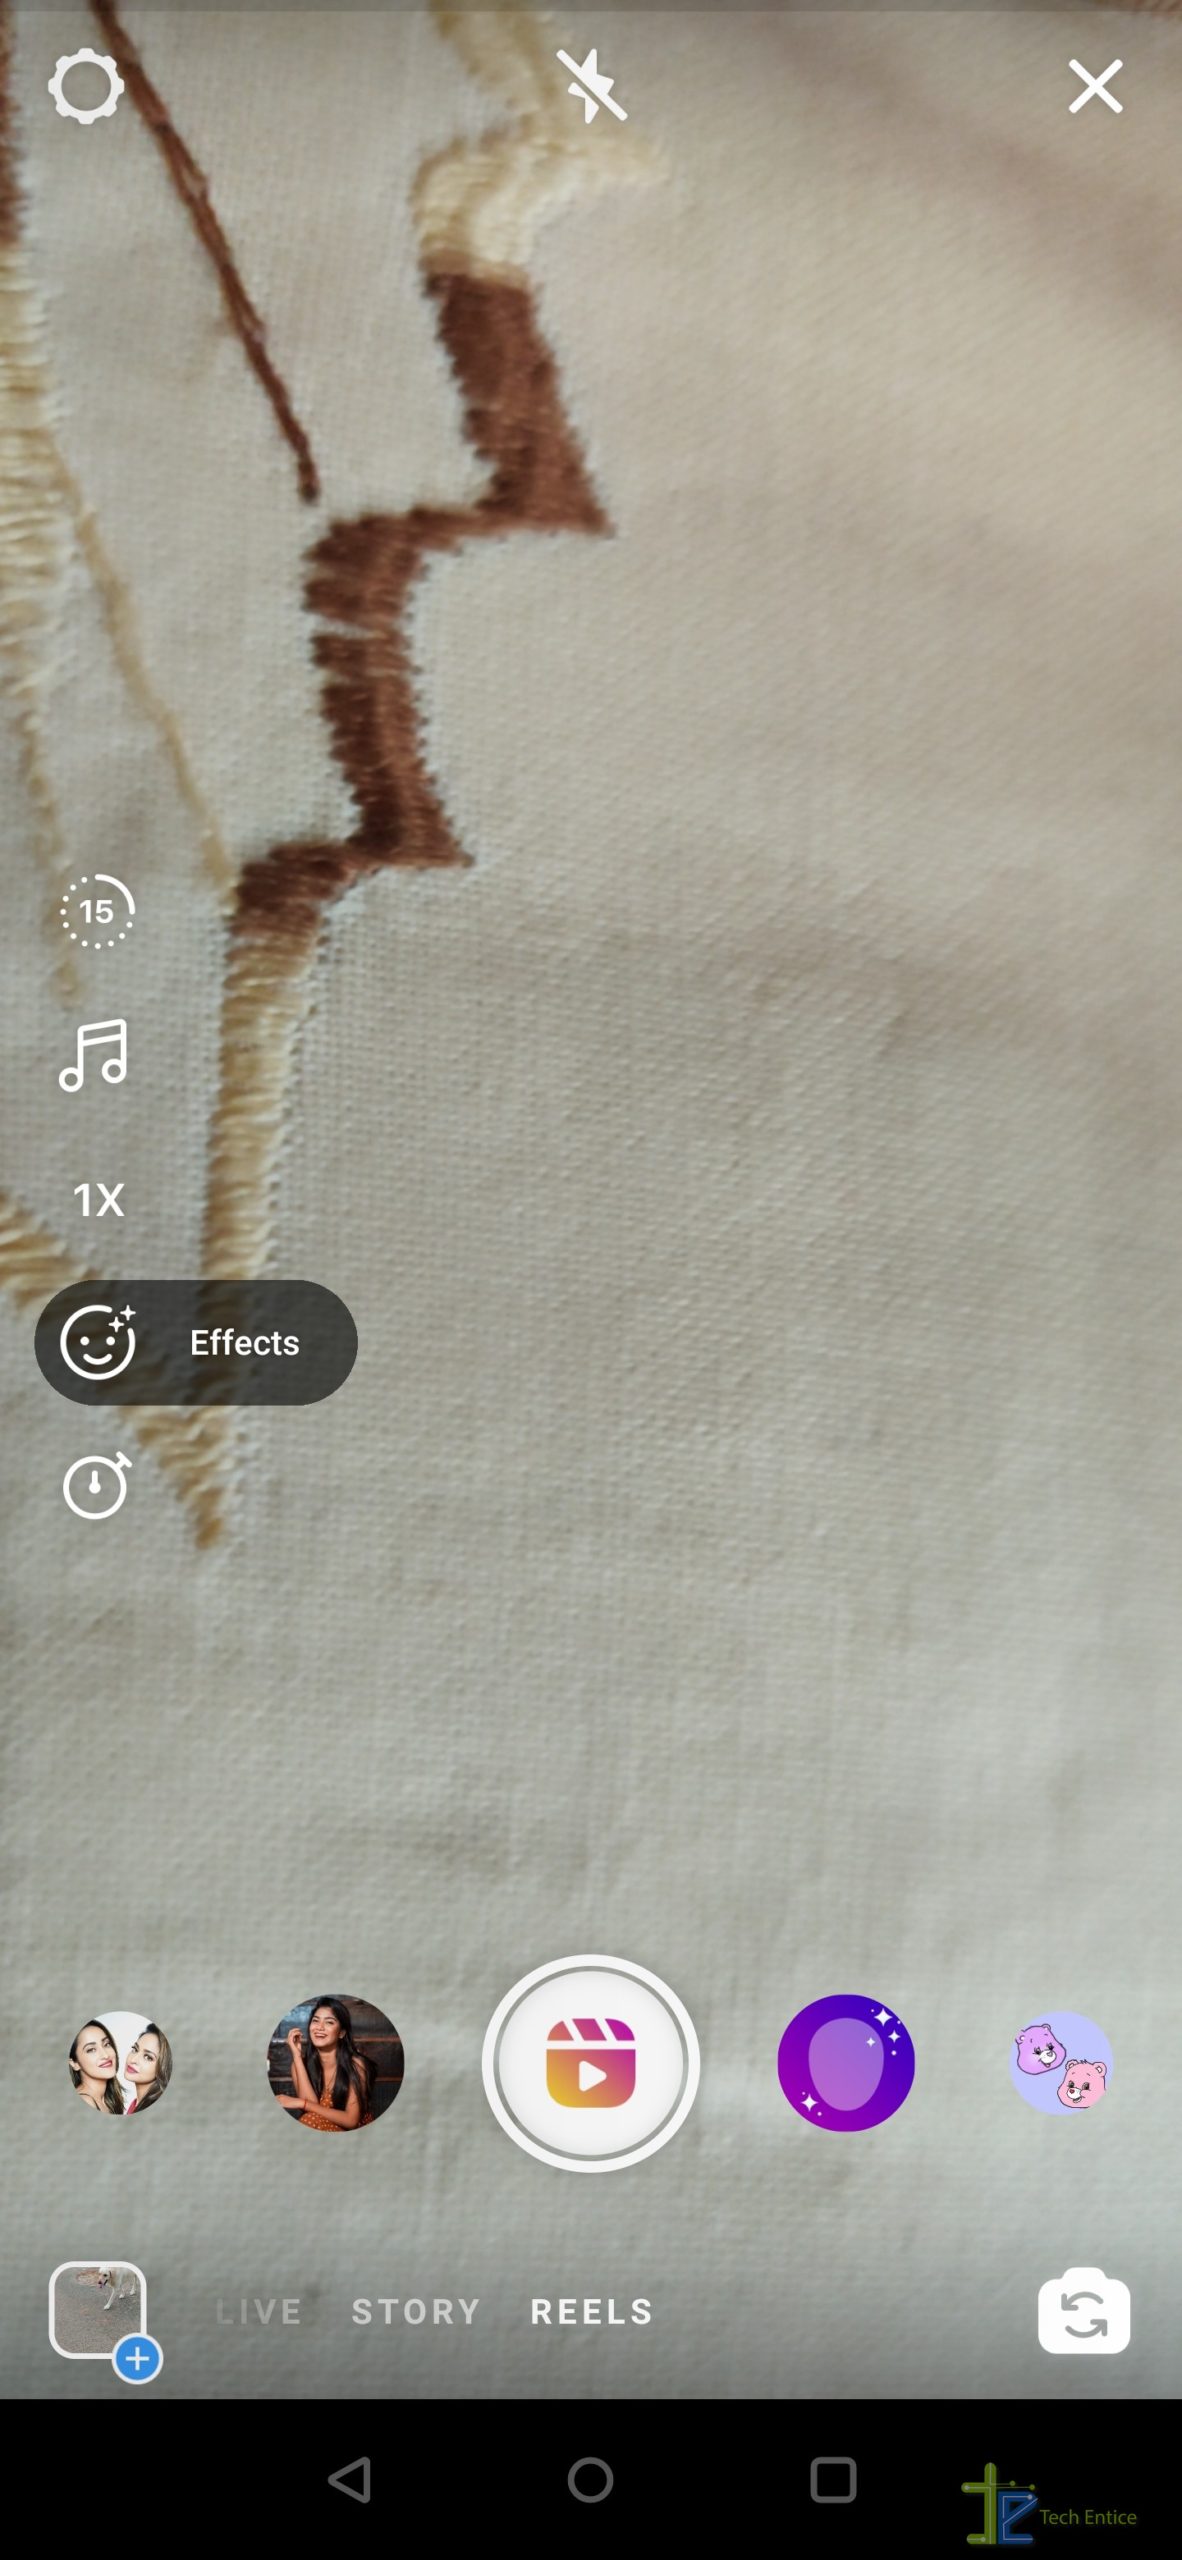
When initially Reels was introduced, it was not available to everyone. But now, each user has access to reels. You can find this feature in the story section of the Instagram app. On the upper-left corner of the Instagram app, you will see a camera icon.

You can either click that or simply swipe the main screen to right. There you will find three options below, such as Live, Story, and Reels and there you select Reels.
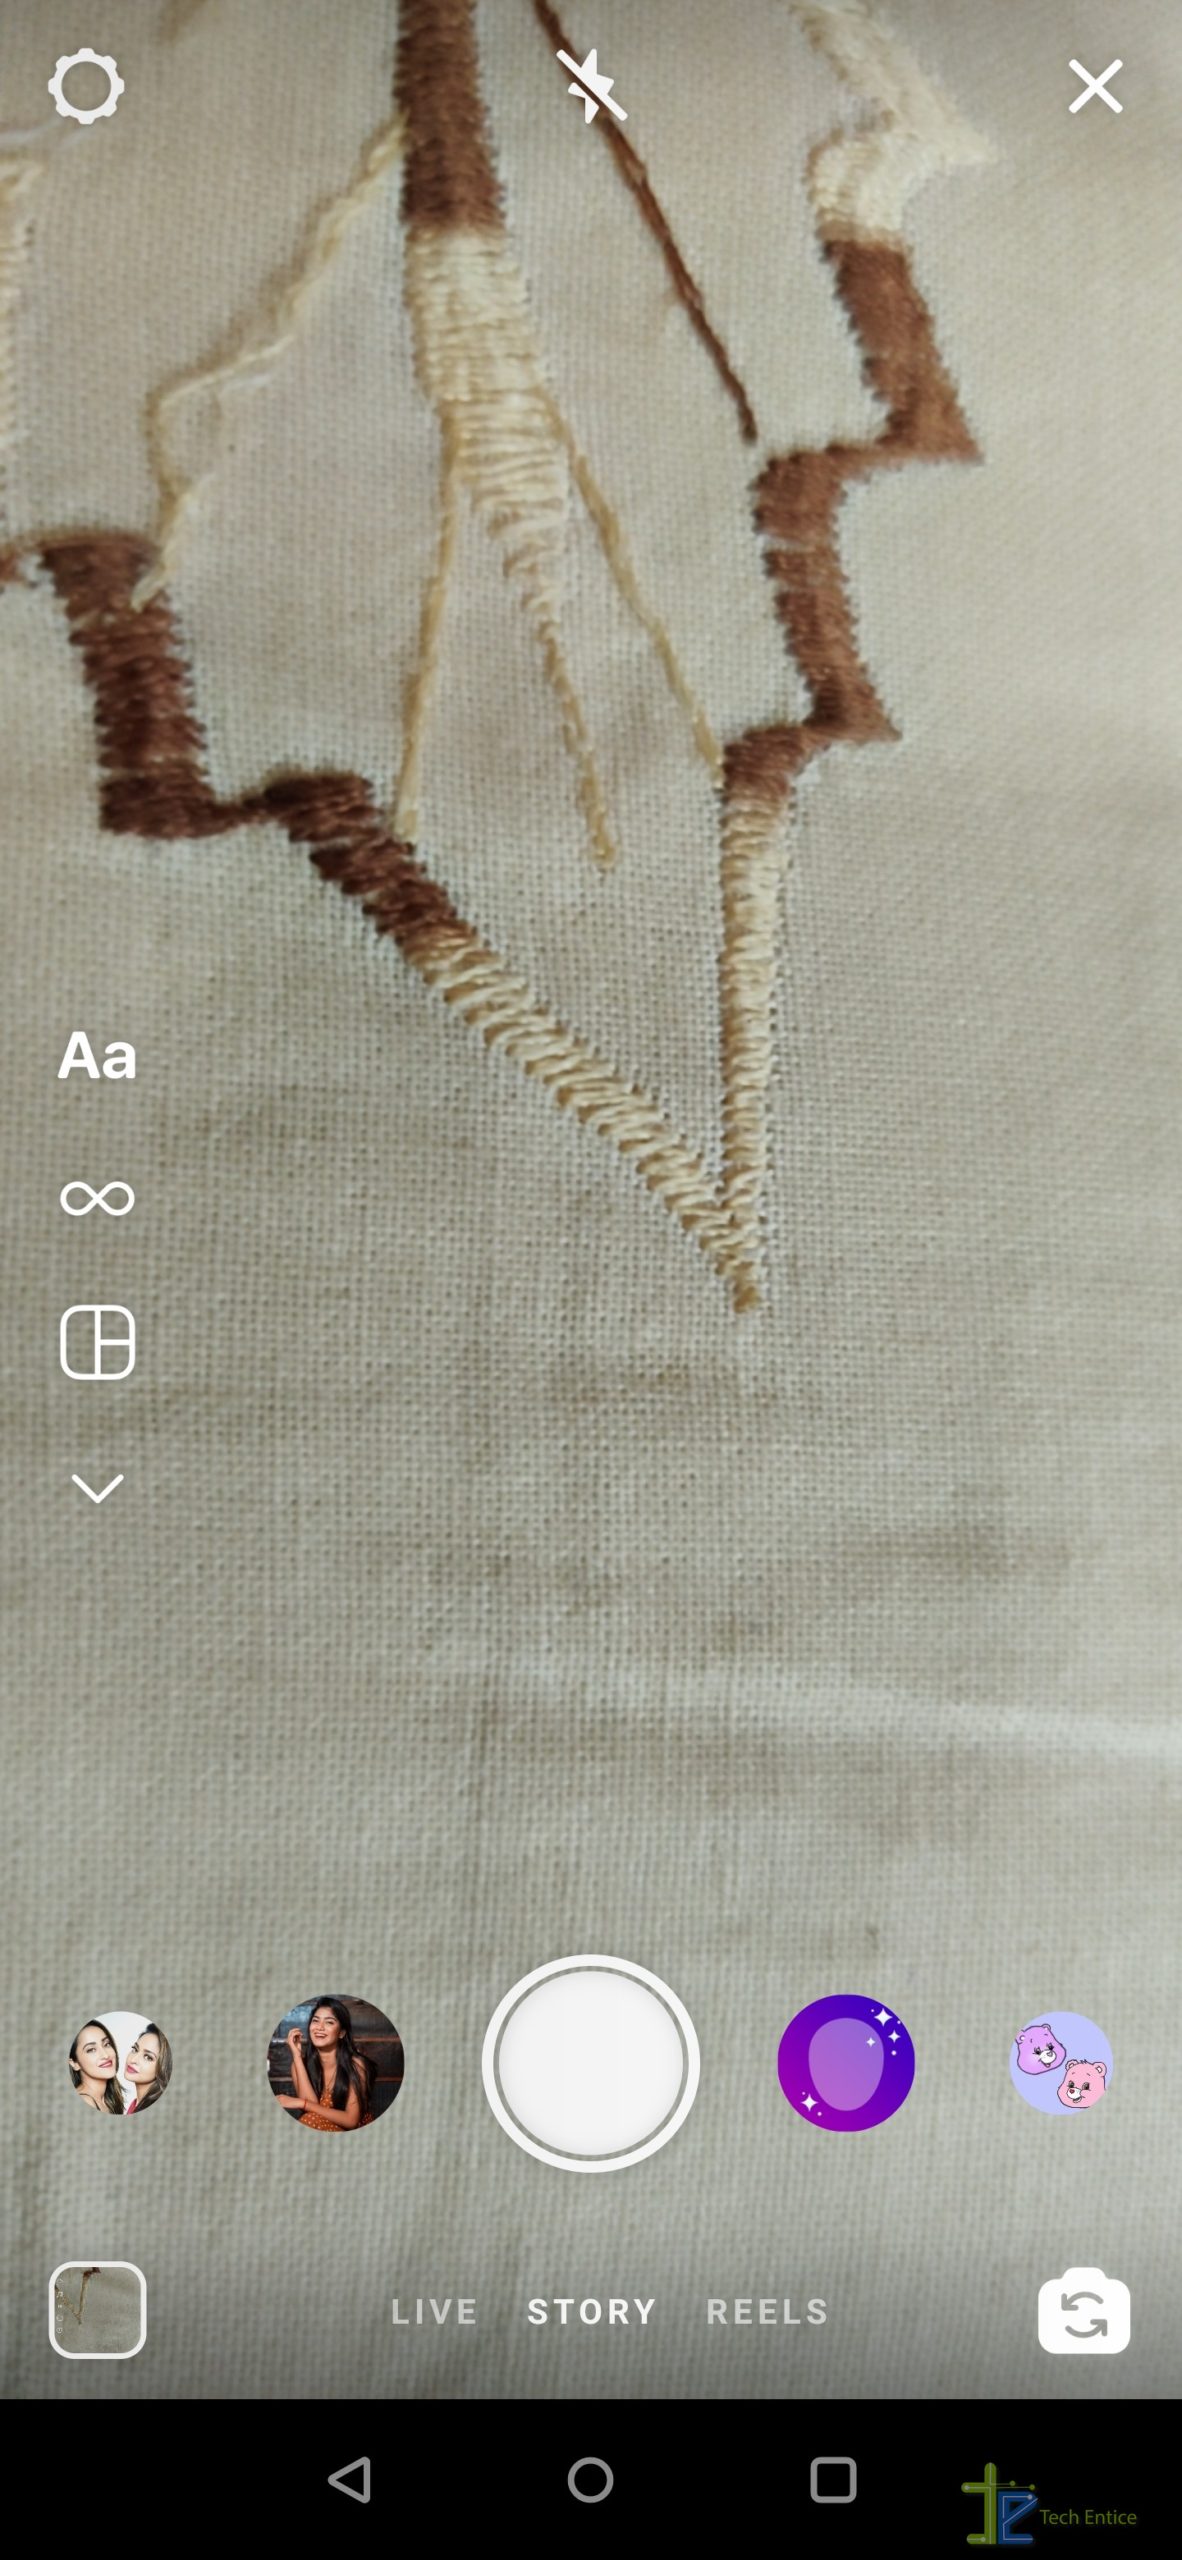
The default setting opens the front camera, but you can also choose the rear camera option by tapping the camera icon in the lower-right corner of the screen.
Adding Music and Effects
You can do two things to add music, i,e, select the default audio you added while making the video or can choose from the music library of Instagram. If you add a piece of music from the Instagram library, it will automatically override your videos’ previous audio. You will find music on the left corner with an audio icon. You can browse different music as per a specific genre, mood, or theme. You can also search for a desired song or artist in the search field present at the top. You also have the ability to tap and listen to a short version of the music before you select it.
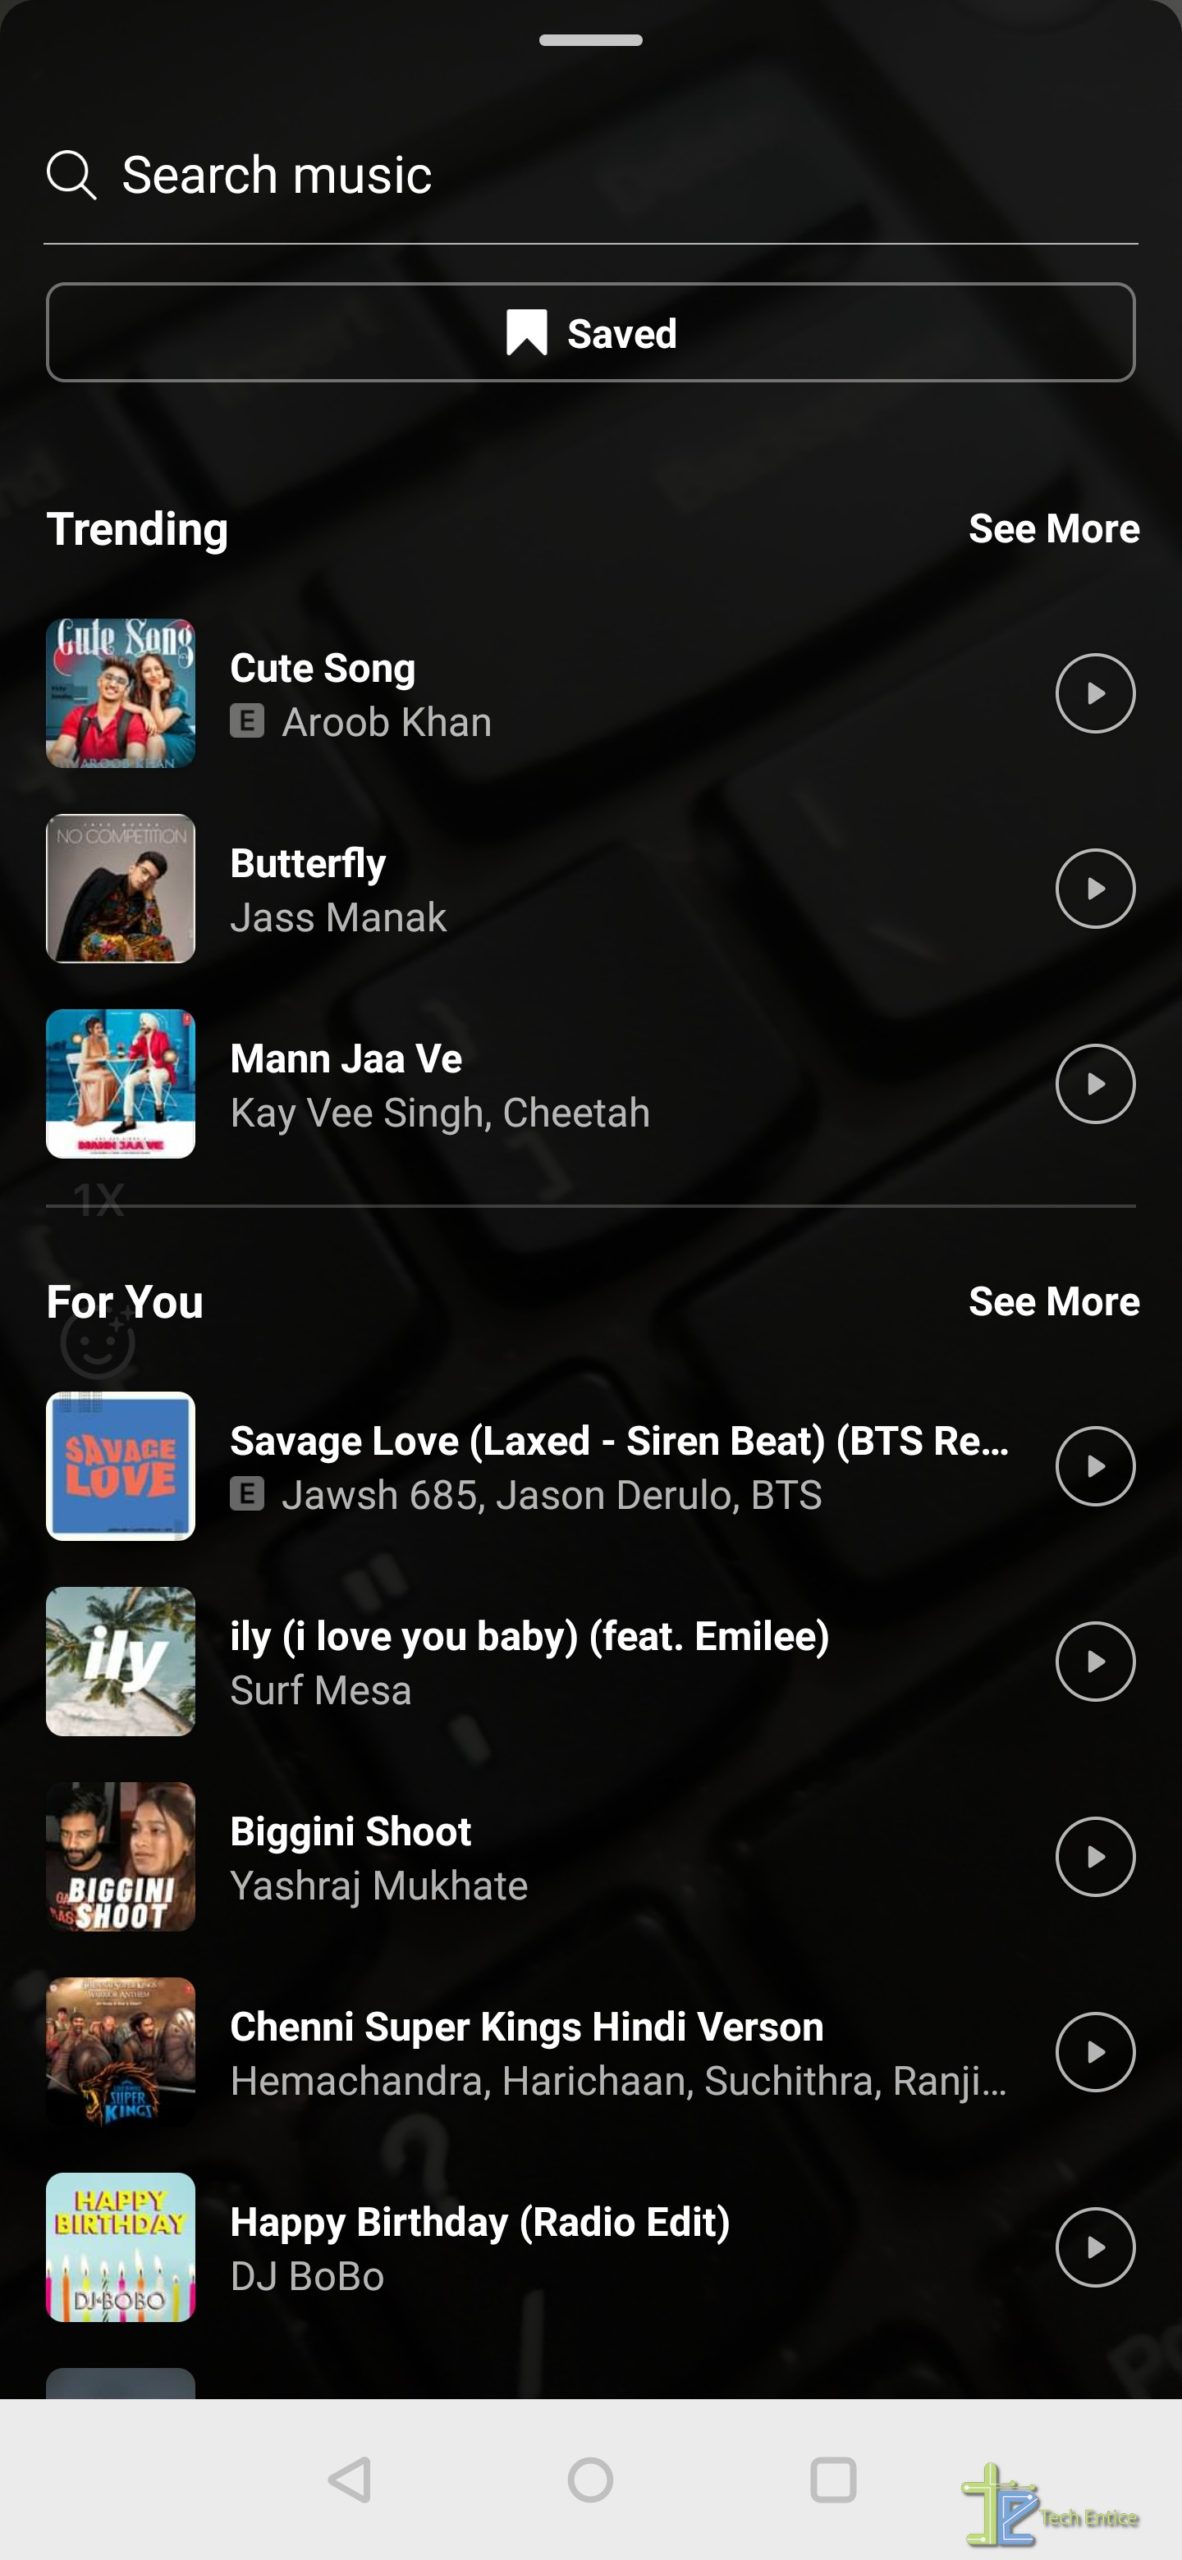
Once you have selected audio, just tap on it and it takes you back to the camera screen. You can select the time duration of the video and accordingly the section of music you want to play. You can tweak with the audio by moving your finger along the slider bar at the bottom.
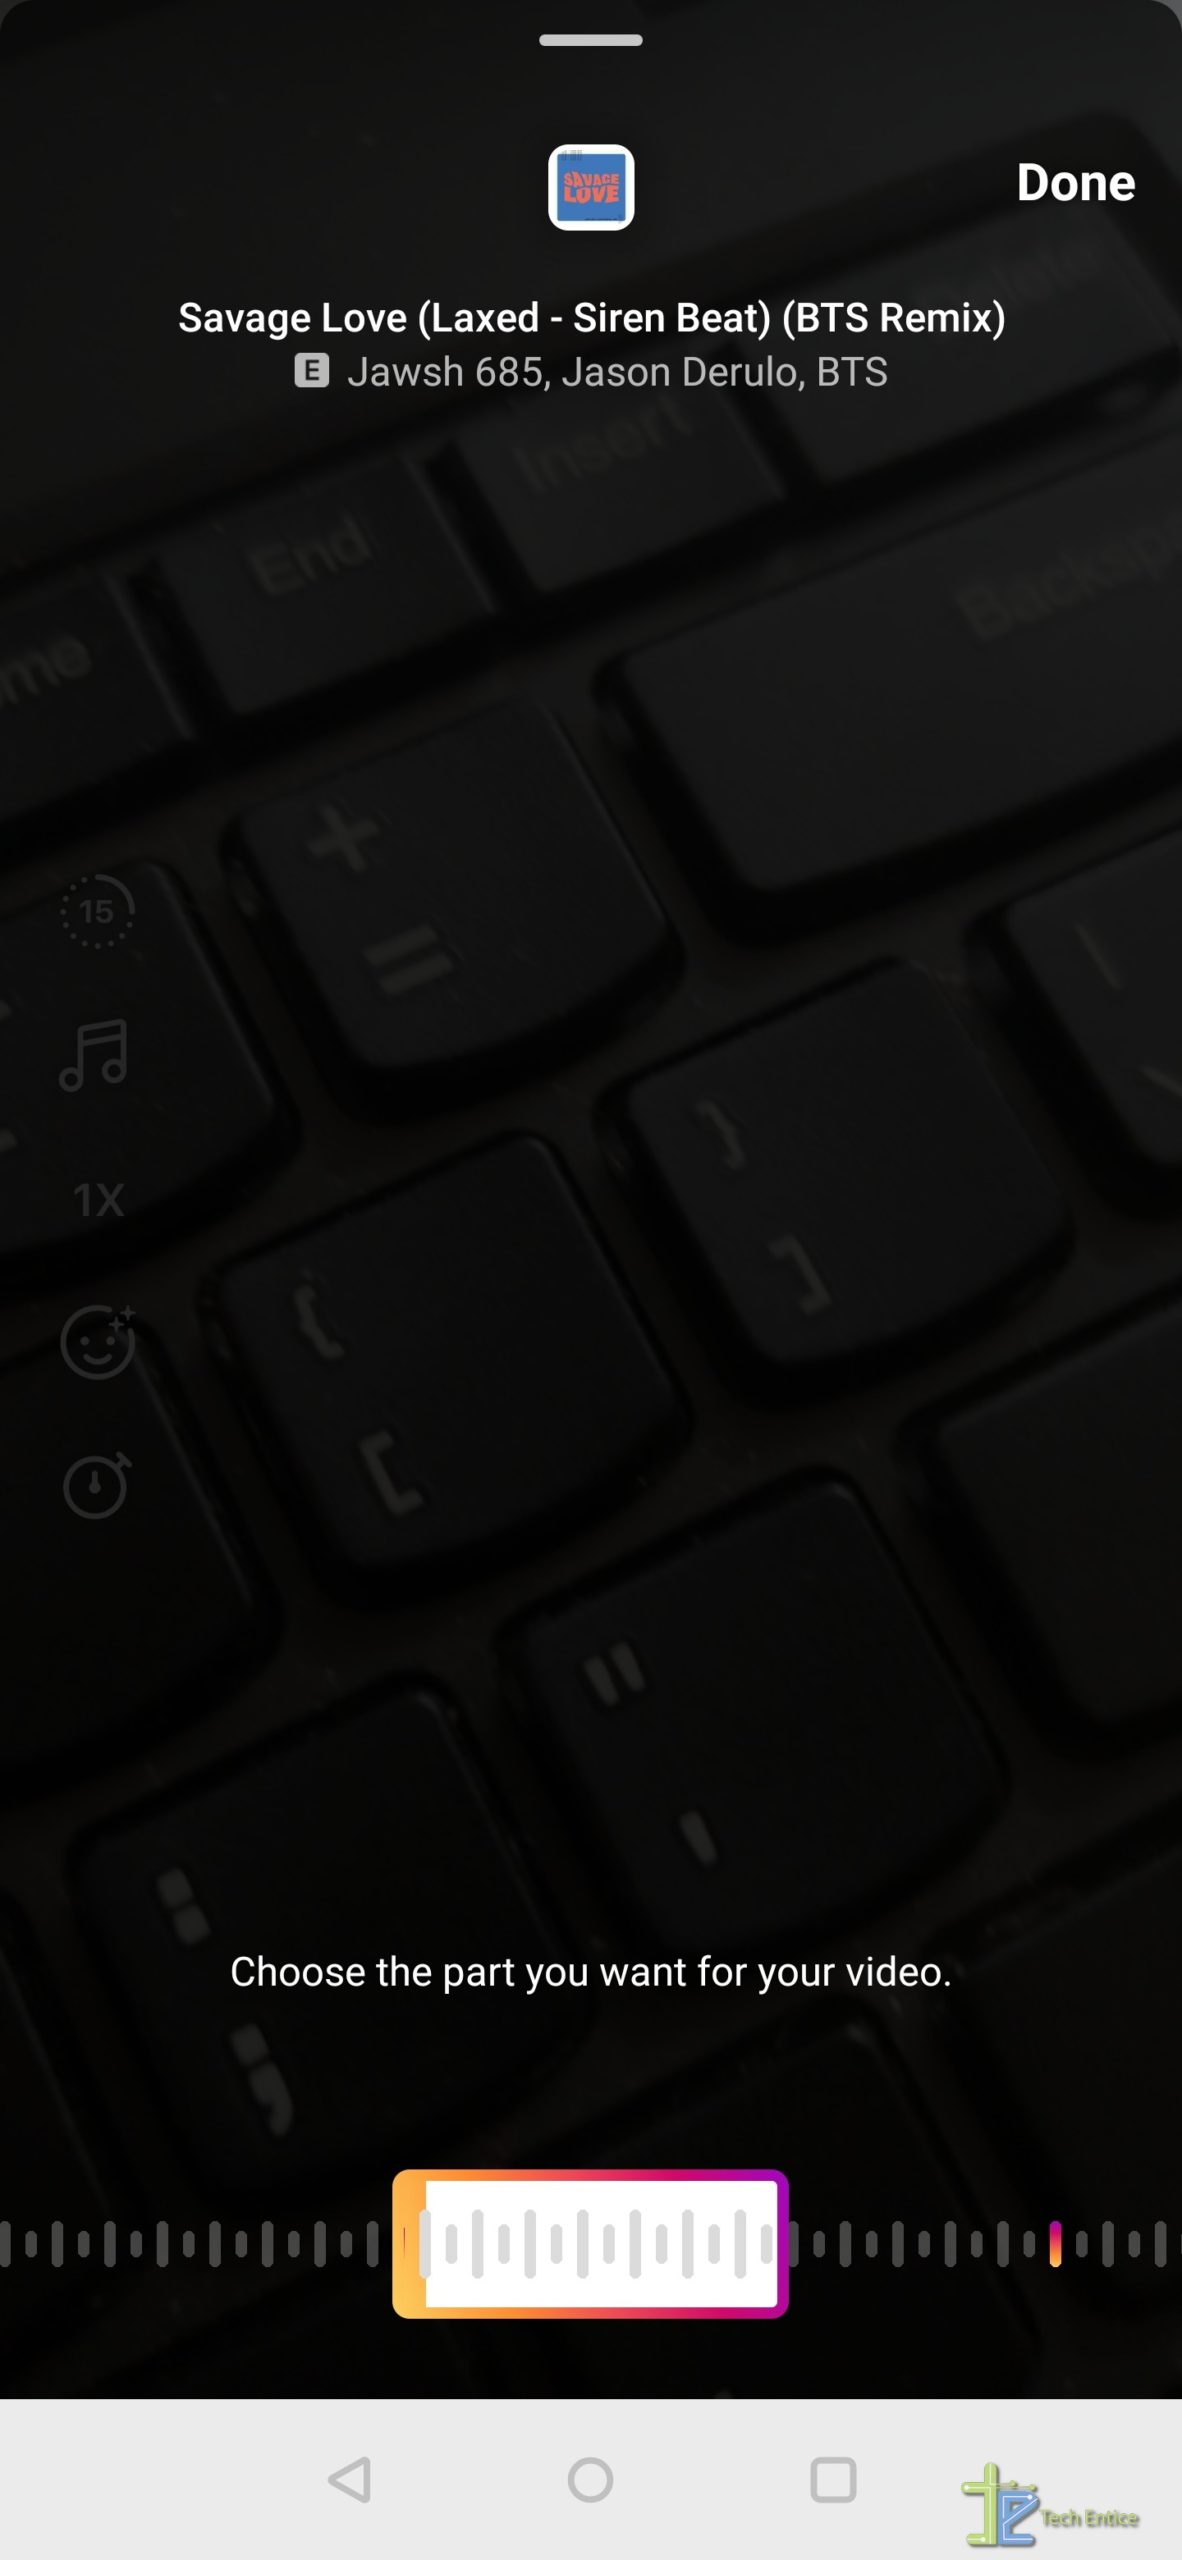
Once done, you select Done on the top right corner, and that’s it.
On the left side, you also have an option to change the speed of the video like make it slow or fast. you can select .3x or .5x to play the video in slow motion while 2x or 3x to speed it up. The song gets adjusted according to it.
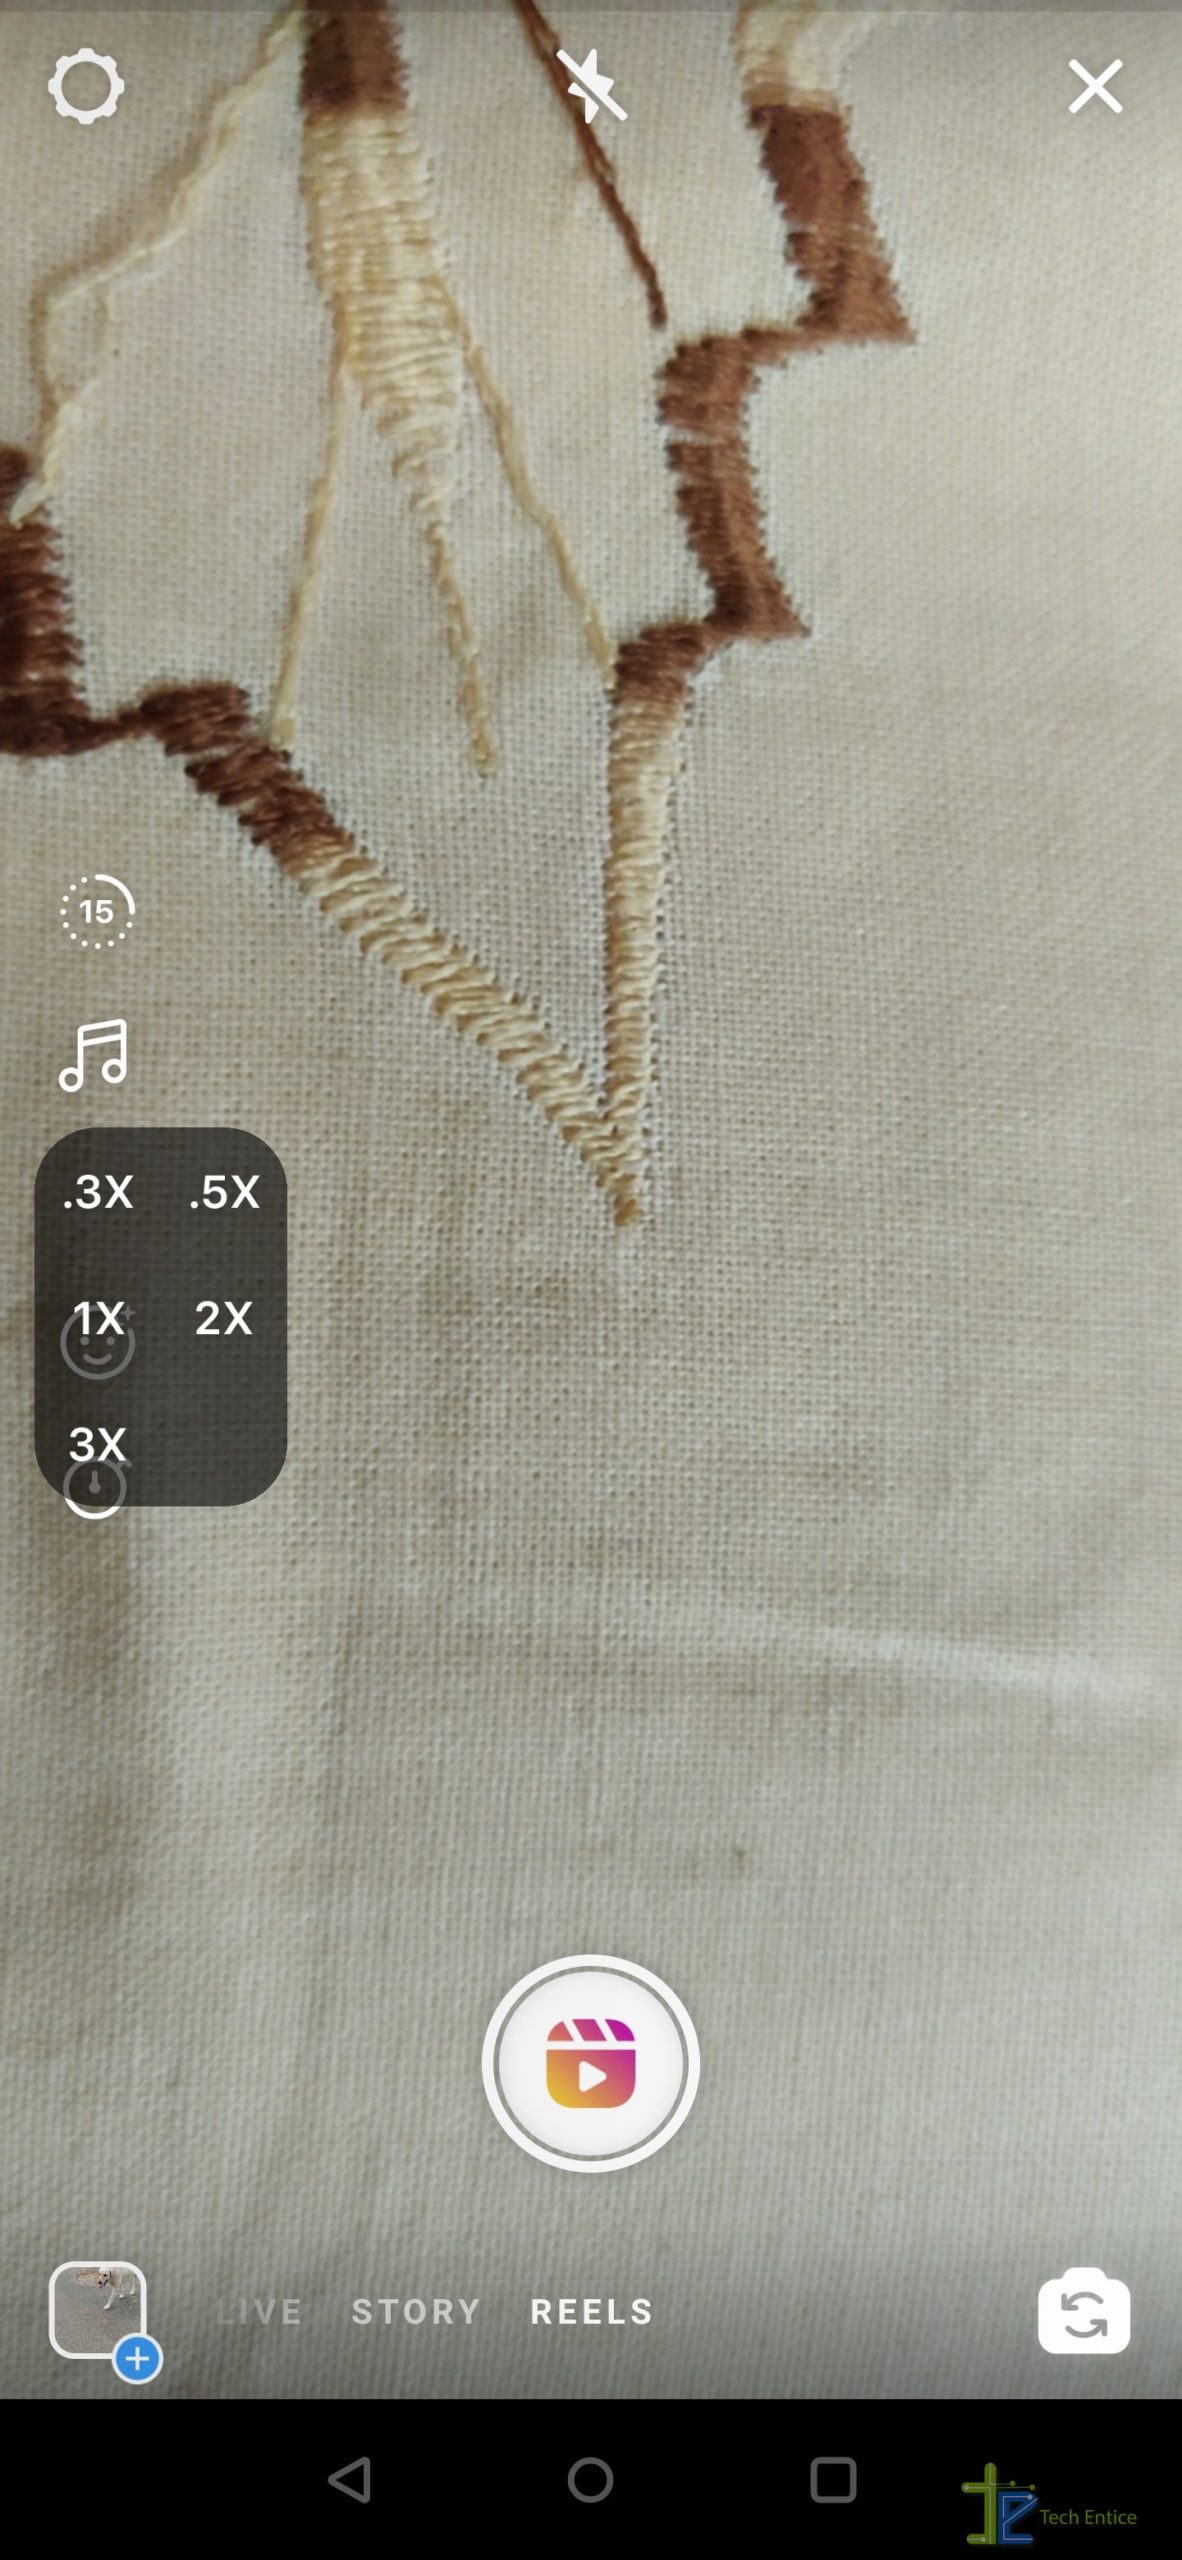
Now comes the effects. You can choose effects by clicking on the effects icon on the left-hand side again. You can scroll through, browse options, and search for filters and apply to your video.
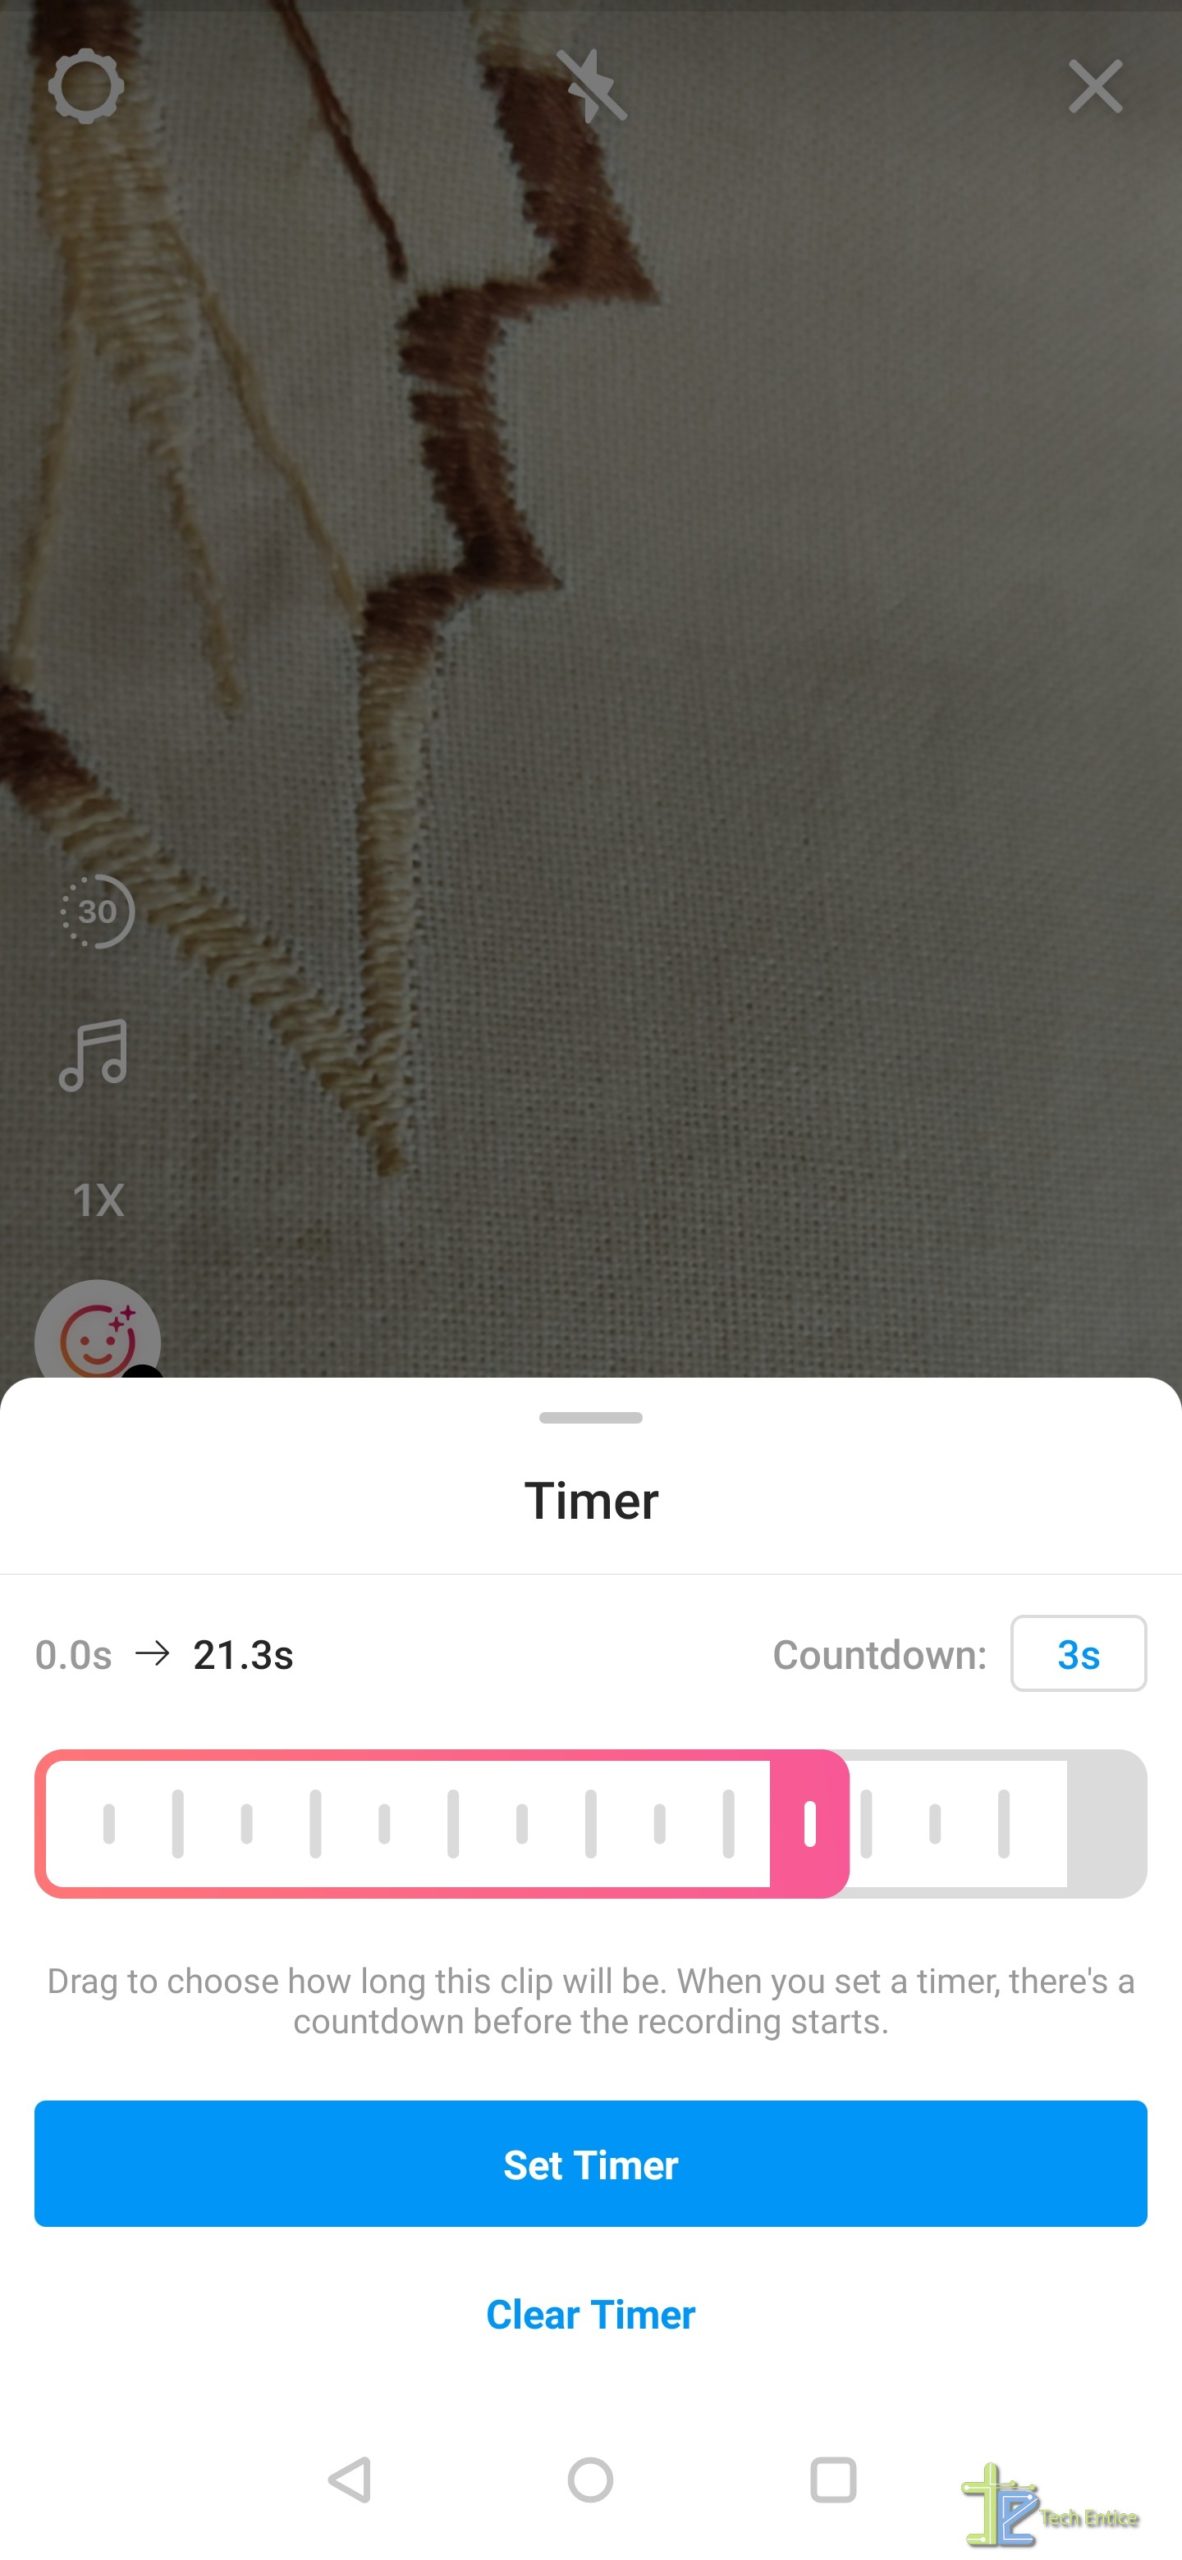
Also, you have got a timer option to select the length of the video, You can drag across the slider to select the duration of it.
Recording Video
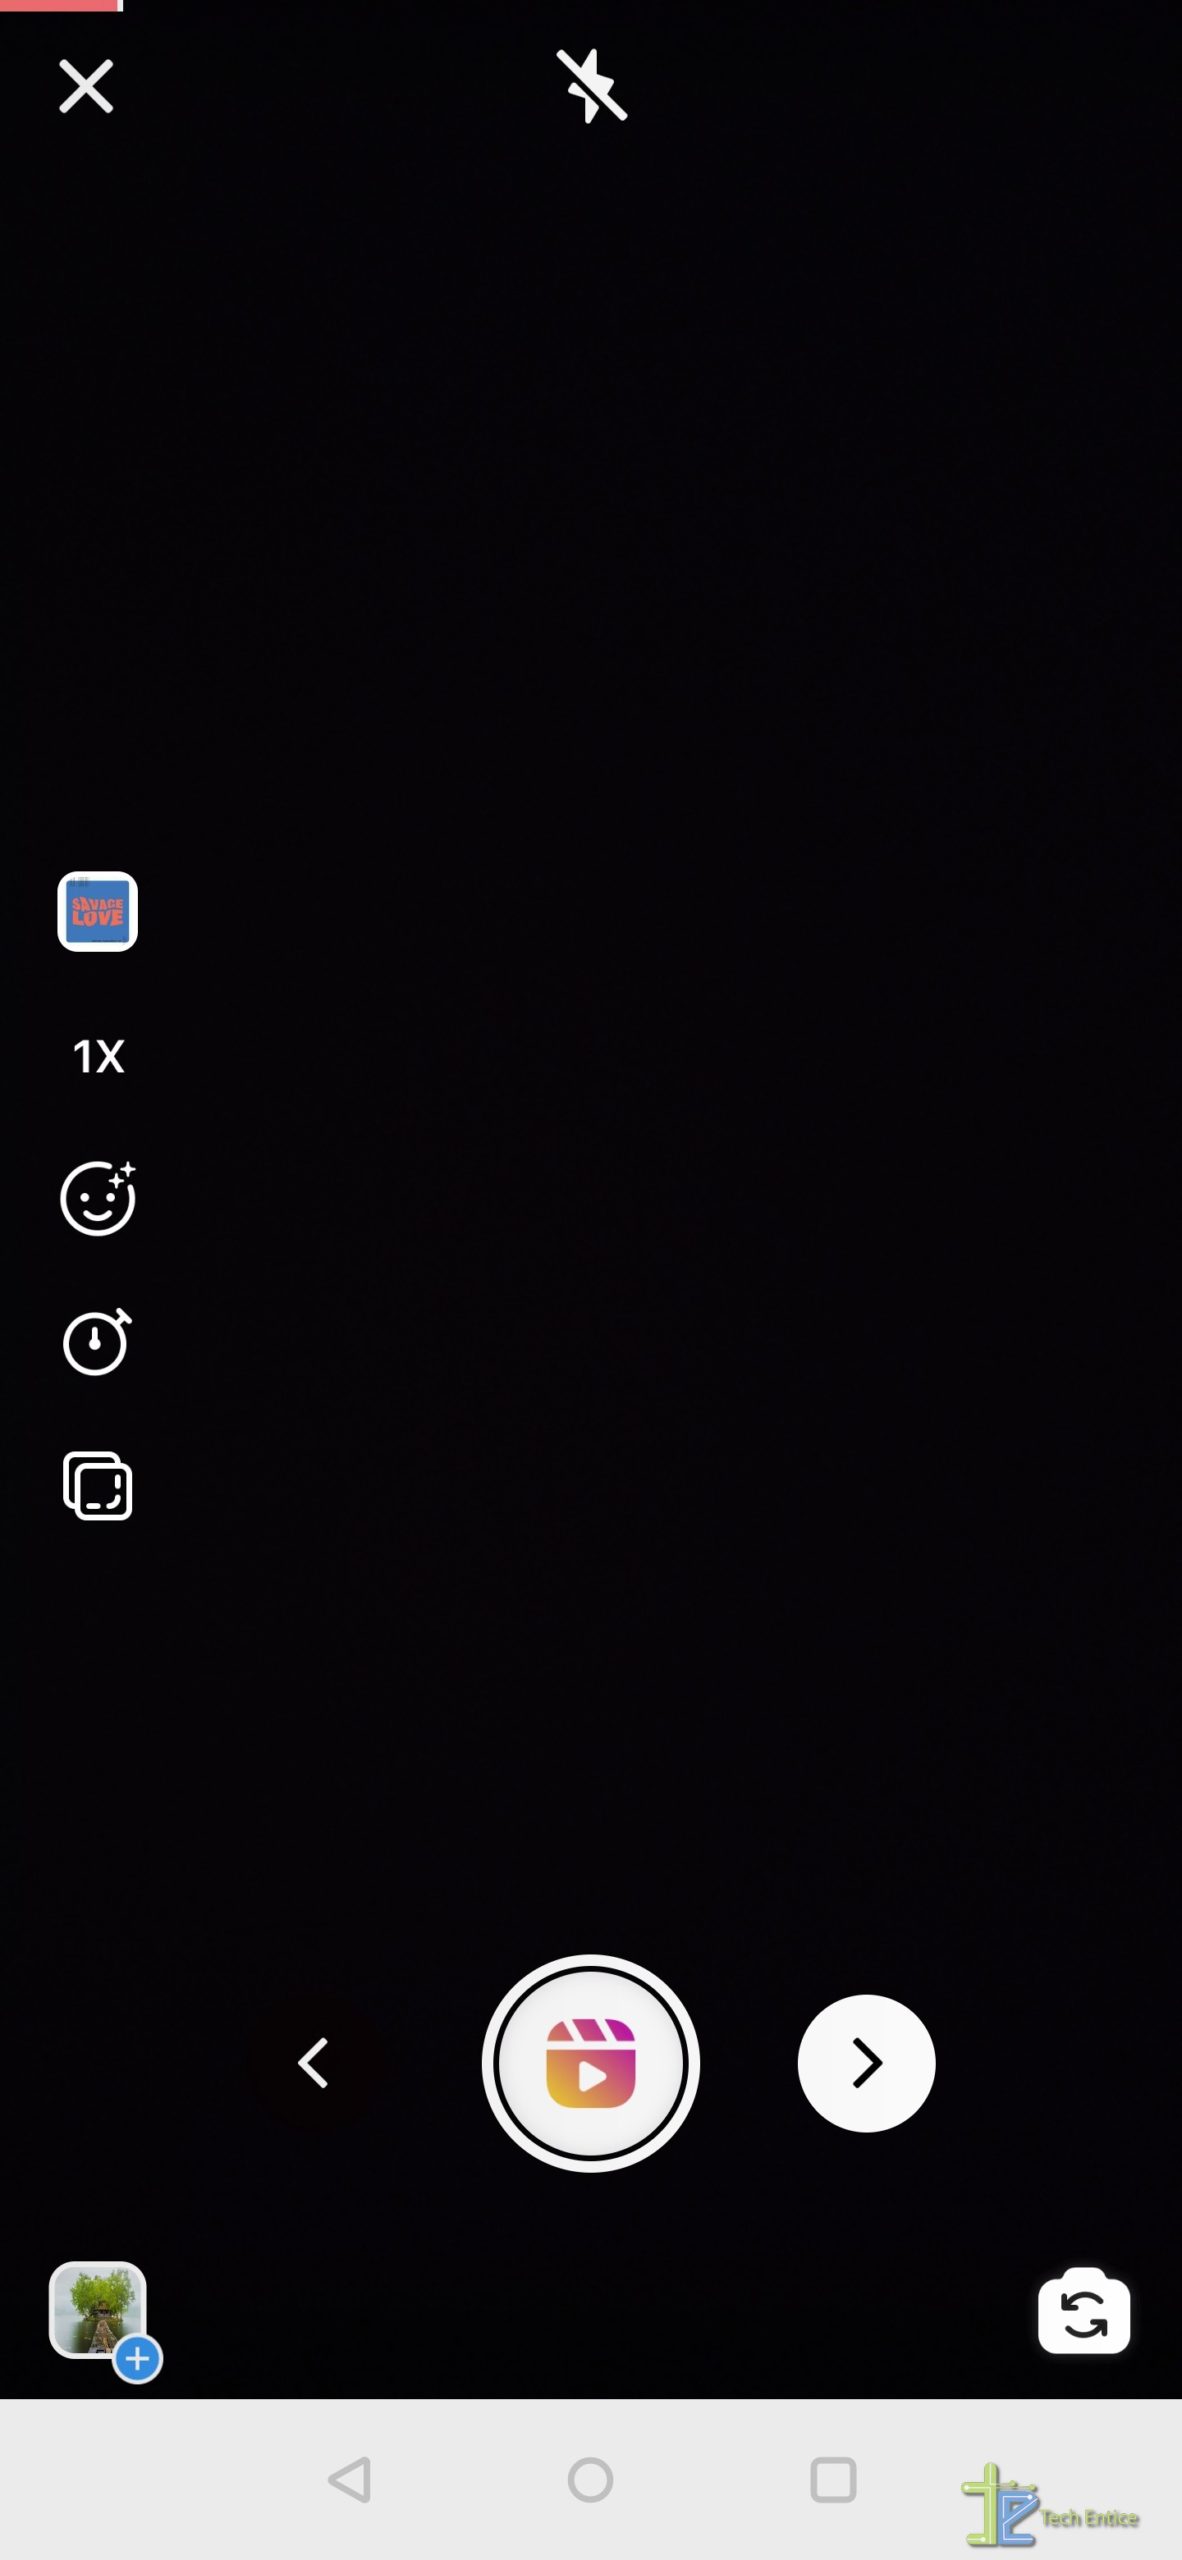
The actual fun begins here. You just need to tap the shutter button on the screen and get started. You can pause the video by clicking the shutter button again to change certain attributes such as the AR effects and speed. If required, the align pop up will help you straighten your video. Further, you can resume your recording by tapping the shutter button again. Once your recording is done, it automatically plays for you to view it.
You can also change the music henceforth by going back using the left arrow at the top, working on the changes, and tapping the right arrow at the bottom to come back to the video.
Adding Text, Stickers, and Emoji
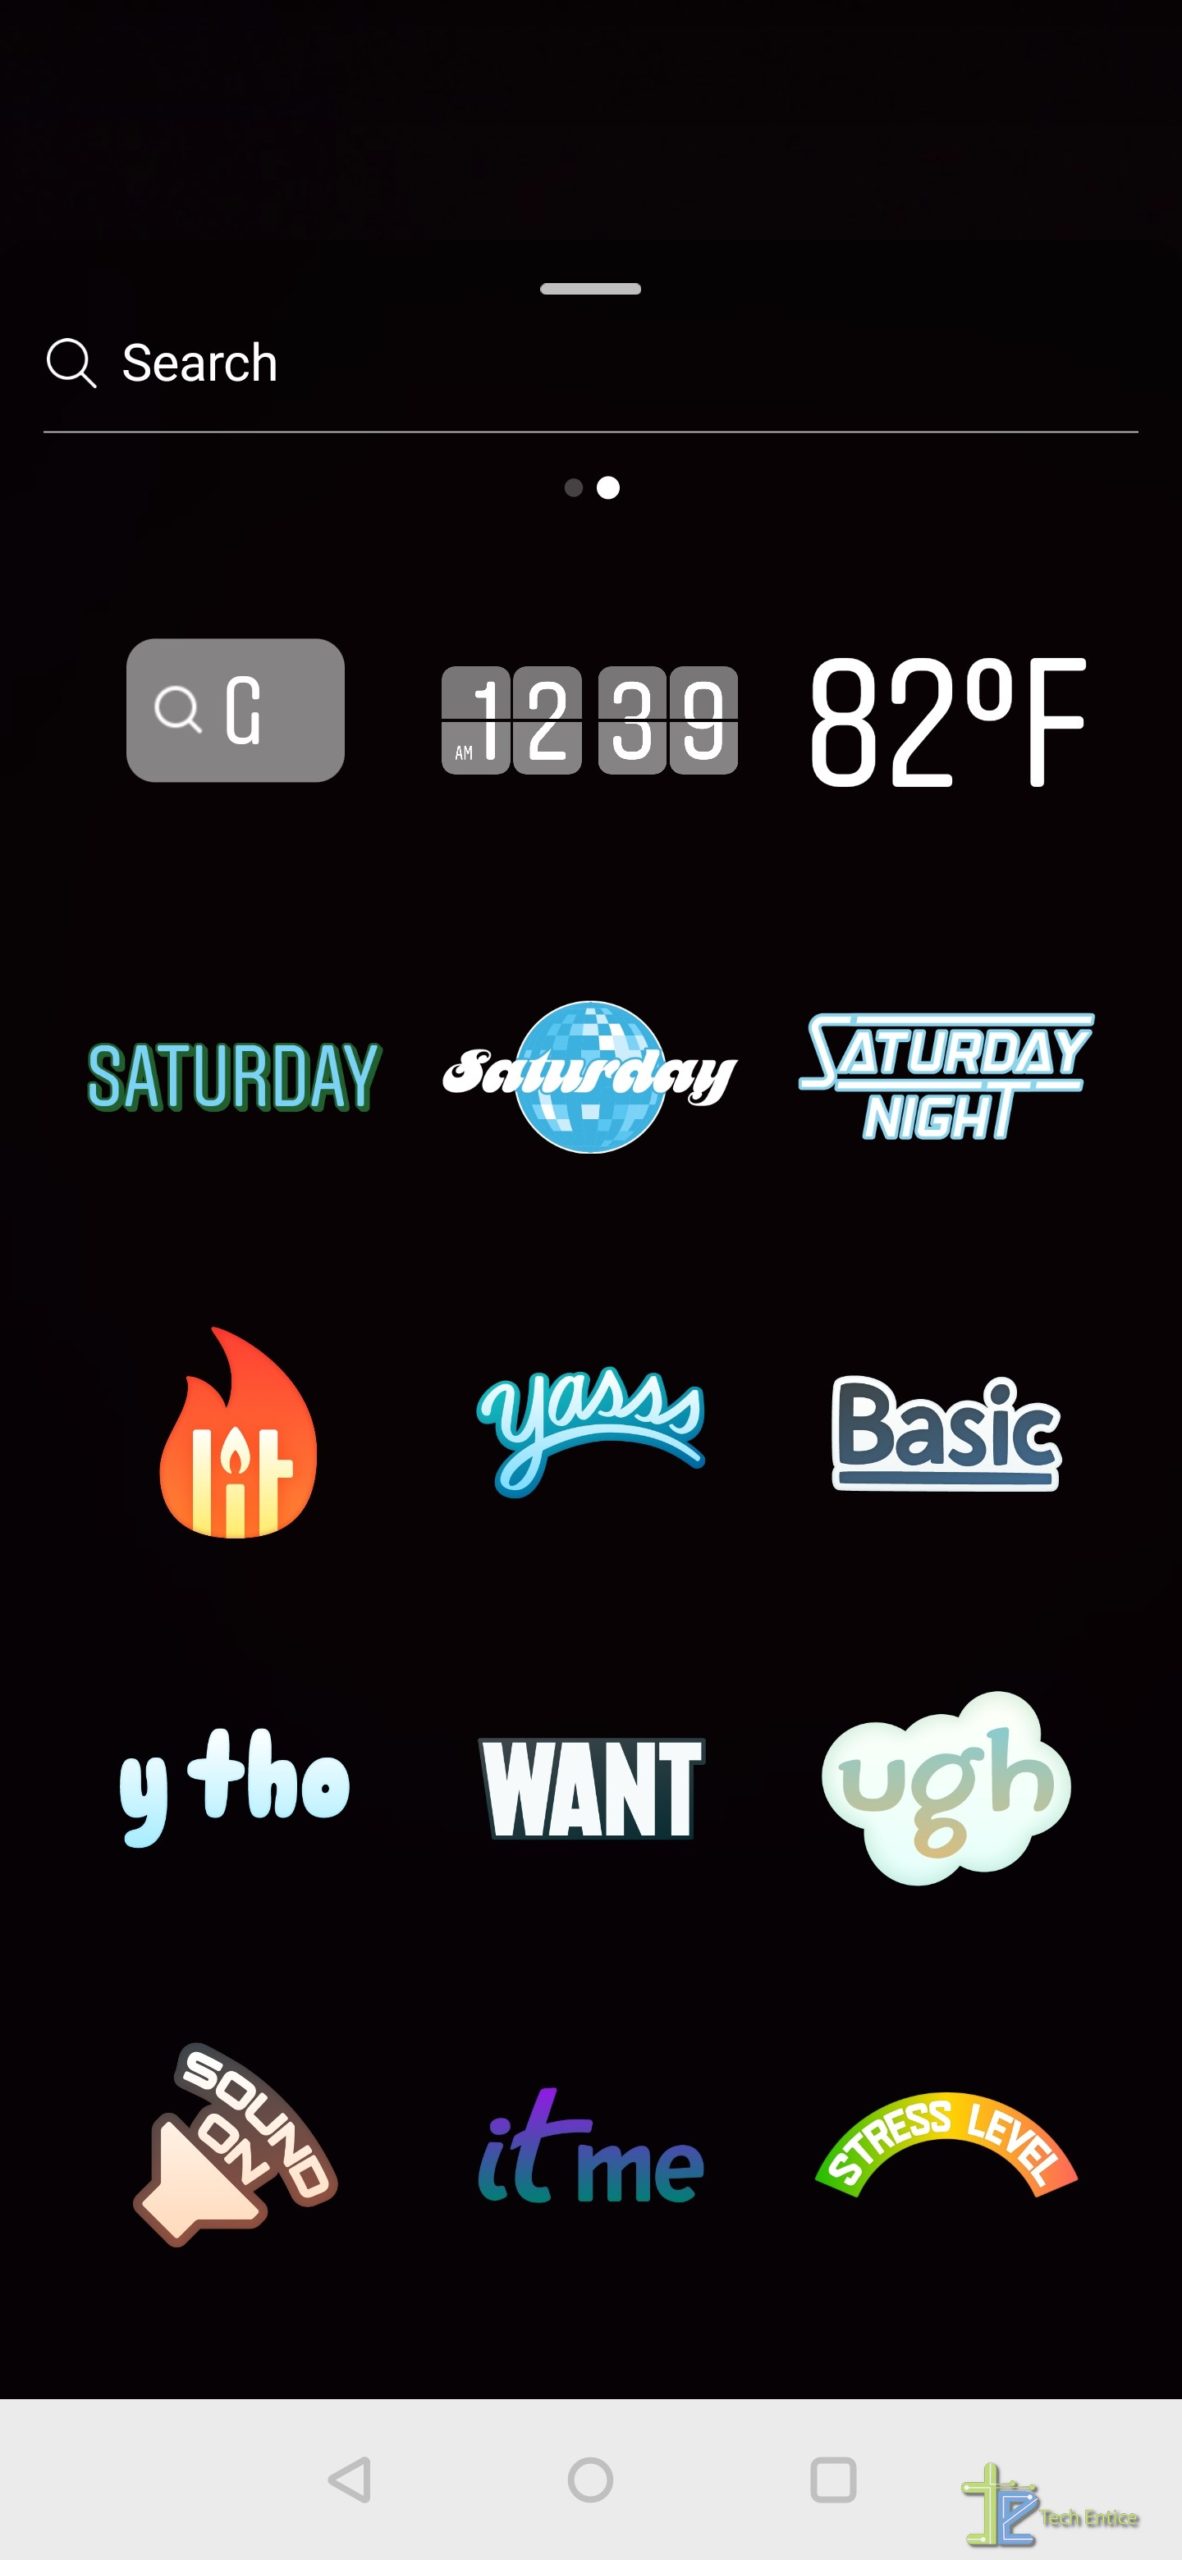
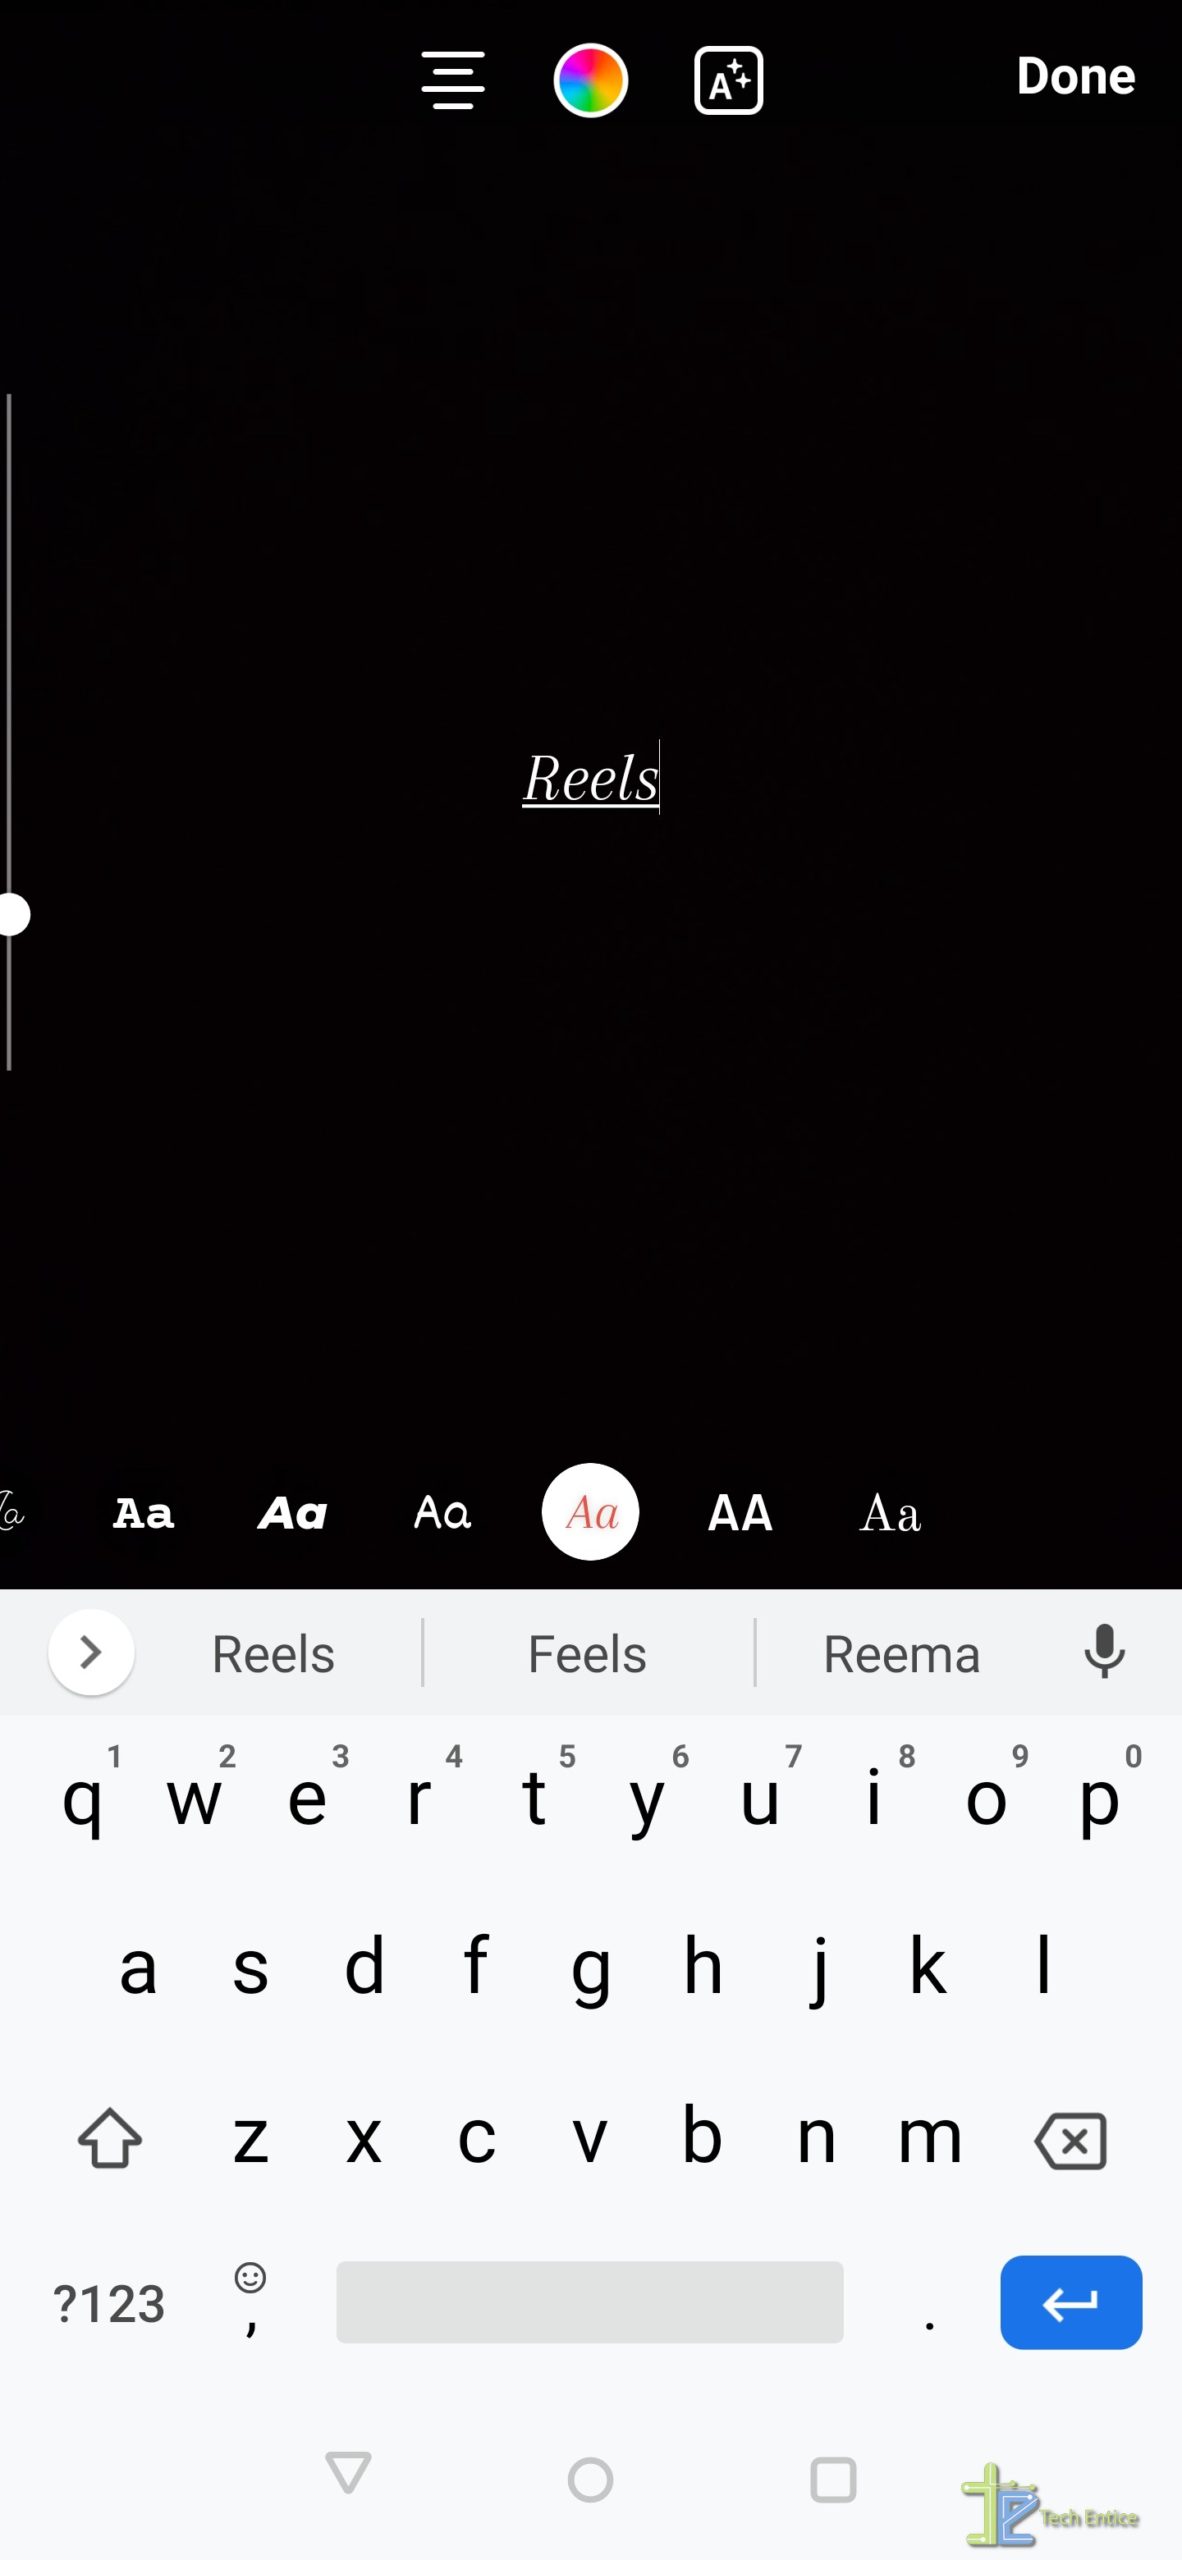
You can add texts, stickers, emojis, gifs, or draw something on your video just like you do with your stories. You can even pin them just like you do in your stories. You can shrink the size and move them around as you wish to by pinching and dragging it. And you are all set to share your reel video.
When you are done recording and editing your video, you just need to tap the right arrow at the bottom to share it. You can add captions to your video just like any other post.
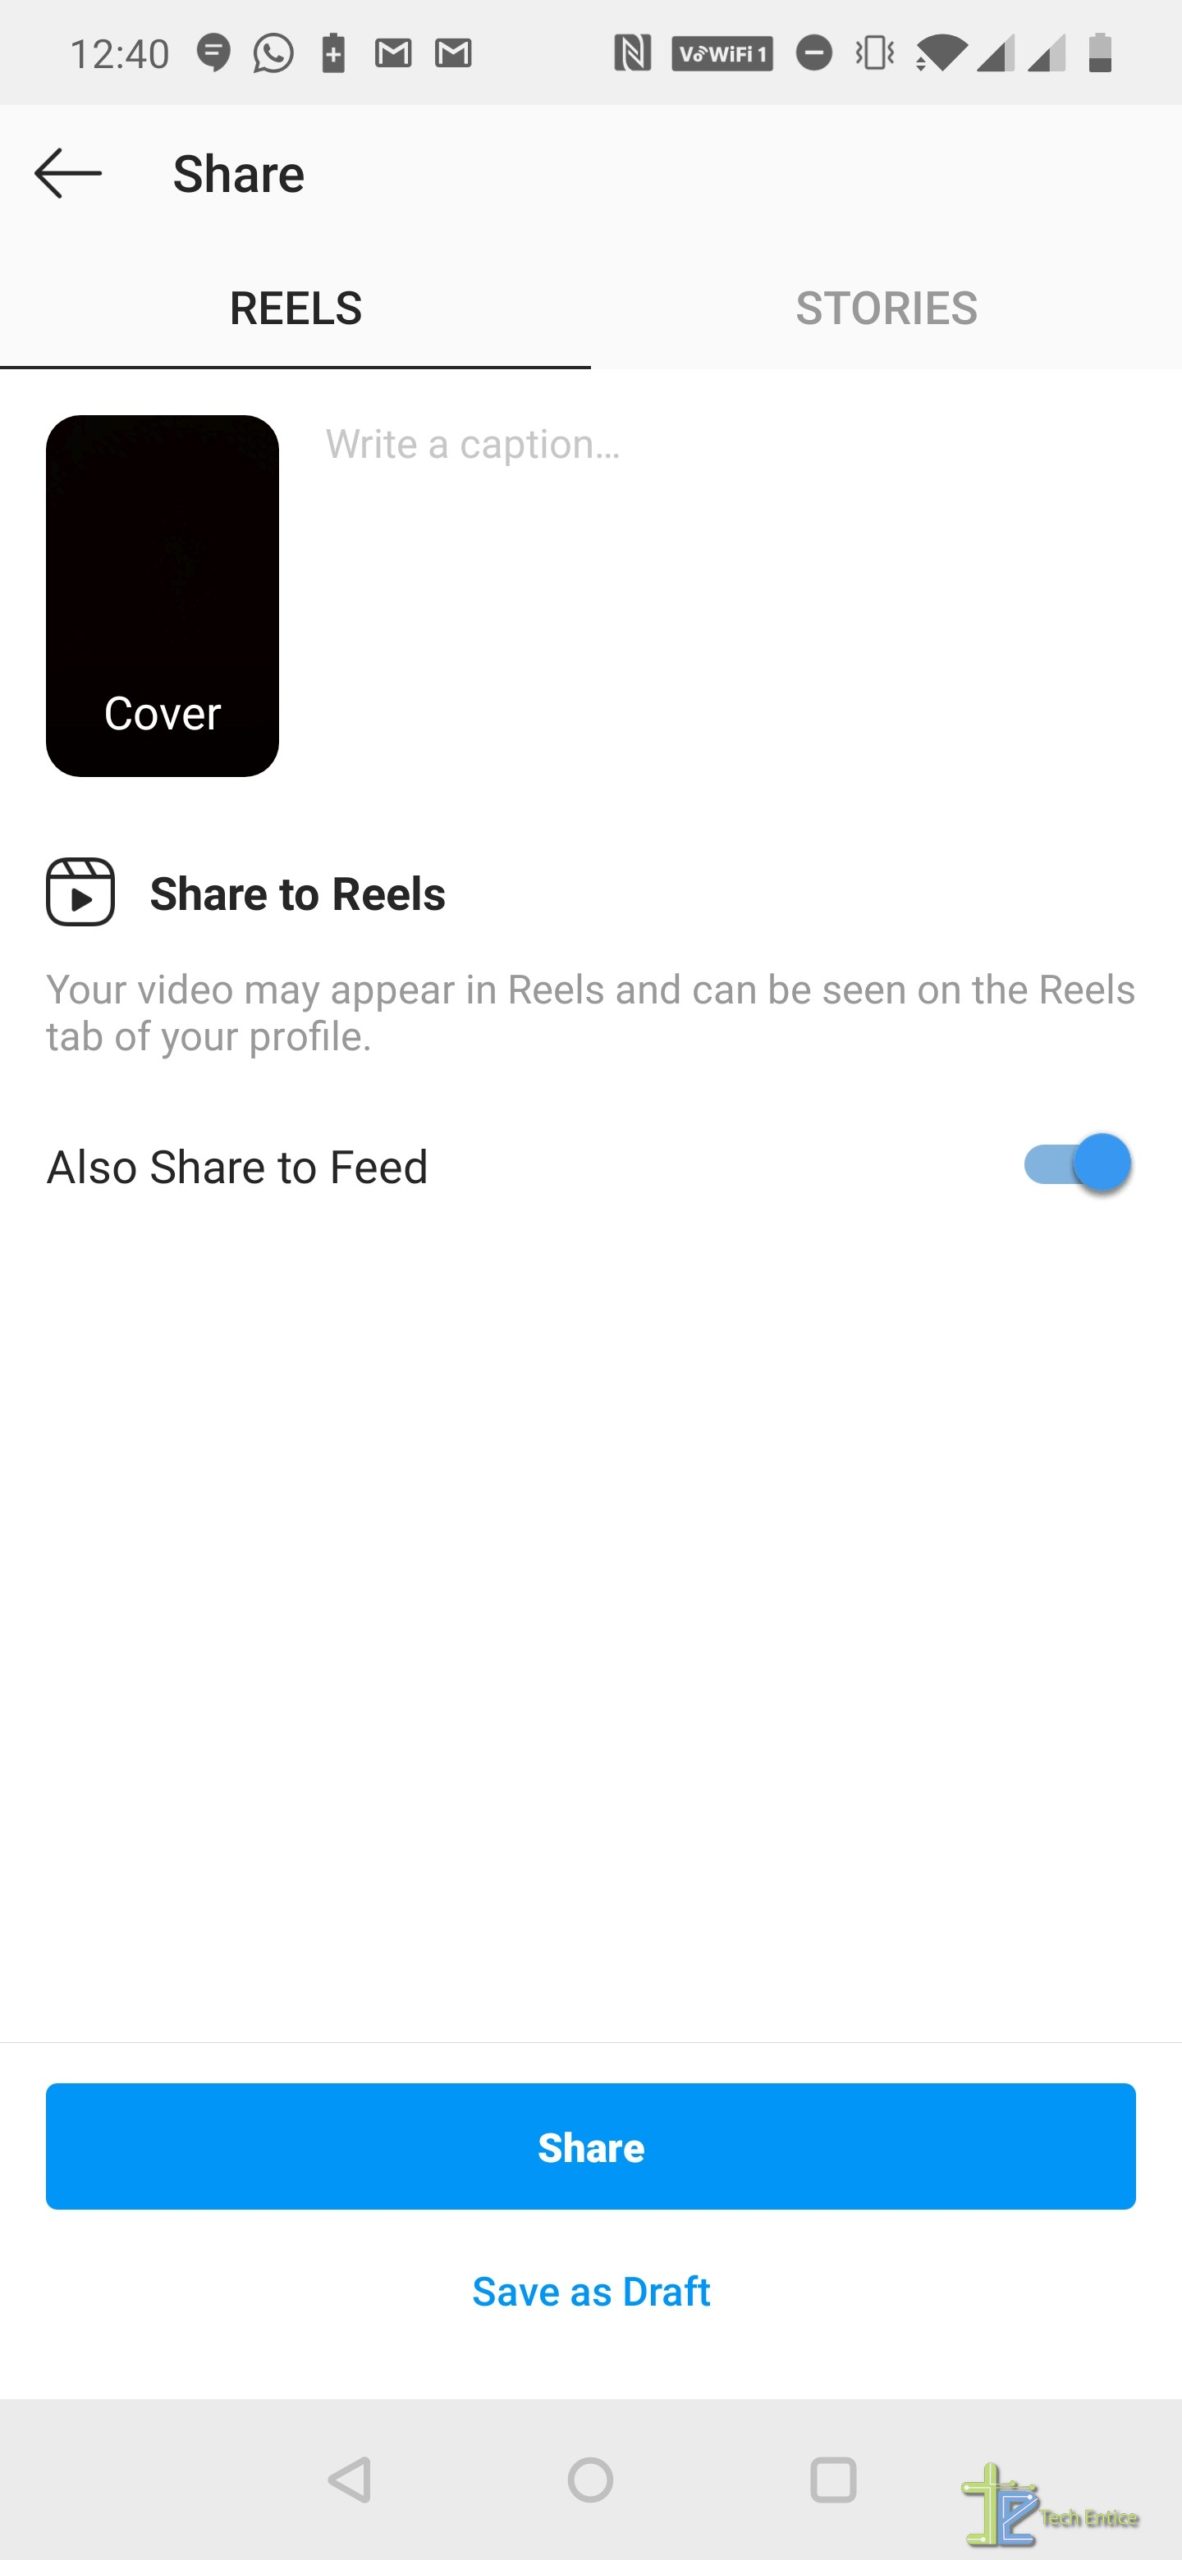
The video by default goes to Reels, but you can also share it on your Feed and stories as well. If you have a public account, your video will be available across Instagram for other people to see. You can also view others’ videos on the Instagram Explore page.






Leave a Reply