Android is a famous open-source operating system developed by Google. It is based on a modified Linux kernel, designed specifically for touch screen devices and smartwatches, smart TVs, and many other smart devices. With the ever-increasing user base, there are more than 2.5 billion android users, and Android development is gaining more popularity every day with its user-friendly and endless customizations.
Android development requires solid and in-depth knowledge of either Java or Kotlin. As we know, an Integrated Development Environment (IDE) is essential during software development lifecycles starting from the development phase till delivering end products. Here is no less, earlier Android developers relied on Eclipse IDE with ADT plugin to test and debug android apps live in emulators. I found the old Eclipse IDE along with the ADT plugin was slow and memory consuming. Even developers around the globe reported issues and expressed their views for having a unified IDE that supports all android developmental work under one roof. Eventually, Google introduced it’s official Android Studio IDE based on IntelliJ IDEA powerful engine with its outstanding code editor and developer tools.
Getting started with Android Studio:
Setting up the development environment is the first step towards getting started towards Android development. This article will demonstrate the steps for installing Android Studio 4.0(May 2020) and get familiar with IDE for Windows 10. Let’s take a look into some of the worth noting features of the ide,
- Android Gradle plugin 4.0.0 for auto dependency management and secure packaging.
- In-built emulator to test and debug Android apps. (No physical android device needed)
- With its rich build plugins, one-click export of android apk files to the connected device for quick testing purposes.
- CPU profiler to monitor resource consumption and easier error management.
- Git integration to import and test sample applications.
- In IDE layout validation to check the layout quickly in more than 100 devices during the design phase only.
- Kotlin Android live templates for quick UI design.
- In-IDE, Google cloud platform for rapid integration with Google Cloud Messaging and Google Cloud Engine.
Download Android Studio:
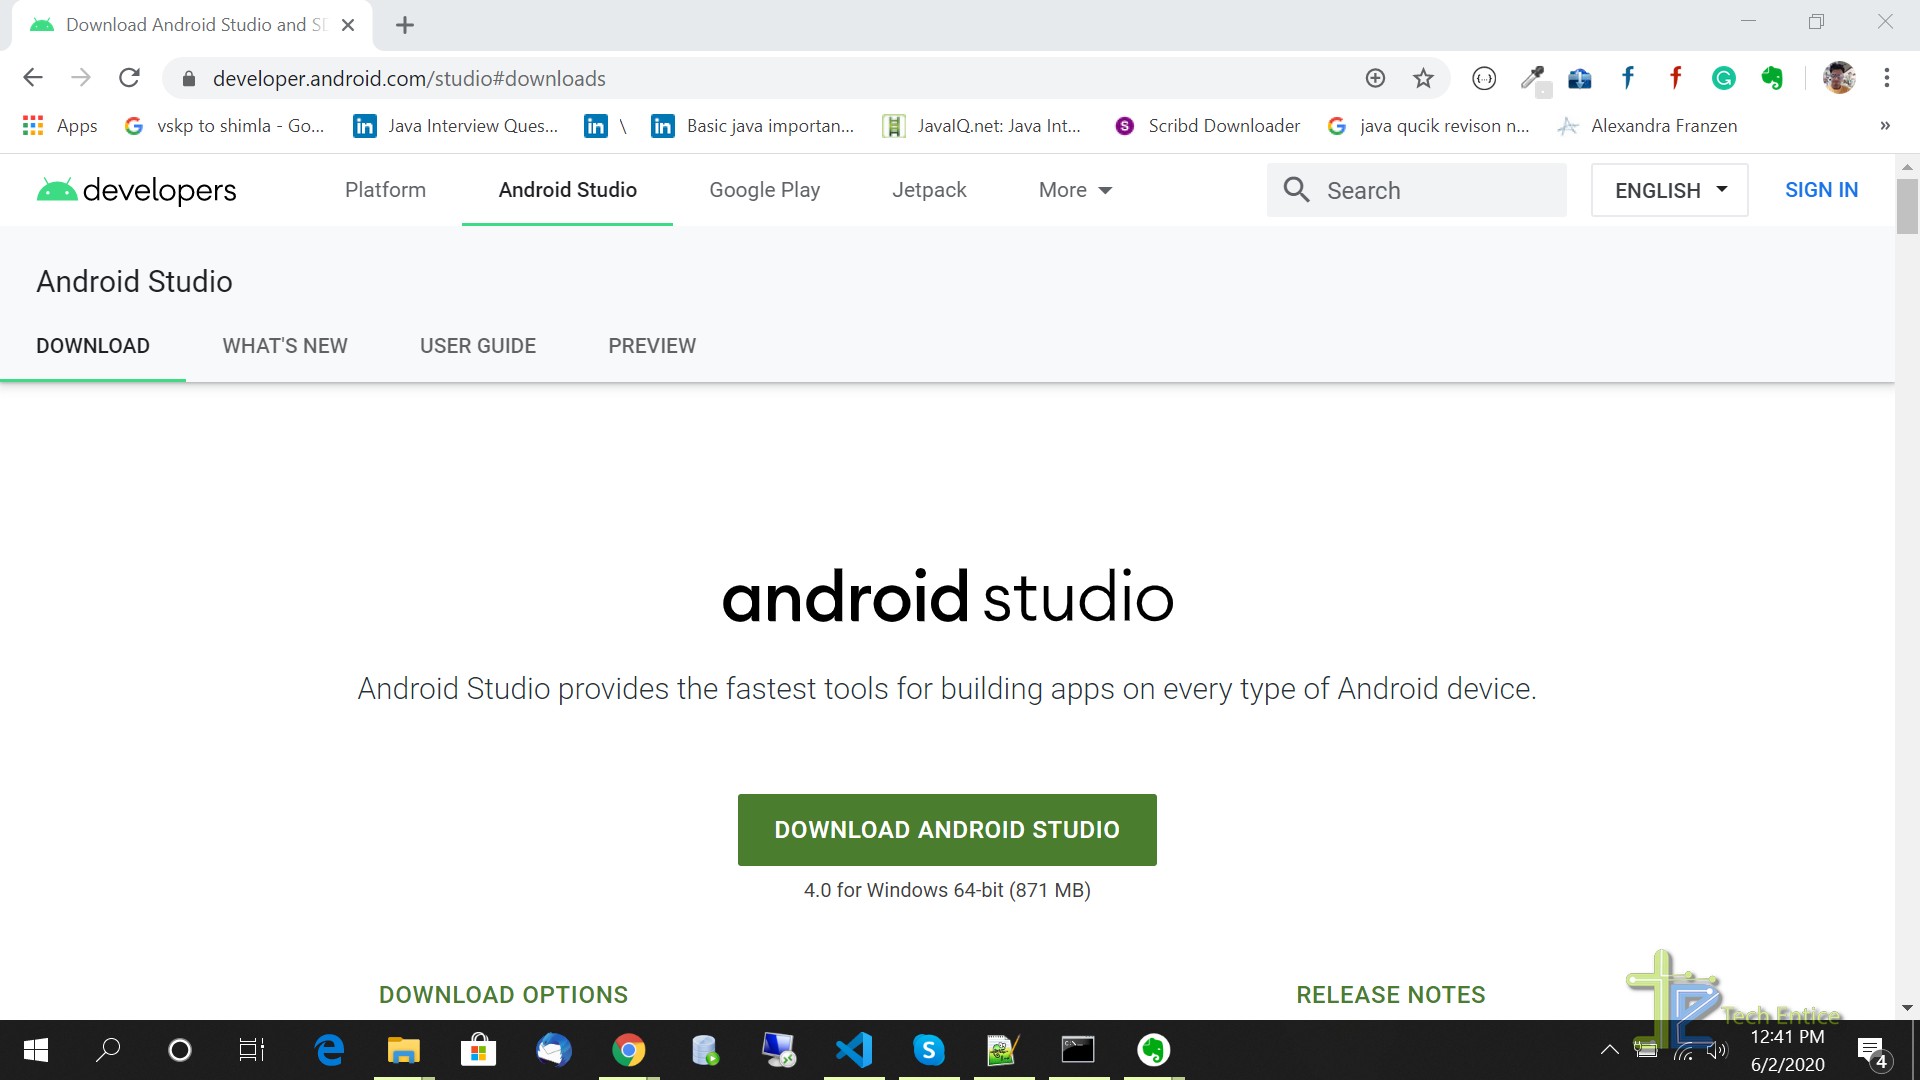
Android studio is supported by all major operating systems, including Windows, MacOSX, Linux, and Chrome OS.
- Visit the link to download the latest version of the android studio.
- The official website automatically detects your OS and provides a link to download the latest version of the android studio available.
Requirements for Windows (Recommended by Google):
- Microsoft® Windows® 7/8/10 (64-bit)
- 4 GB RAM minimum, 8 GB RAM recommended
- 2 GB of available disk space minimum,
- 4 GB Recommended (500 MB for IDE + 1.5 GB for Android SDK and emulator system image)
- 1280 x 800 minimum screen resolution
Once you checked the above points and ready with the downloaded file( in our case android-studio-ide-193.6514223-windows.exe ~ 870MB), we can begin the installation part.
Installation of Android Studio on Win10 64bit:
Step #1:
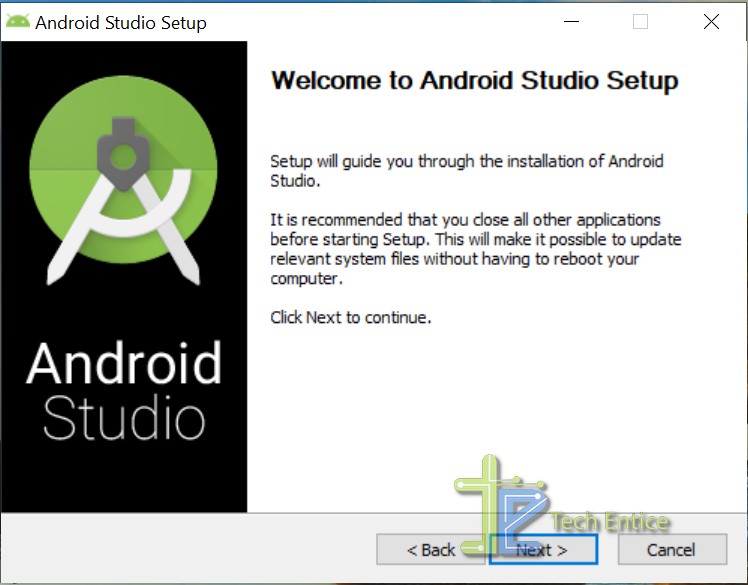
- Open the android-studio-ide-193.6514223-windows.exe file to begin the installation. Please note that the above file name might vary based on the version you’re downloading.
- This will take a while, and you shall be able to see the below dialog,
Step #2:
- Click the Next button to move to the next dialog.
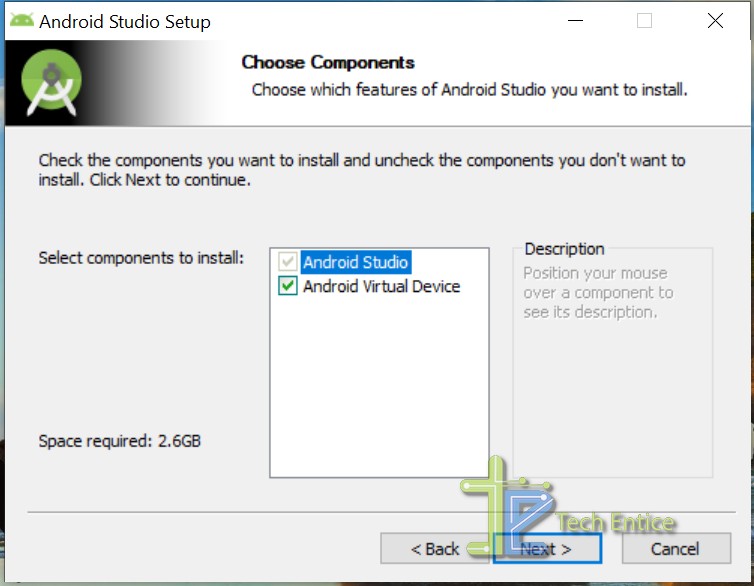
- In the below dialog, you can avoid the installation of Android Virtual Device(AVD), in case you have a physical device connected to your system to test the changes during the development phase.
- In our case, we will continue with AVD checkbox checked as we might need to test the compatibility of our app in different virtual devices like in tablet or android tv.
Step #3:
- Click the Next button to move to the next dialog.
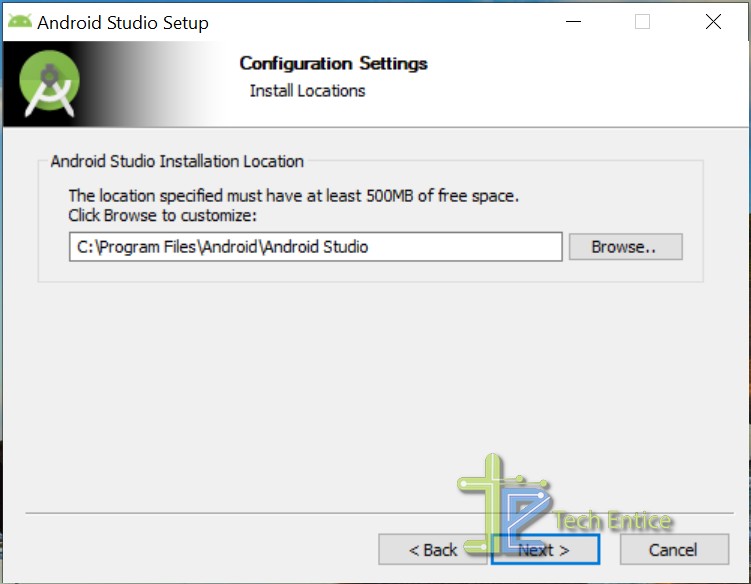
- In the below dialog, you can choose the installation directory. It’s entirely up to you, as per your availability of disk space you can change the installation directory.
- In our case, we will continue with the default installation directory.
Step #4:
- Click the Next button to move to the next dialog.
- In the below dialog, you can change the folder name under the Start menu and can check the checkbox “Do not create shortcuts” preset below as per your requirement.
- In our case, we will continue with the default selections.
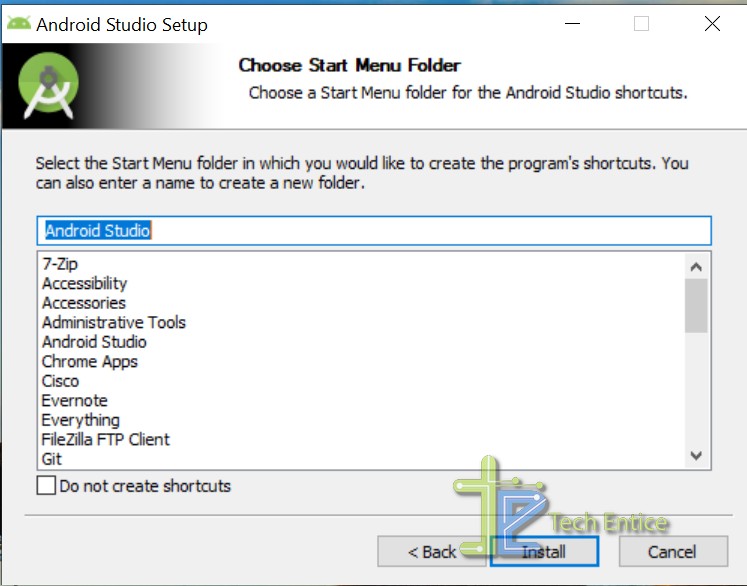
Step #5:
- Click the Next button to start the installation process. You shall be able to see the below dialog mentioning the status. The installation process will take a while to complete.
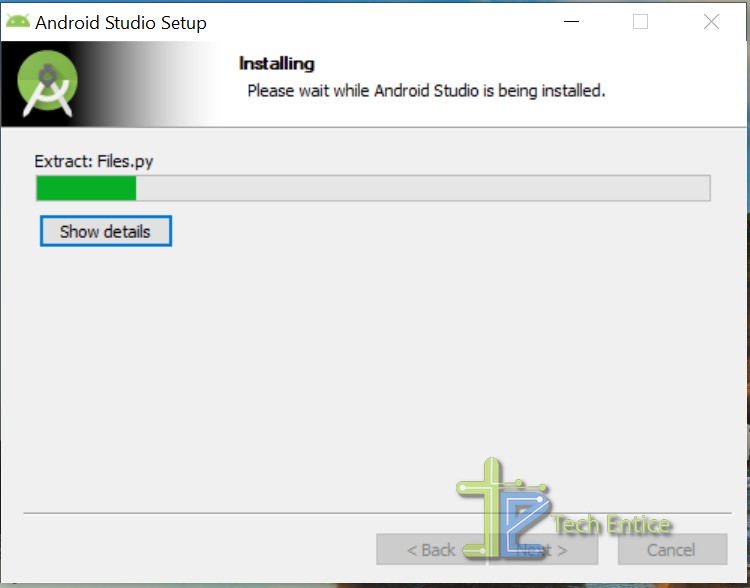
Step #6:
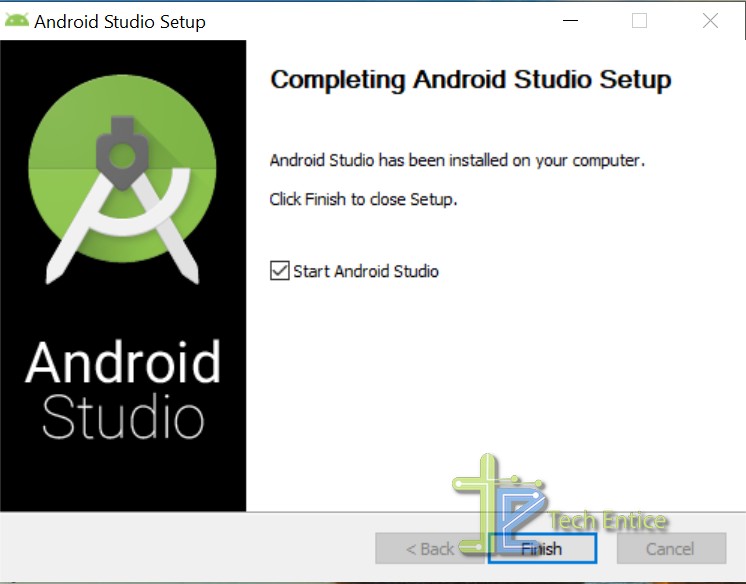
- Click the Next button present below to open the finish diallog box.
- Click the Finish button present below to start the android studio ide in your system.
Configuring Android Studio:
Step #7:
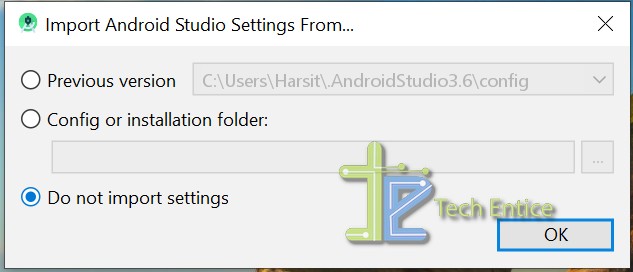
- The first time you open the Android Studio IDE, you will be able to see the below dialog to import the settings from the previous version.
- For the first time Android Studio user, you can continue with the default selections, i.e., “Do not import settings” checkbox checked.
Step #8:
- Click the Ok button, and based on your previous selections, Android studio IDE will be loaded on your screen.
- The loading screen will be flashed, and it might download some compatible SDKs automatically.
Step #9:
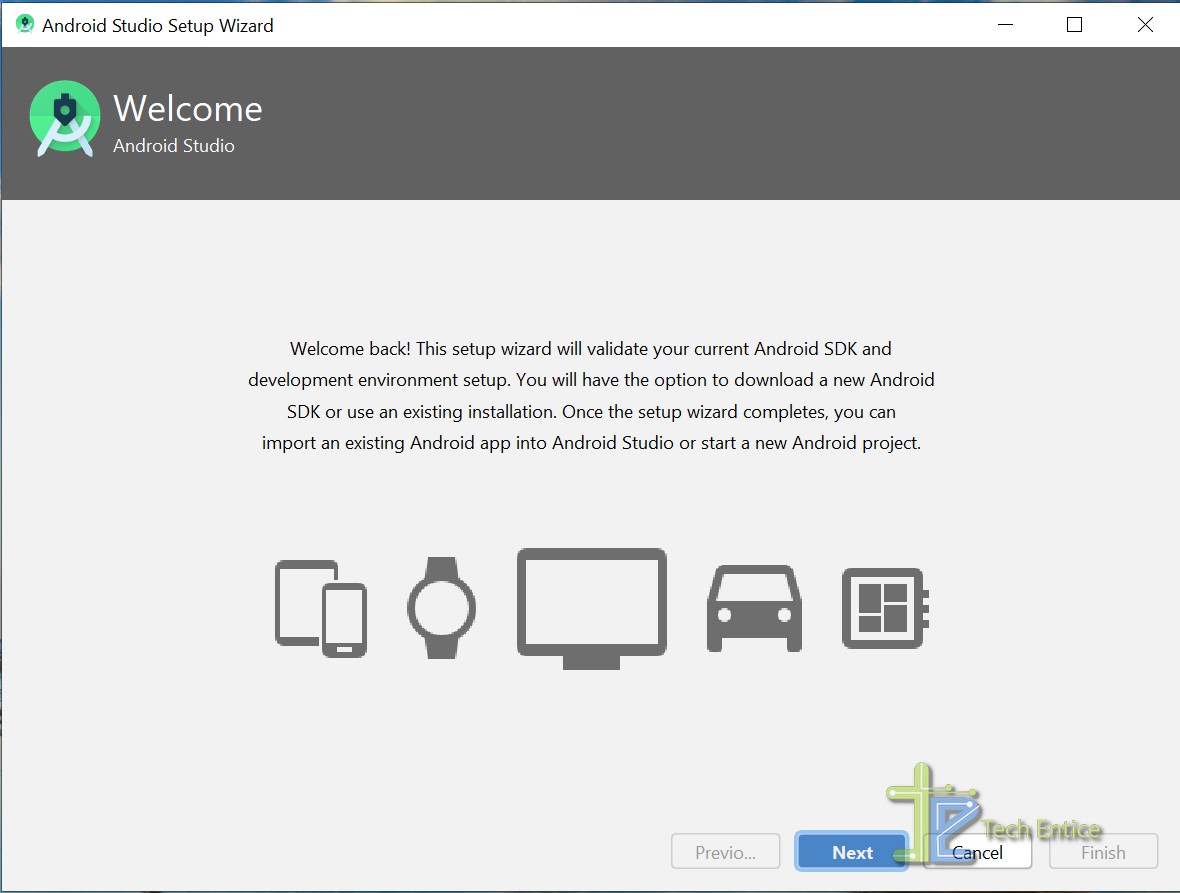
- The IDE will open Android studio setup wizard dialog to configure the development environement based on our current requirement.
- The below dialog is presented on the screen,
Step #10:
- Click the Next button preset at the bottom to continue the configuration process.
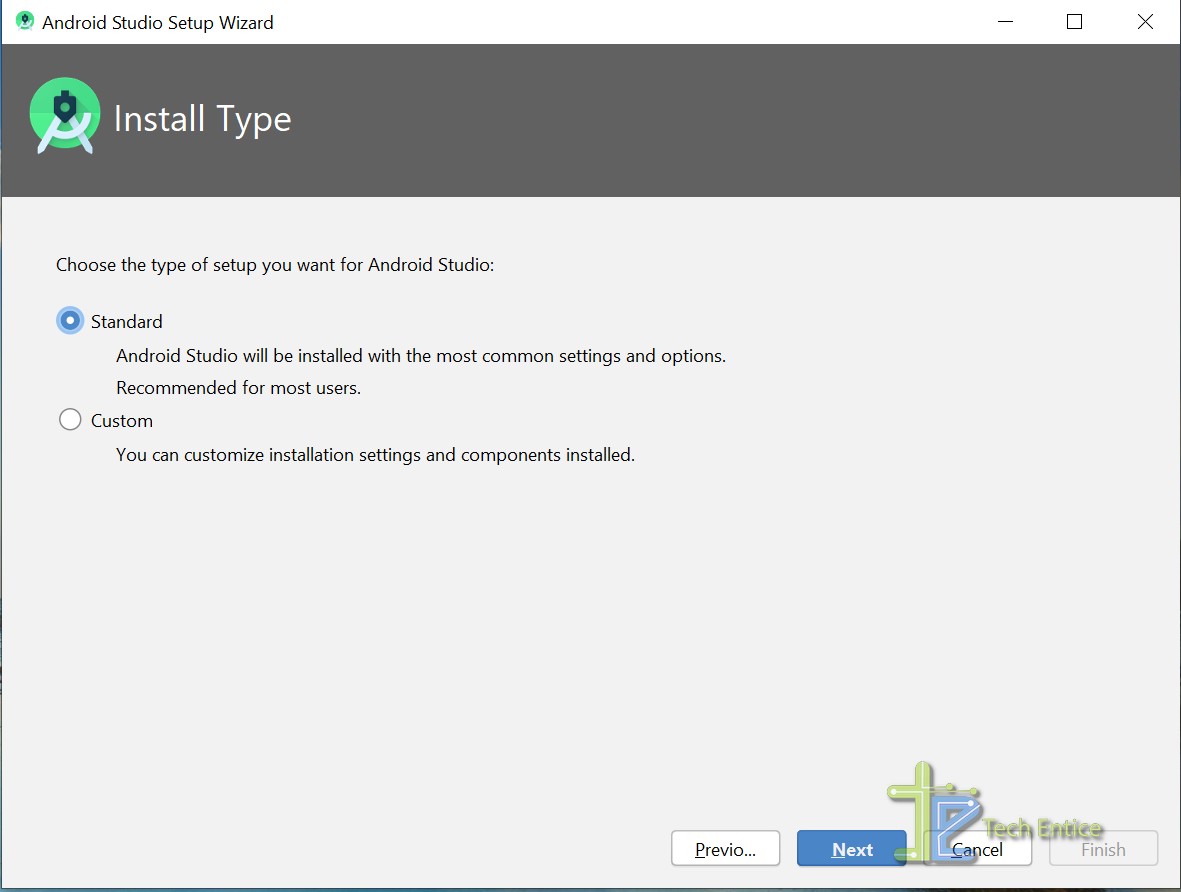
- In the below dialog, you can customize the IDE setup. There are two types of setup, one is Standard setup with most common settings, and the other one is Custom setup to customize as per the requirement.
- In our case, we will continue with the Standard setup.
Step #11:
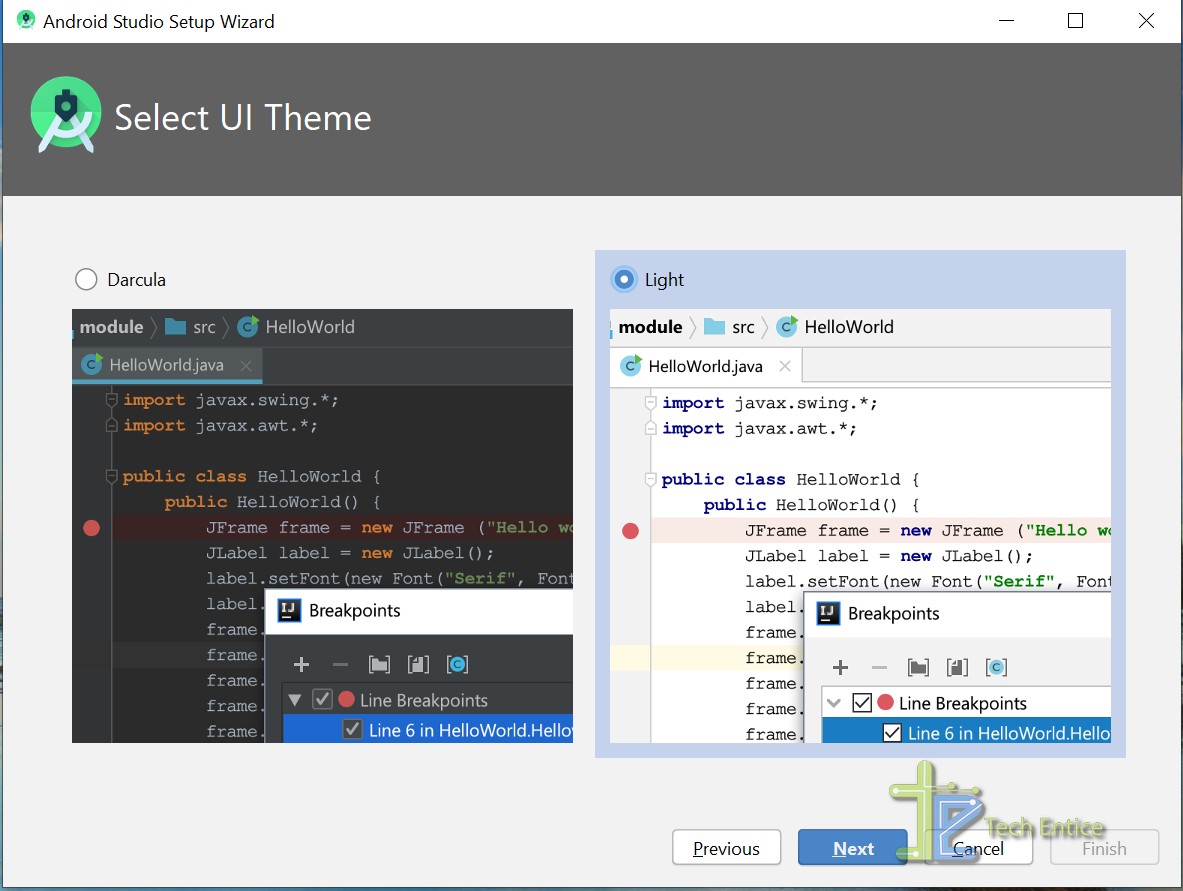
- Click the Next button present at the bottom, and the below dialog will be presented to select the UI theme type.
- It is more likely a personal preference; in our case, we would go ahead with the Light Intelli theme.
Step #12:
- Click the Next button, and Android Studio will present you with the below dialog to verify the installation settings.
- If you want to change anything, you can press the Previous button to review and make changes accordingly.
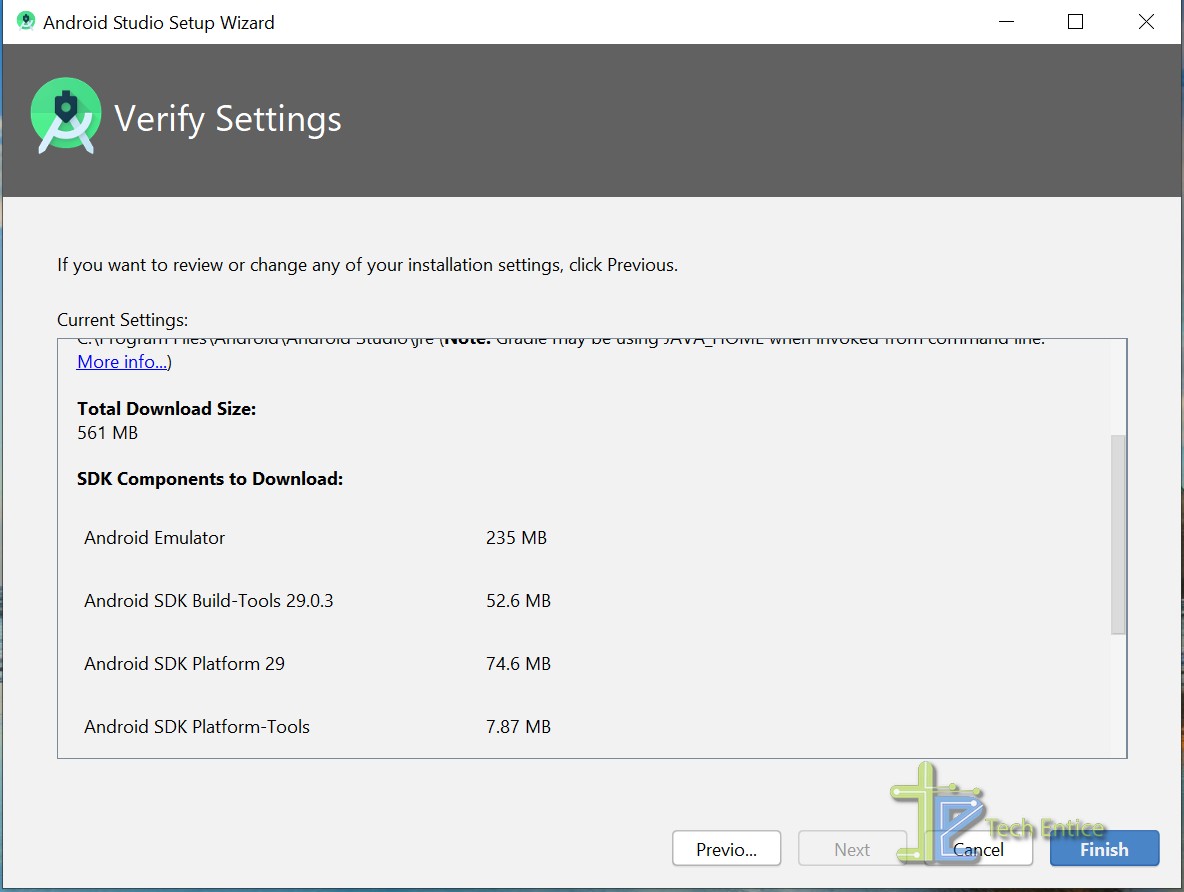
Step #13:
- Click the Finish button present below to start downloading all required SDK components.
- You can check the download status on your screen. It might take a while to complete the process, depending on your internet connectivity.
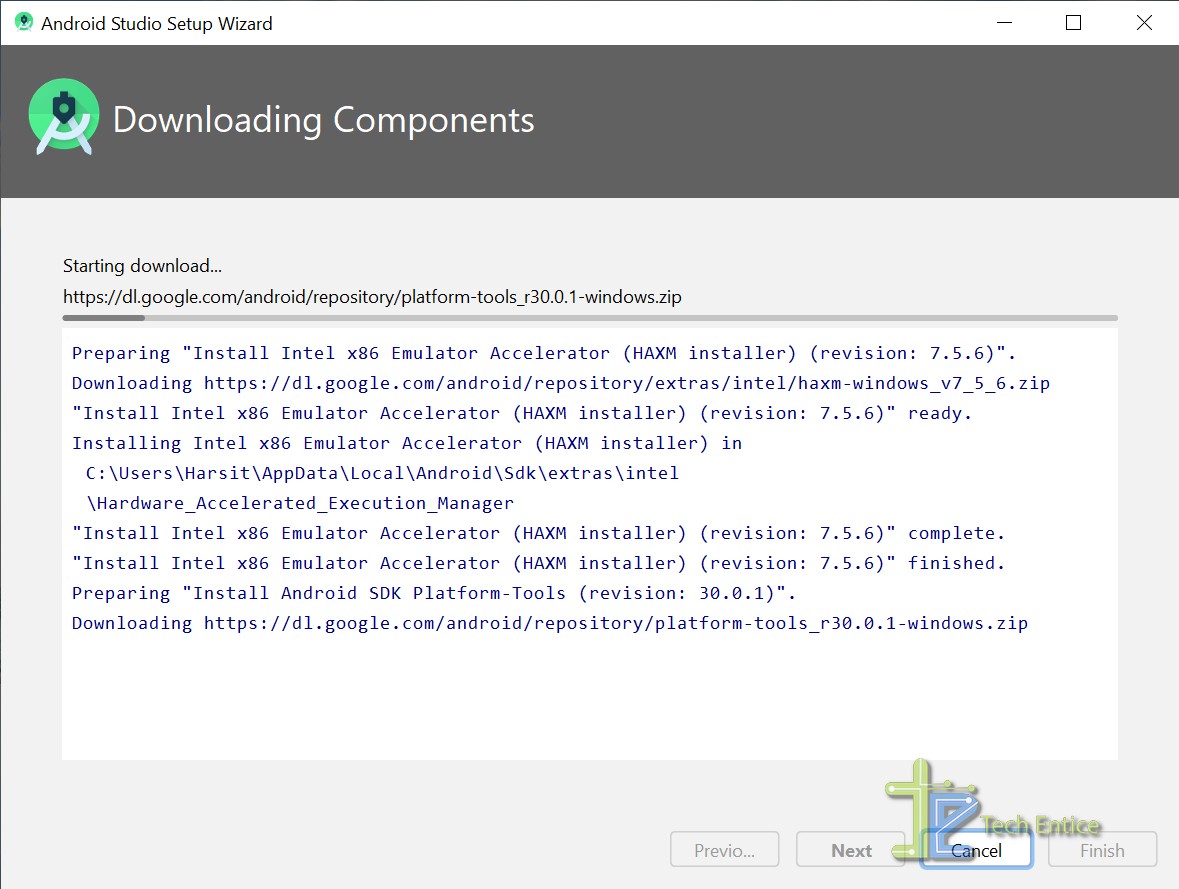
Step #14:
- Android studio will install the required Software Development Kits and completes the necessary configuration for the emulator.
- Click the Finish button to launch the Android Studio IDE. Here you can create a new android or import an existing android project.
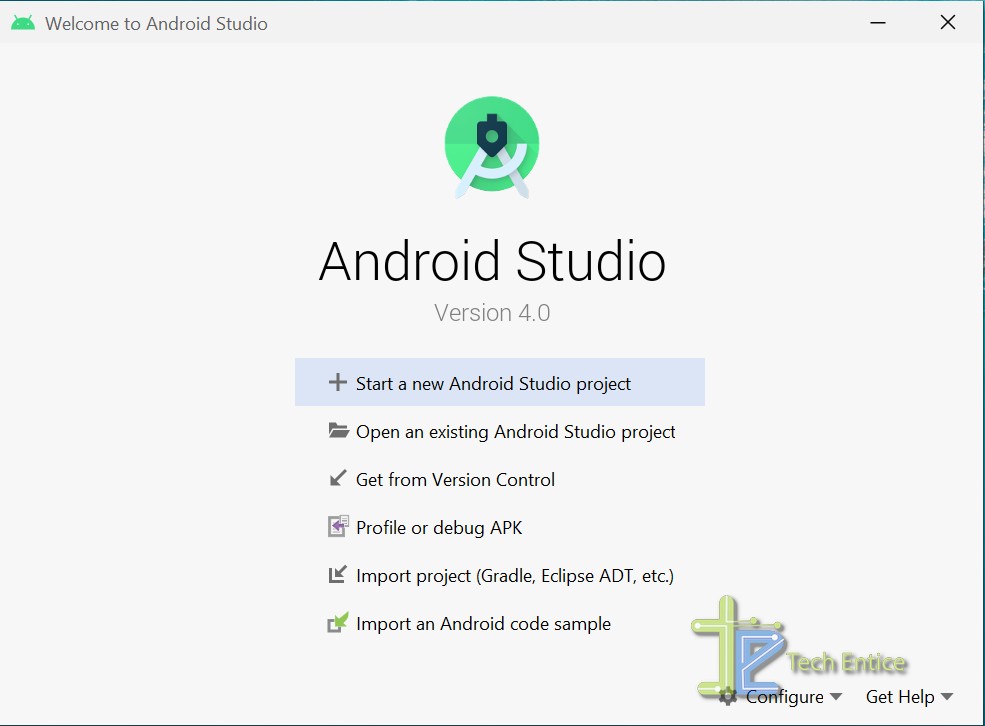
Let’s create your first Android Studio Mobile App:
The first step towards learning any programming language and explore any IDE is to run a “Hello, World” program. In this section, we will create a sample android project and display the “Hello, World” message upon opening the android app in the emulator.
On the welcome screen, select the first option, “Start a new Android Studio project.” This option will allow us to create a new android application from scratch.
Step #15:
- Android studio will present you with a dialog box to select the project template.
- As per your requirement, select the base template. Android studio provides a wide range of templates to reduce the development time, for instance, for phones, tablets, tv, smartwatch.
- In our case, we will stick to Empty Layout for Phone and Tablets.
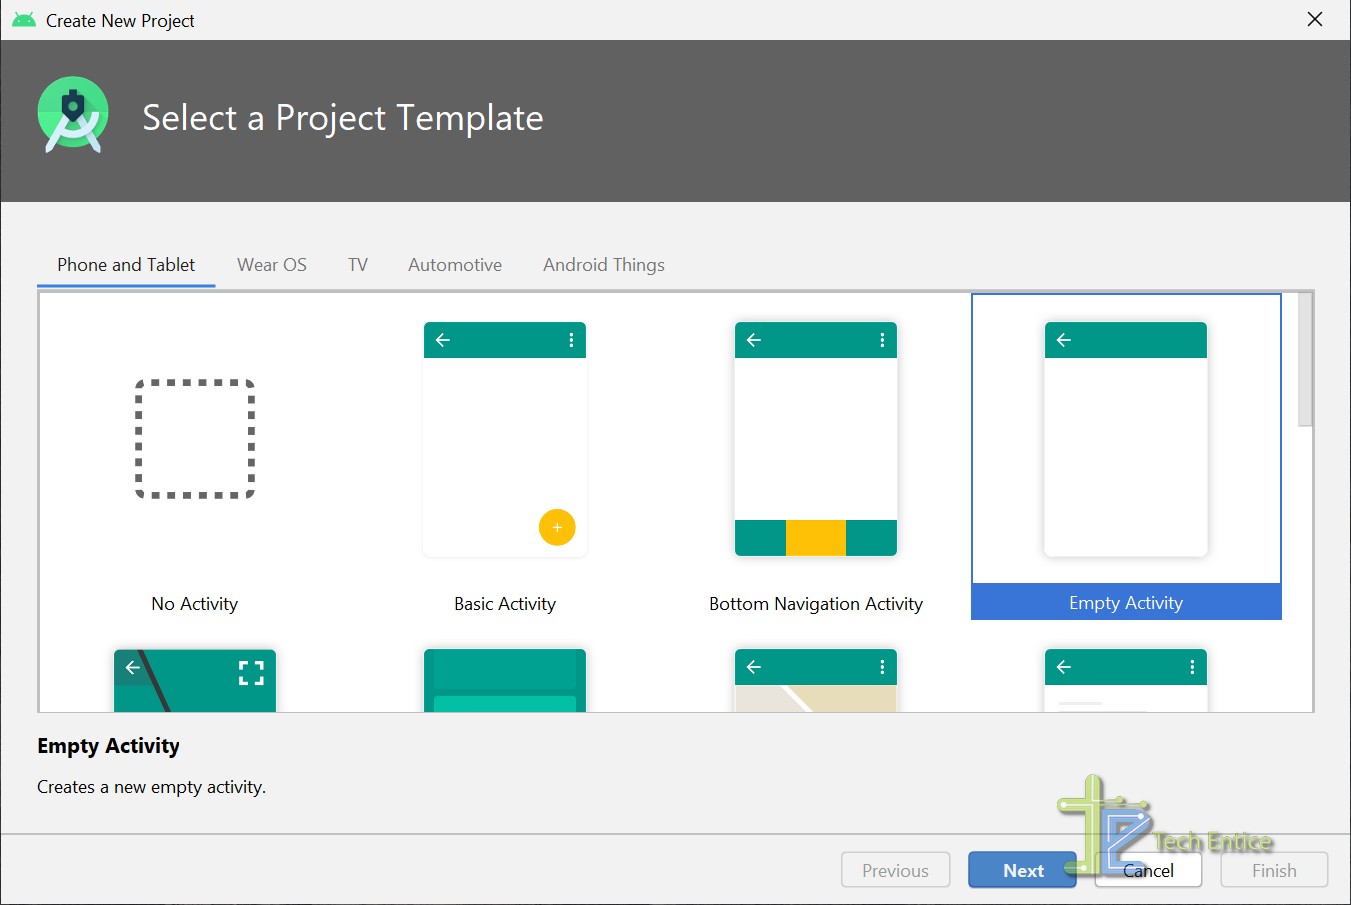
Step #16:
- Click the Next button, and the below dialog will be presented. Here you can specify project-specific details such as name, location, minimum SDK support for the project.
- In our case, we will continue with the default settings.
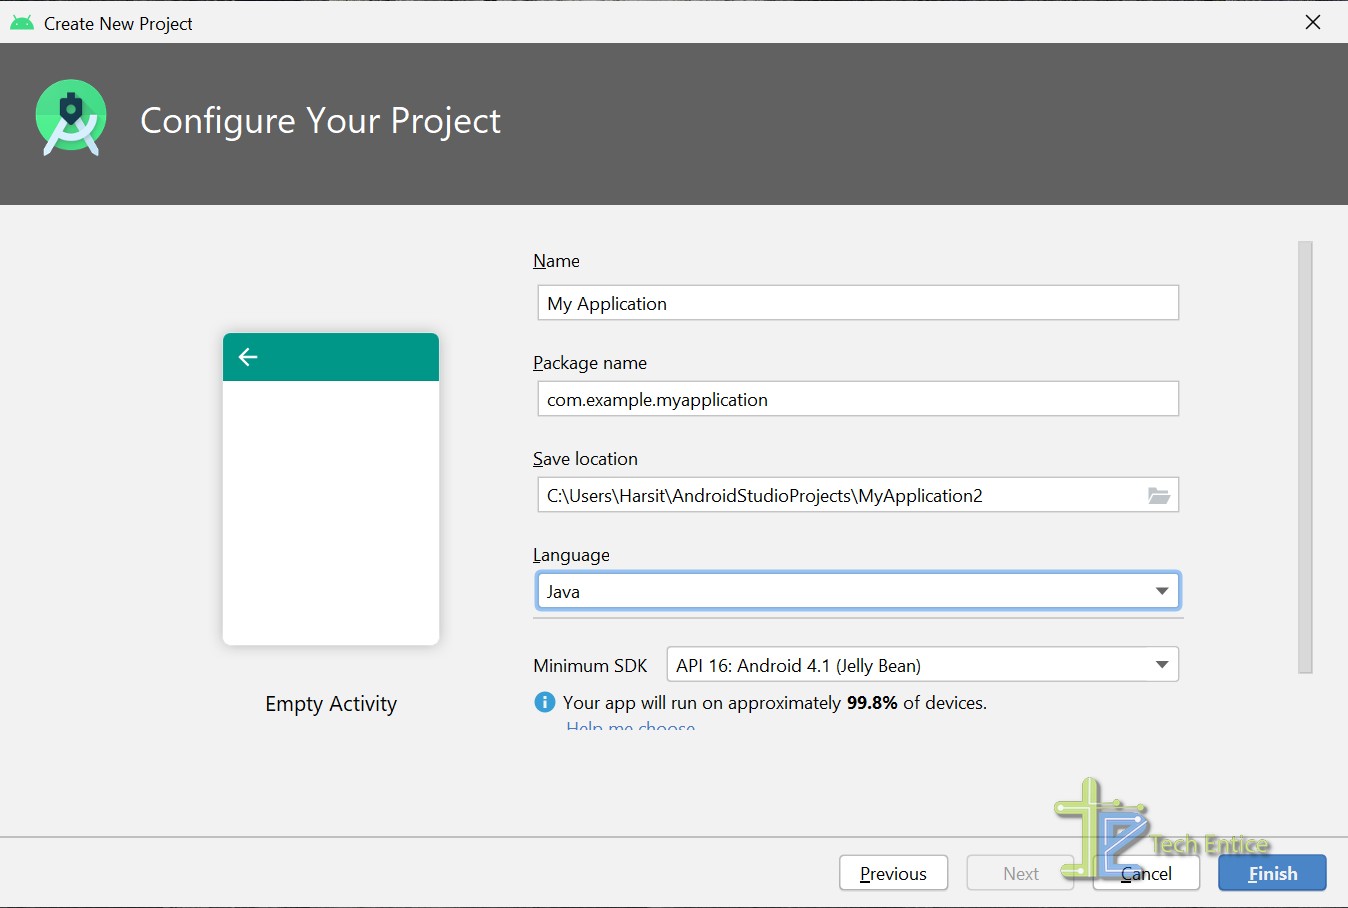
Step #17:
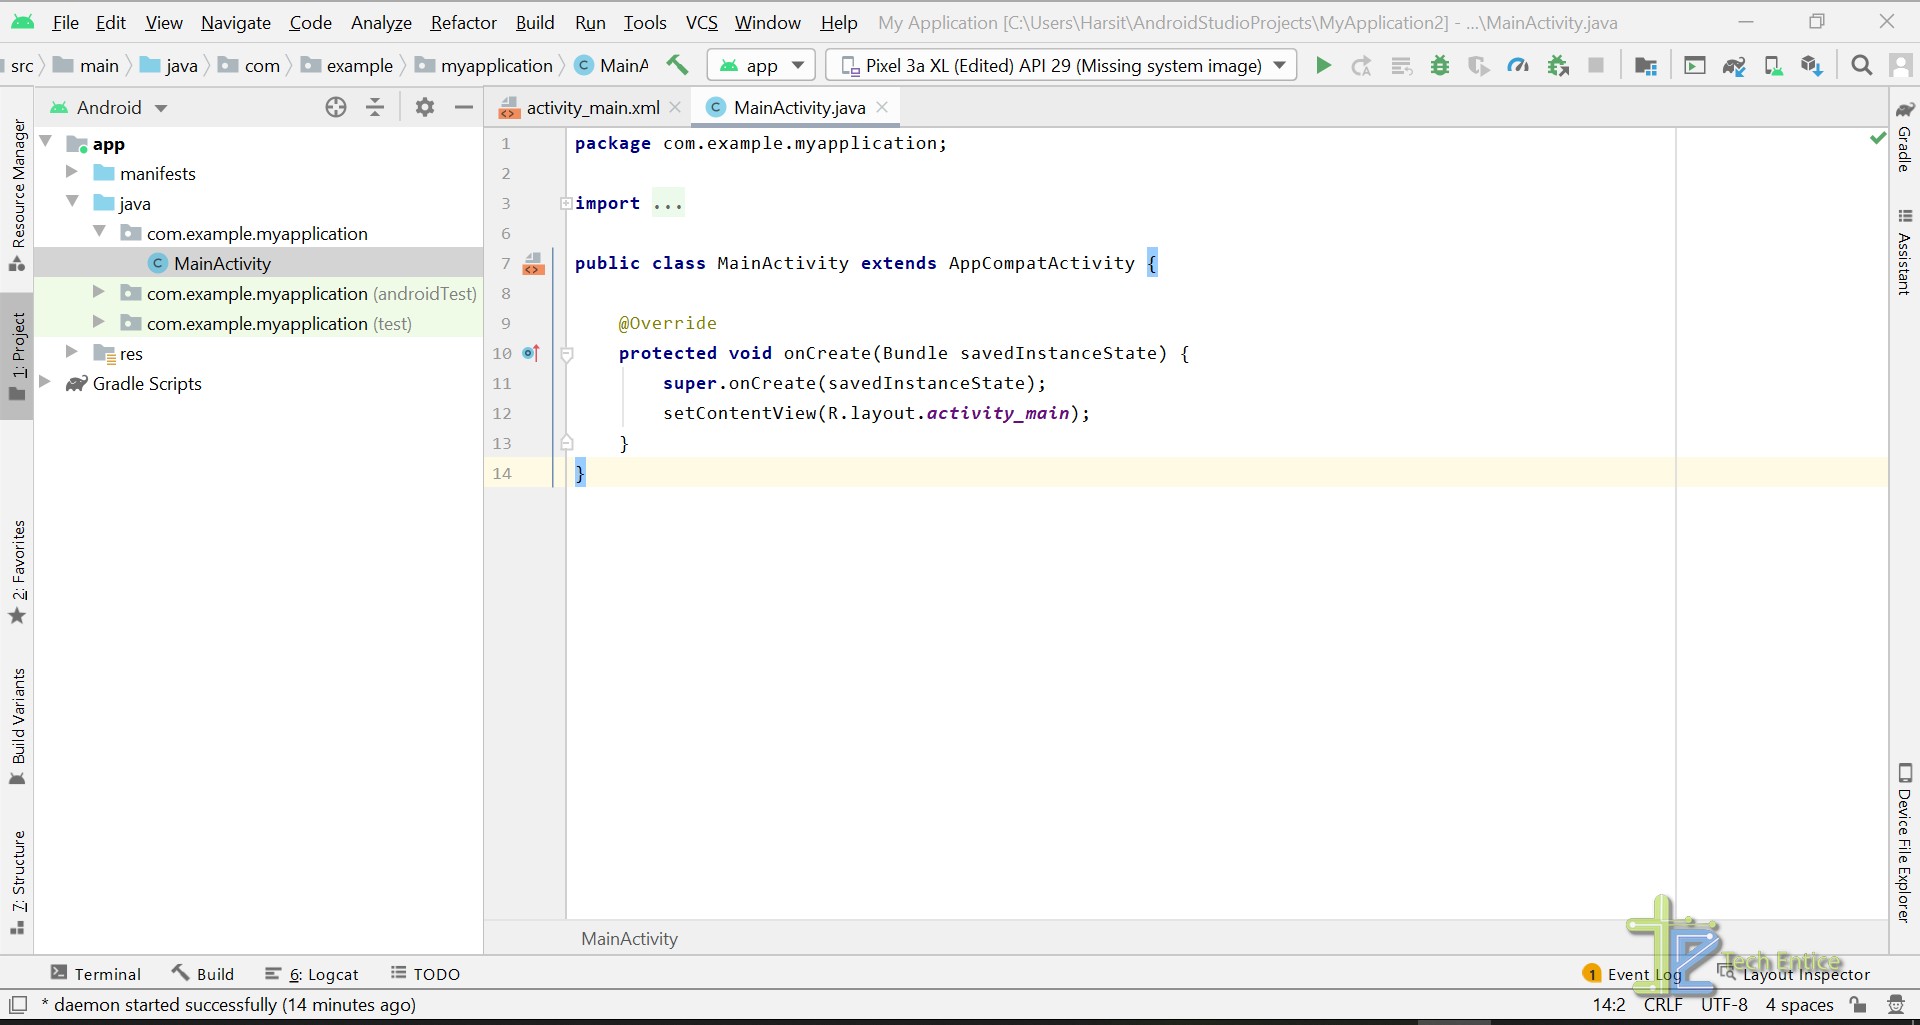
- Click the Finish button to complete the project setup step.
- It might take a while to load the code editor, and Gradle will download all the required dependencies.
- You can see a sample “Hello, World” project loaded on your screen.
- You explore the code editor, and it’s available developer tools.
Setting up Android Virtual Device to run the app
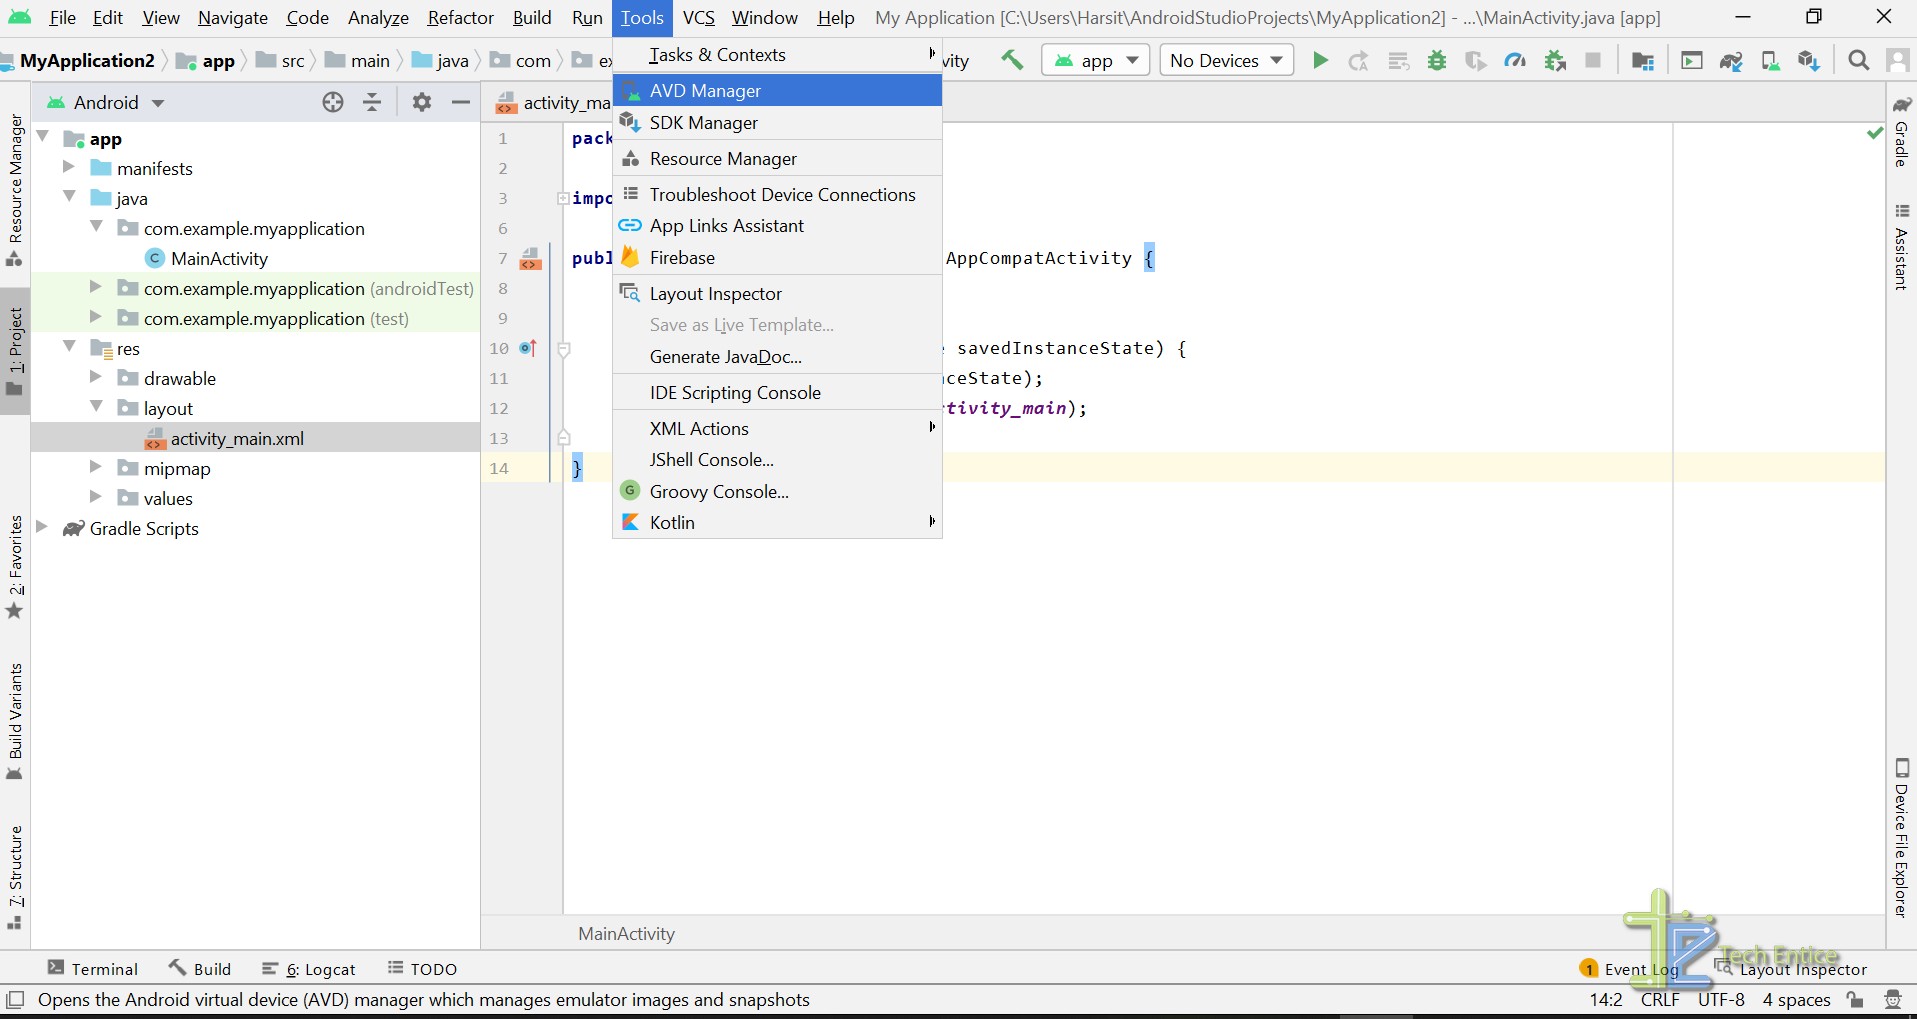
Step #18:
- Click the “Tools” section from the top and click on the “AVD Manager” option to launch the Android Virtual Device Manager.
Step #19:
- Click the Create Virtual Device button as displayed in the below dialog to start creating your very own first anrdoid virtual device.
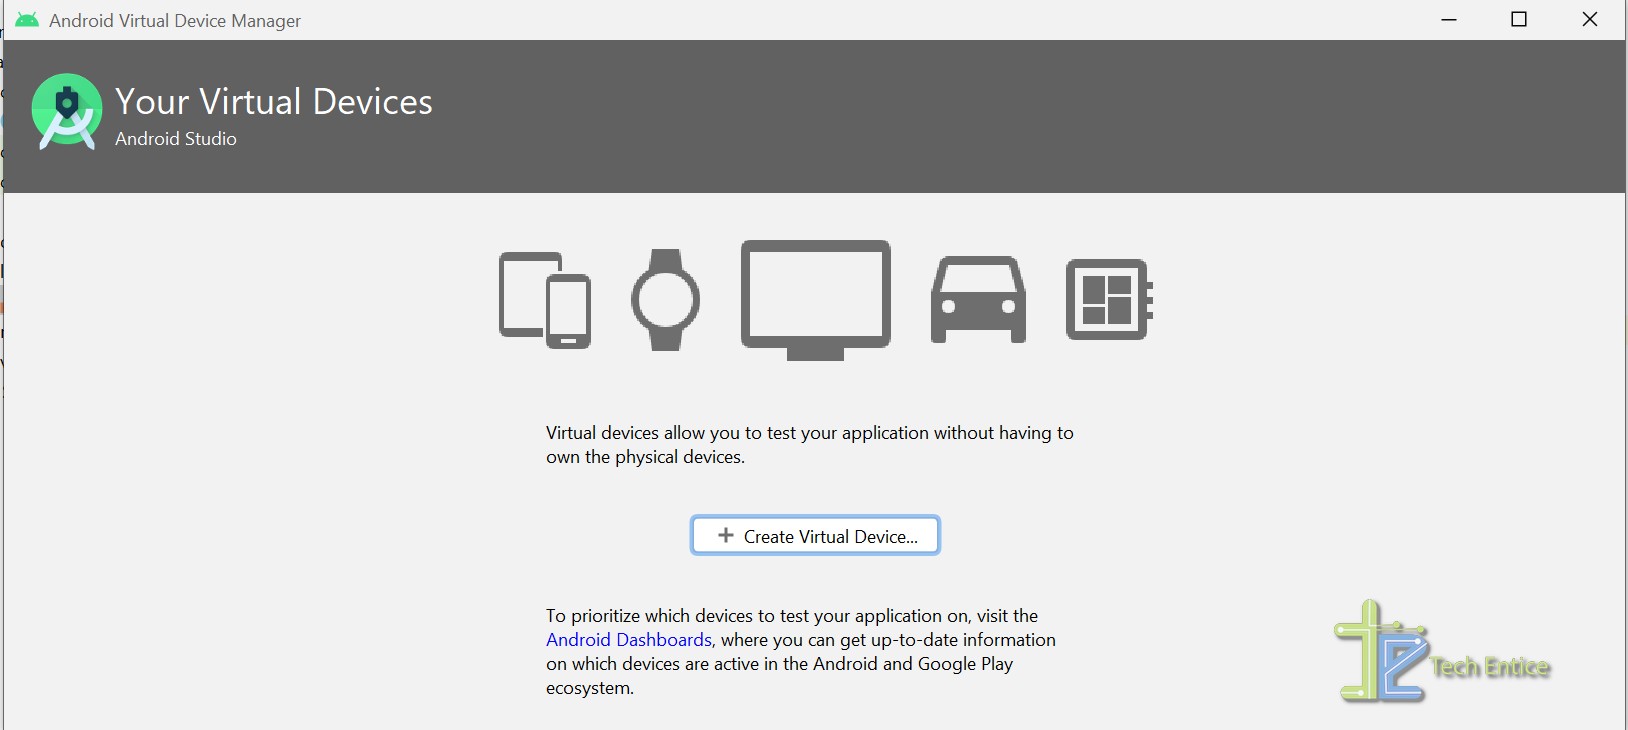
Step #20:
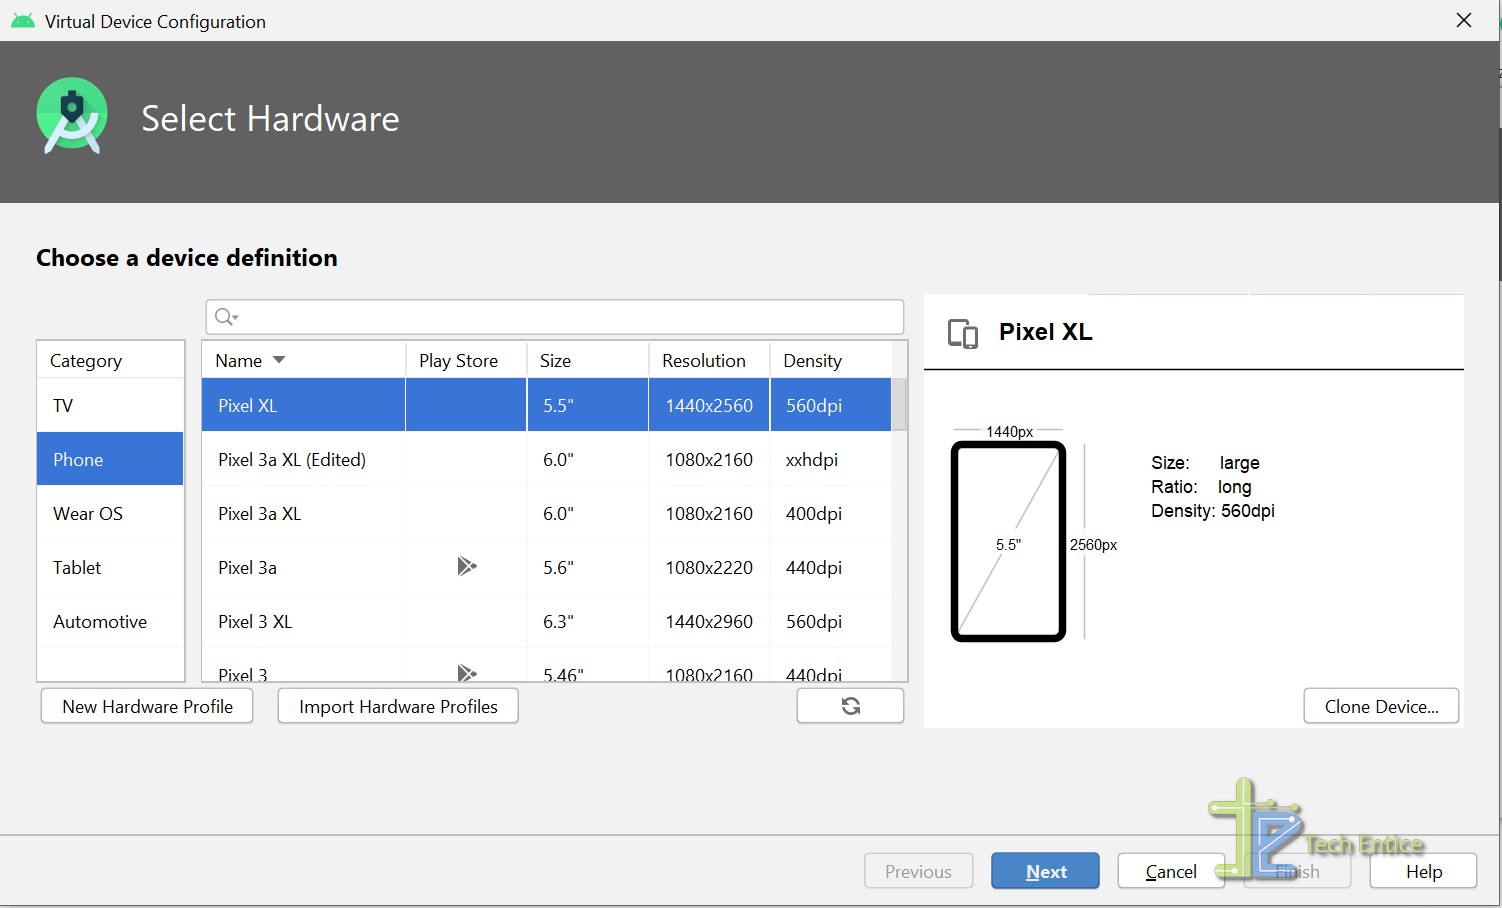
- Android studio will present you with a wide range of virtual devices. You need to select the type of device, screen ratio, and other configurations based on your project requirement.
- Usually, for touch screen phones, it is pixel XL; with default settings, click the Next button.
Step #21:
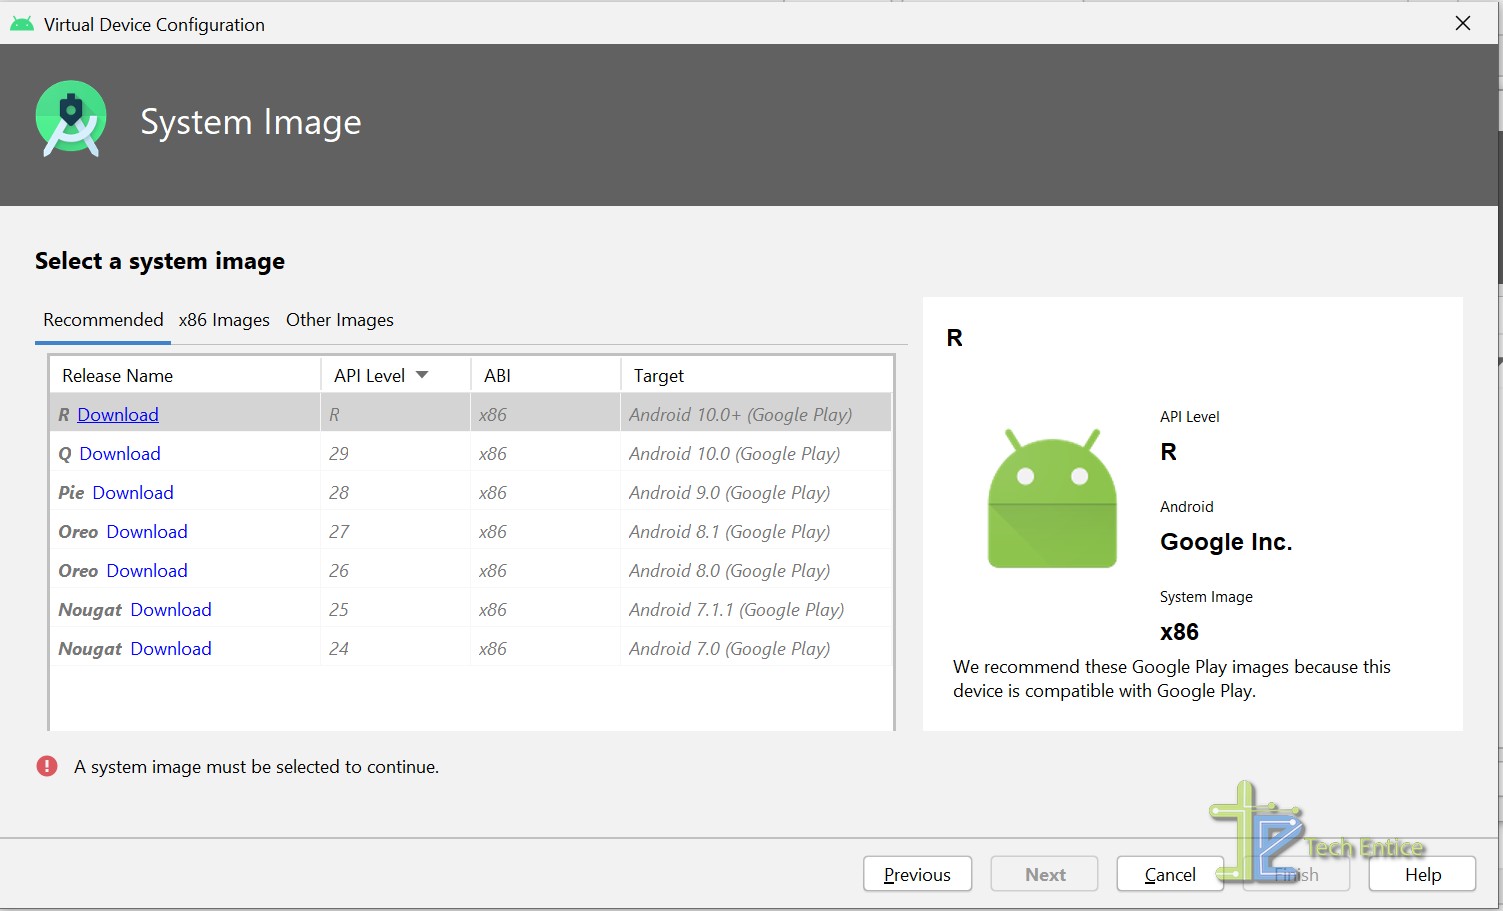
- In this step, the IDE will present you with the below dialog box to select the compatible target Android version.
- To test the best compatibility of your android application, always target for the recent release of Android. As of now, we can go ahead with Android R.
- Click the download link for the selected Android version.
Step #22:
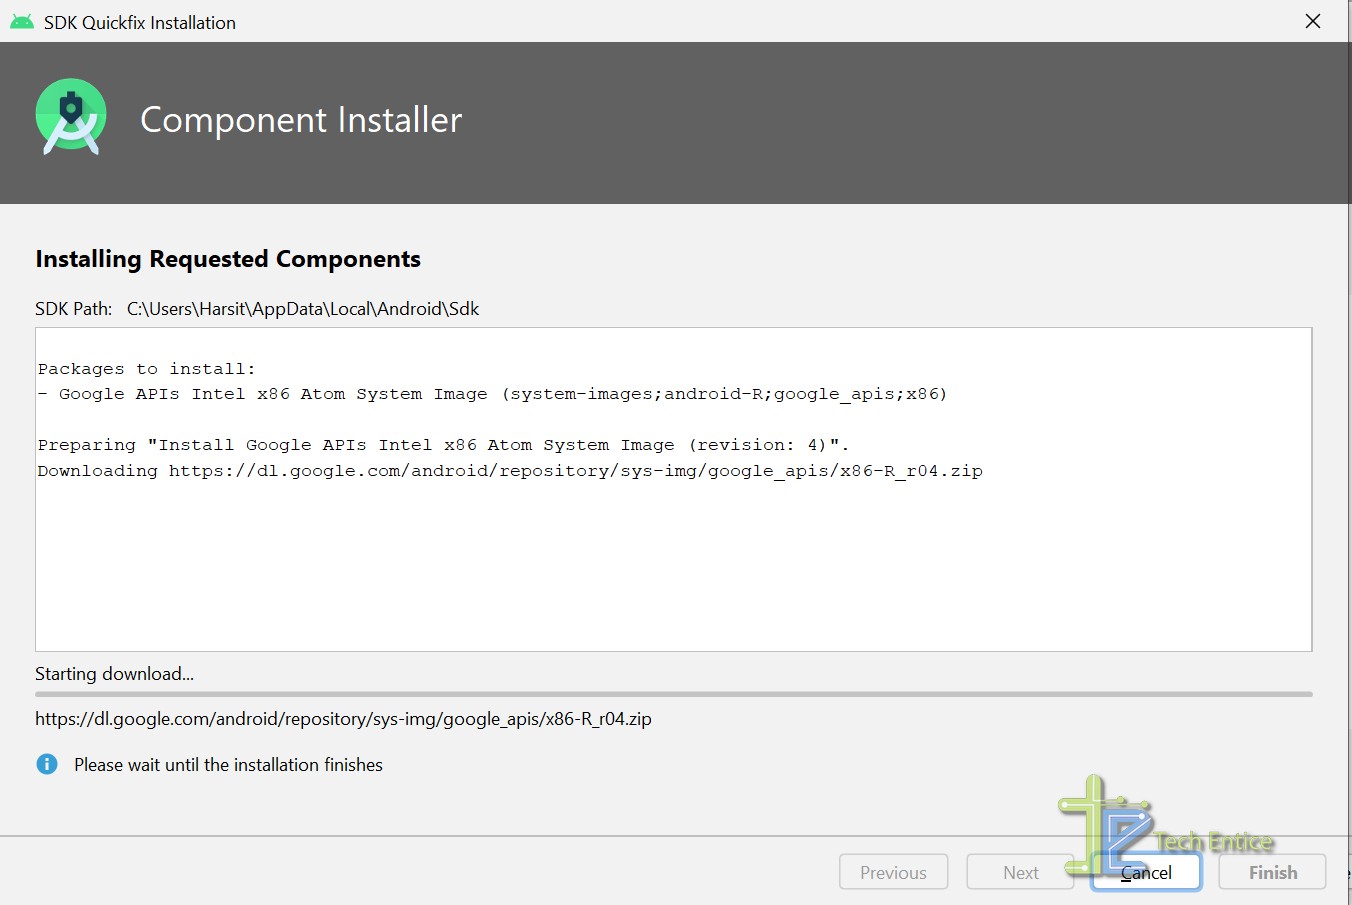
- Based on the previously selected android version, it will take a while to download the image.
- After downloading the image file, click on the Finish button to proceed further.
Step #23:
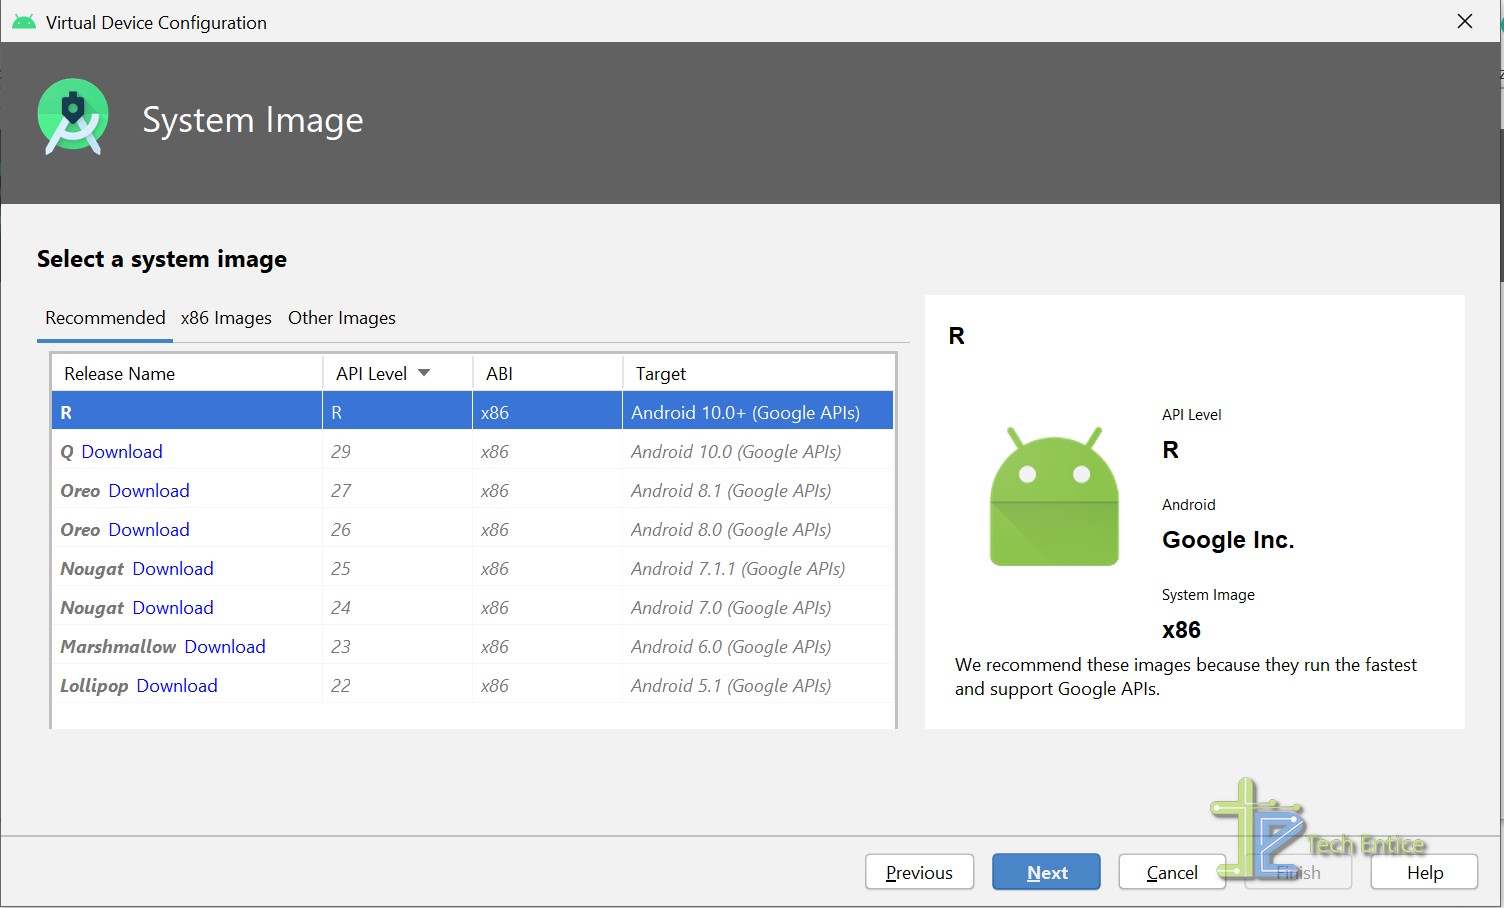
- Android Studio IDE will present you with a dialog box to select the downloaded android image.
- In our case, we need to select the Android R version under the release column.
Step #24:
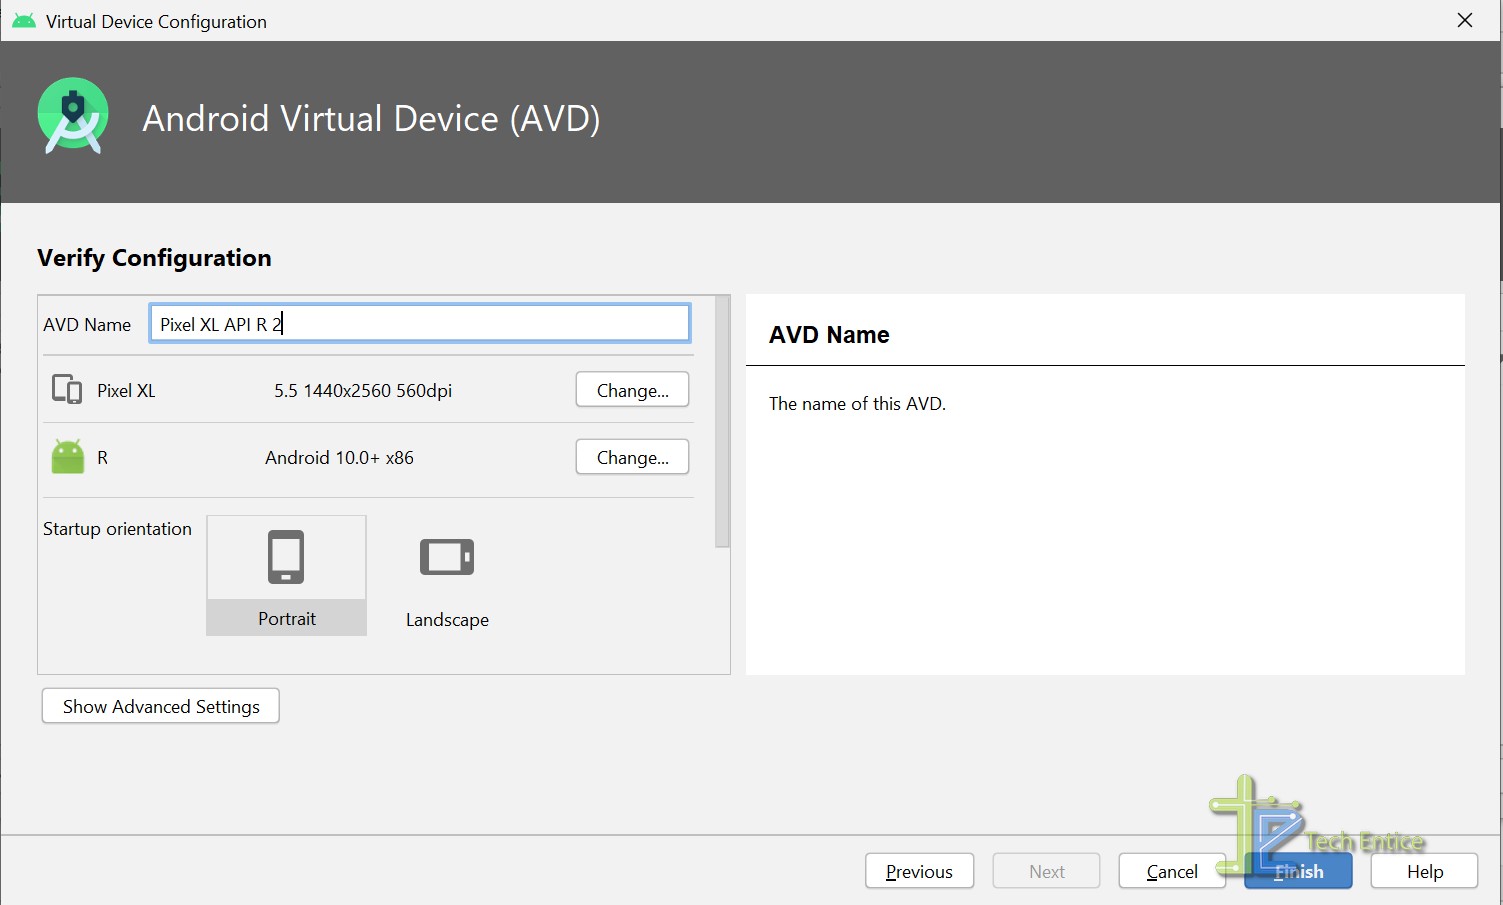
- Click the Next button, and IDE will present you with the below dialog asking to configure some in-device settings like orientation.
- In our case, we are heading with the default settings.
- Click the Finish button to complete the AVD configuration process.
Step #25:
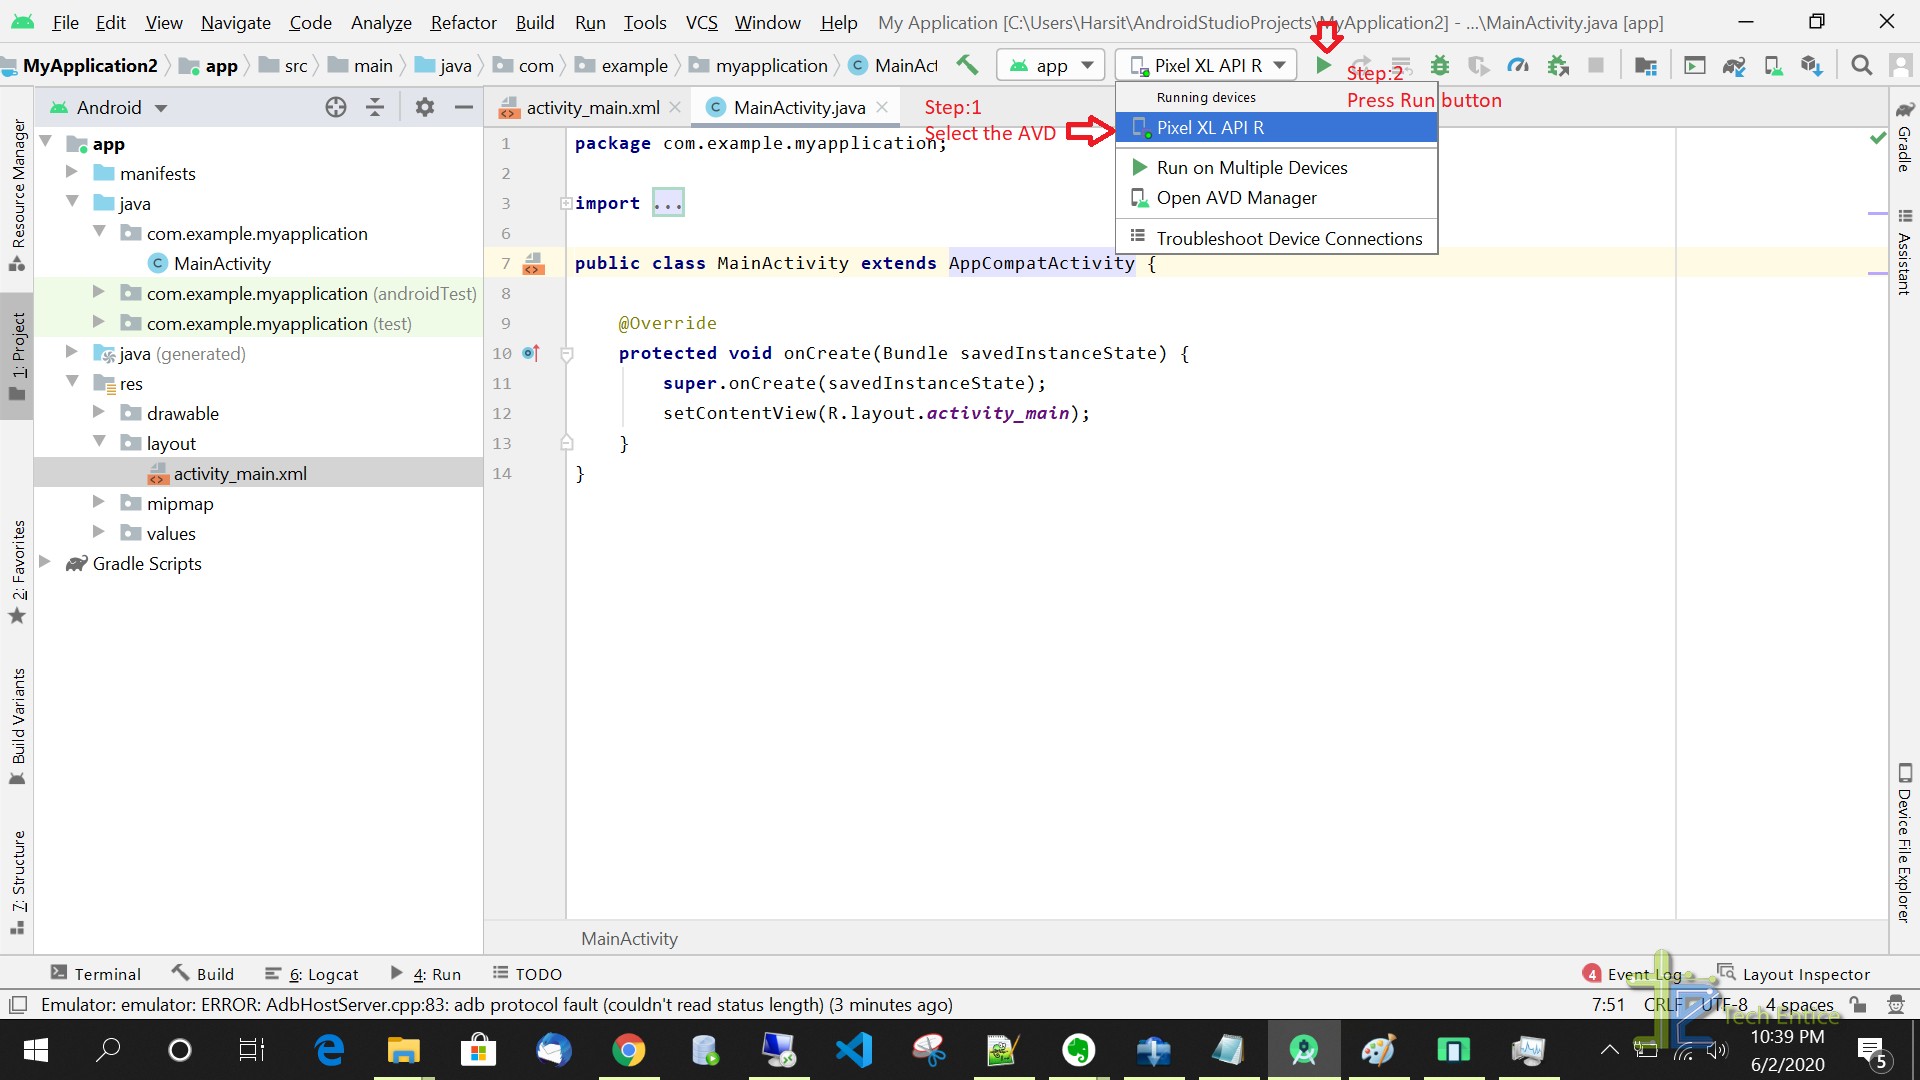
- Select the virtual device that we created in the previous step from the drop-down, as mentioned in the below screenshot, or press Alt + Shift + F11 shortcut.
- In our case, we will select the “Pixel XL API R” virtual device.
- Press the green Run button aside of it or press the Shift + F10 shortcut.
Step #26:
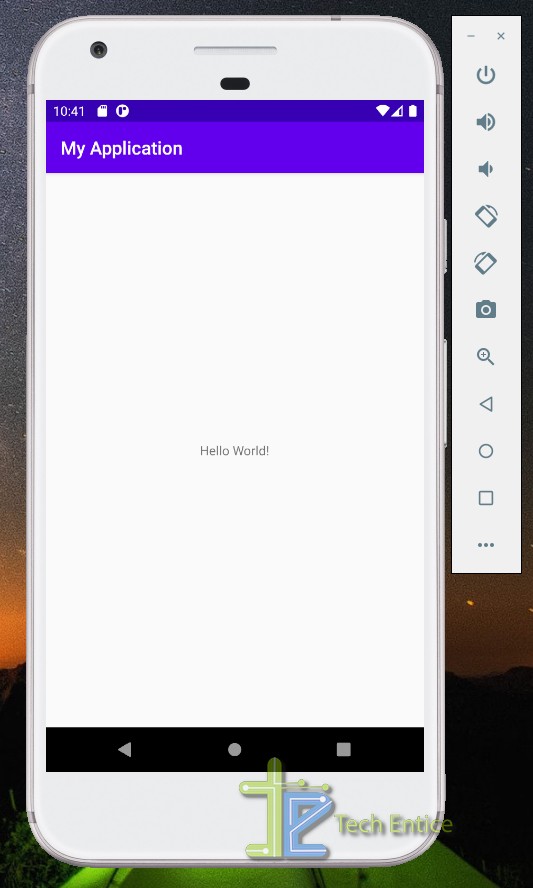
- This usually takes a while to start the virtual machine, and once the AVD is up, Android Studio will automatically install the built apk file to the virtual device, and you shall be able to see a “Hello World” message on the screen.
Summary:
In this article, we have gone through the setup and configuration of the Android Studio IDE in Windows10 OS. We ended up running a sample “Hello, World” android application in a virtual device.
Read part 2: Explore IDE, Code Editor With Android Studio On Windows OS




Leave a Reply