Ubuntu and Linux Mint possess a feature known as “Guest Session” account, which almost anyone and everyone can log in from the login screen itself– no password demanded for. This guest account is temporary, once session is terminated any modification performed in that session lost so if anyone logs into the system again with a new guest session account, the user will be provided a new desktop. Yet if you intend to limit access to your computer, then a best solution is to disable / remove Ubuntu Guest Session Account.
Steps to Disable / Remove Ubuntu Guest Session Account?
Ubuntu doesn’t show you a fast and easy choice to switch off this feature. If you play around with the User Accounts configuration tool, where you might think that such an option would be present, then certainly you are in the wrong track. To disable it, we need to modify lightdm.conf, which commands over the LightDM display manager settings, which is also the login screen commander.
1. Open up LightDM’s configuration file in a text editor by tapping the keys Alt+F2, and type in the following command, and pressing Enter:
$gksu gedit /etc/lightdm/lightdm.conf
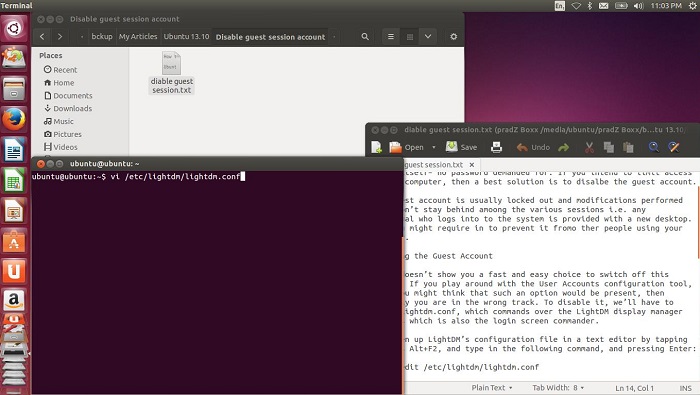
2. You will be asked to provide the password, enter the password. You will now able to view/edit the file.
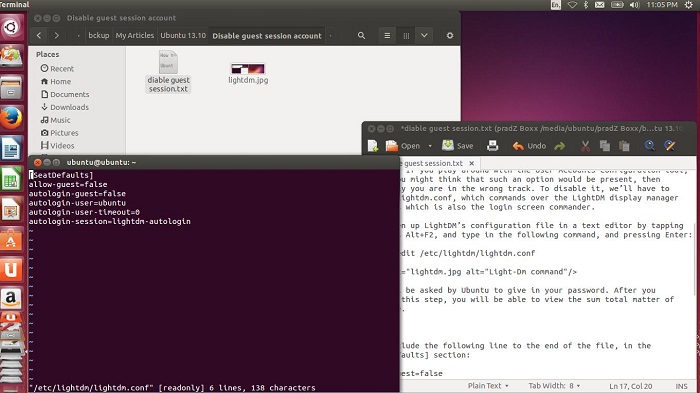
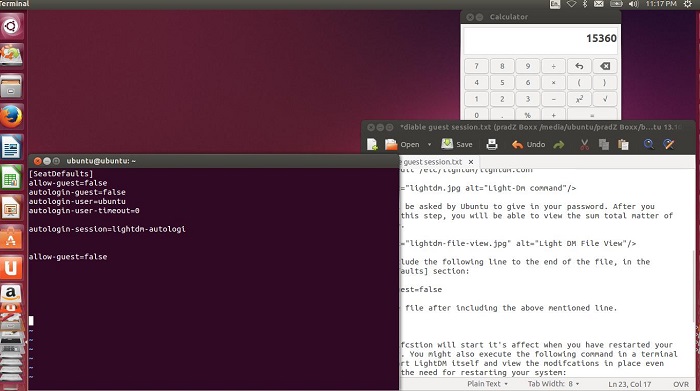
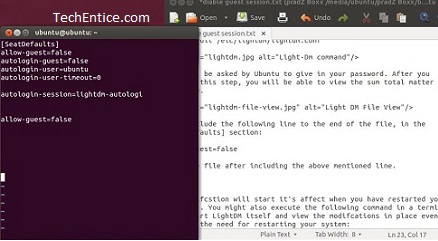
3. Just include the following line to the end of the file, in the [SeatDefaults] section:
allow-guest=false
Save the file after including the above line.
4. Now, you need to restart the system or you may execute the following command in a terminal to restart LightDM itself and view the modification in place even without restarting your system:
$sudo restart lightdm
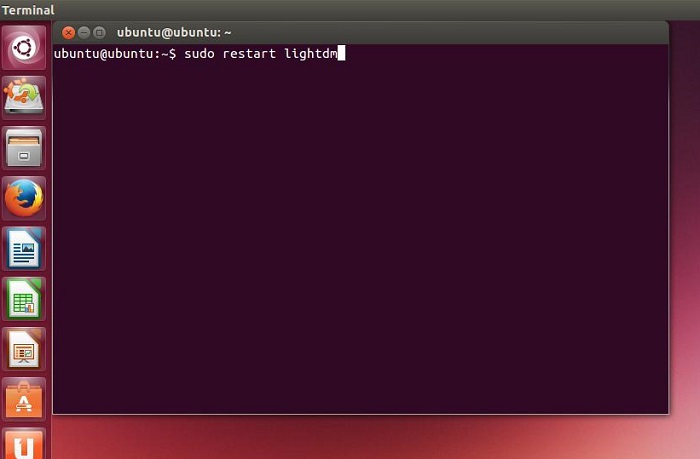
After restarting the computer or executing the above command, the Guest Session will disappear from your login screen
Re-Enabling the Guest Account in Ubuntu
To re-enable the guest account in future, you may execute: gksu gedit /etc/lightdm/lightdm.conf command again and take out the allow-guest=false line from the file. After performing so, save it and restart your computer or run the above sudo restart lightdm command and the guest account will re-appear.





Leave a Reply